We don’t normally shout about new products before we launch them but this one has me excited. Fusion Pouring Resin and Fusion Cell Enhancer are coming in 2020. If you wish to pre-order them you can do so from our website.
So what’s all the fuss about?? Here’s a taster…
Get the Look!!
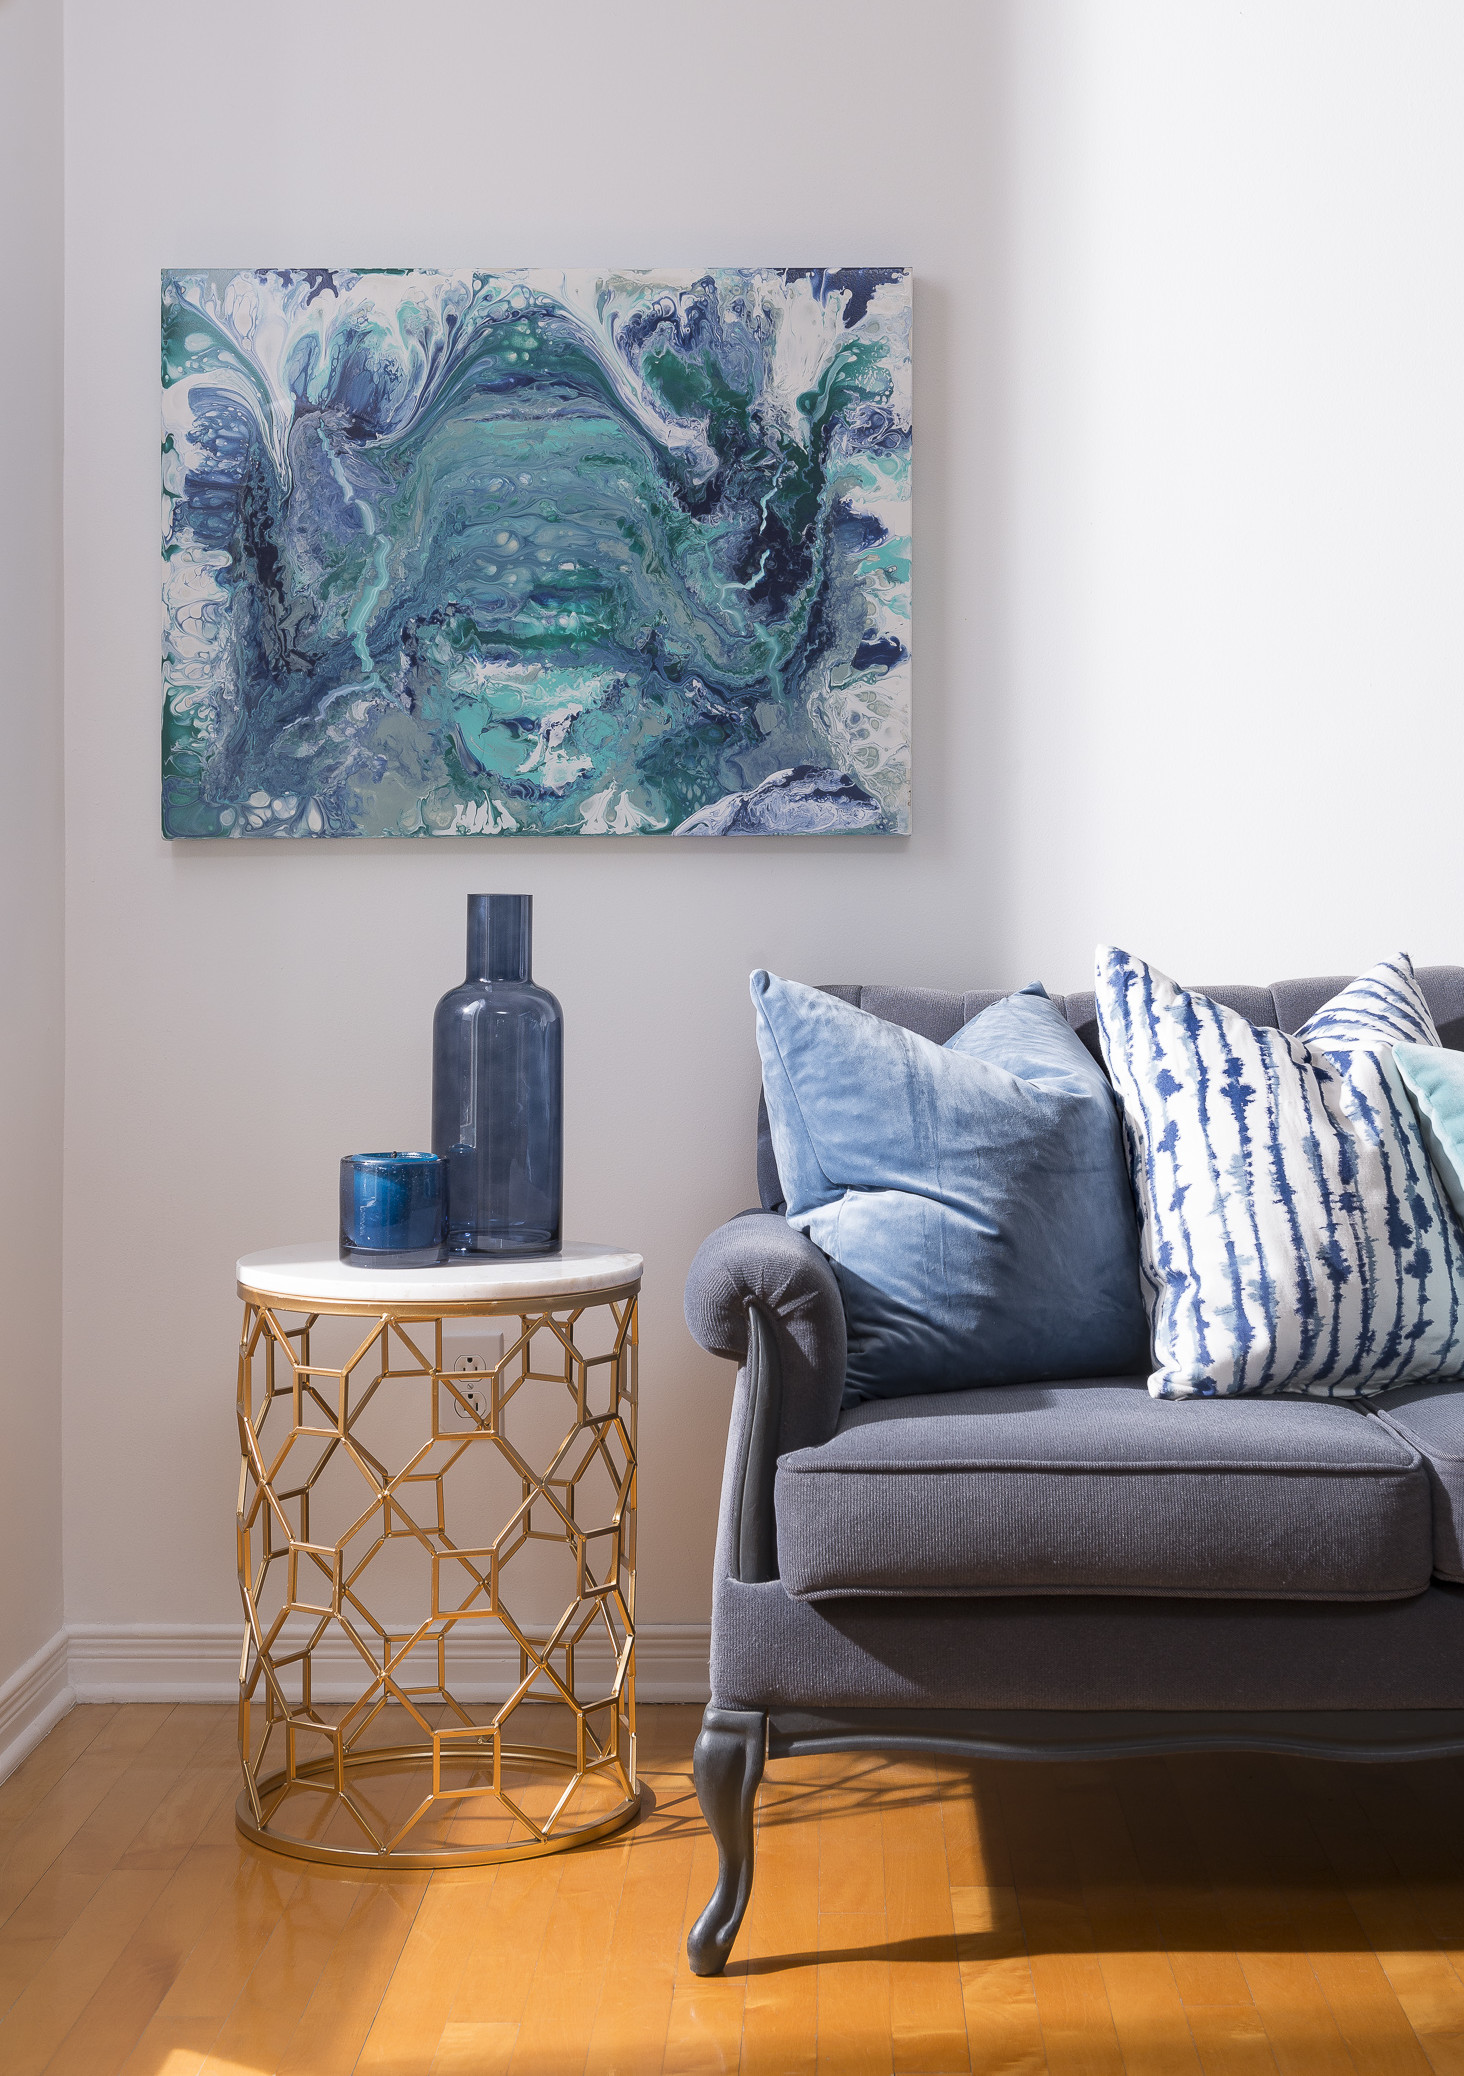
Feeling creative? Looking to create a unique beautiful piece of art to showcase in your home? Together with Fusion’s NEW Cell Enhancer and Pouring Resin is an acrylic pouring medium for creating beautiful art on canvas or wood, that dries with a high gloss finish.
Pouring Resin mixes seamlessly with Fusion Mineral Paint to create beautiful and unique acrylic pour artwork. It can be used on canvas, furniture or any surface that Fusion sticks to. This achieves a durable, glossy finish, and can even be used on its own as a finish over top of Fusion Mineral Paint.You can even paint on top of for a multi-dimensional look.
*Durable glossy finish
*Easy to Use
*No topcoat needed
*Non-toxic
*No VOCs
You do not need to add Floetrol type additives to this product.
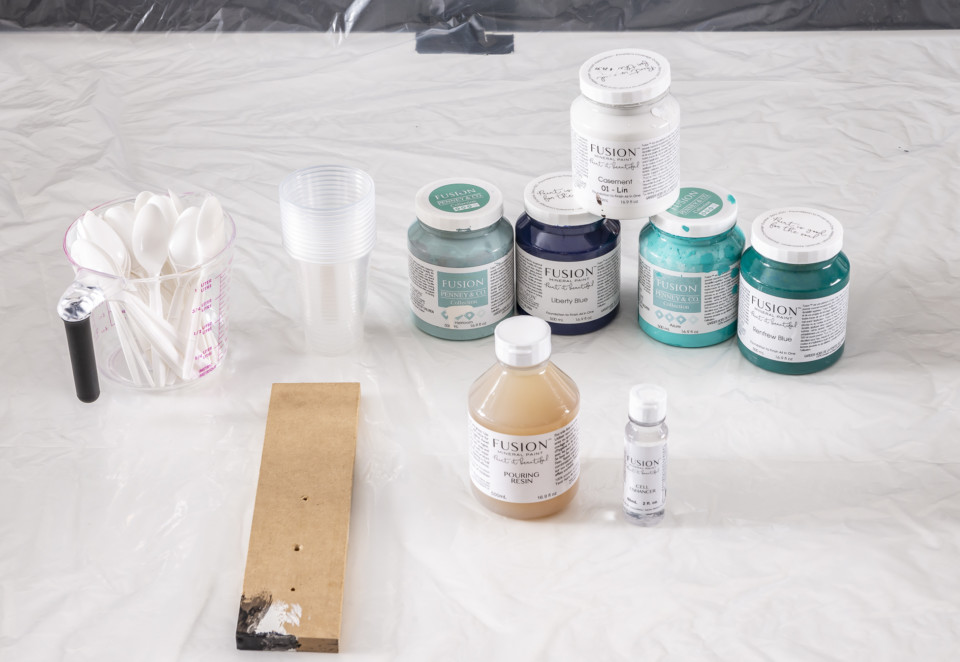
What you will need:
Paints: Casement, Heirloom, Azure, Liberty Blue, Renfrew Blue
Pouring Resin
Cell Enhancer
Canvas
Plastic cups
Plastic spoons
Stick to spread
Plastic to cover the area you’ll be working on( it can get messy!)
How To Use Pouring Resin
STEP 1
PREP YOU AREA AND SUPPLIES
Generally, pouring can get a little messy, so putting down a plastic drop sheet is recommended! A great tip: raise your canvas using plastic cups so the paint has something to drop off of.
STEP 2
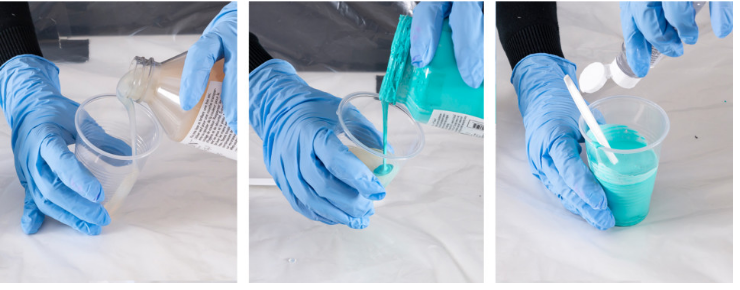
MIX POURING RESIN AND FUSION MINERAL PAINT
First, pour some pouring resin into a cup.
Then, add a couple of drops of Fusion Mineral Paint. Think of it as tinting the resin. You don’t want to use more than 10% paint to resin, so as not to slow down the flow of the resin.
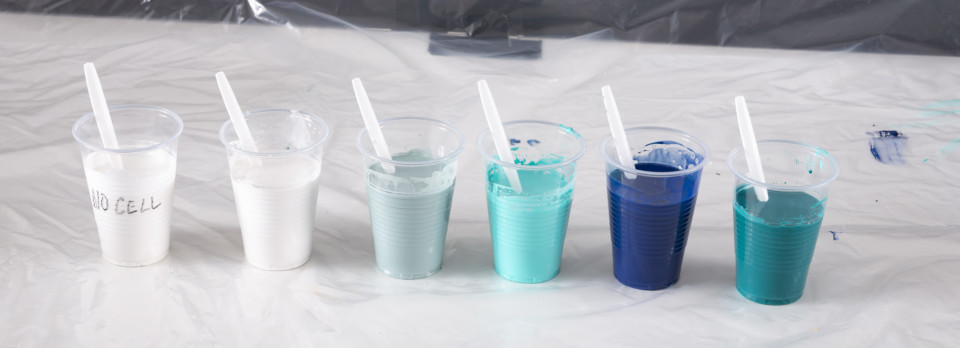
We’ve chosen to add Cell Enhancer to each paint cup for increased separation. Create a second cup of Casement without Cell Enhancer and mark it. This Casement will be used at the end to fill out the background edges.
Choose as many colours as you wish, contrasting and pops of colour are always recommended!
STEP 3
START POURING
Pour each individual colour in a swirly pattern one at a time onto your canvas.
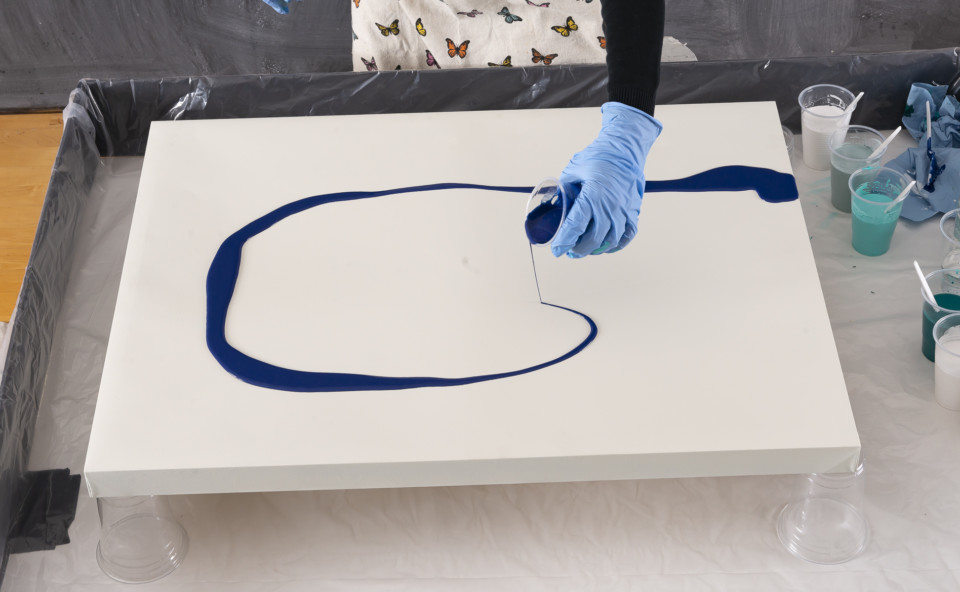
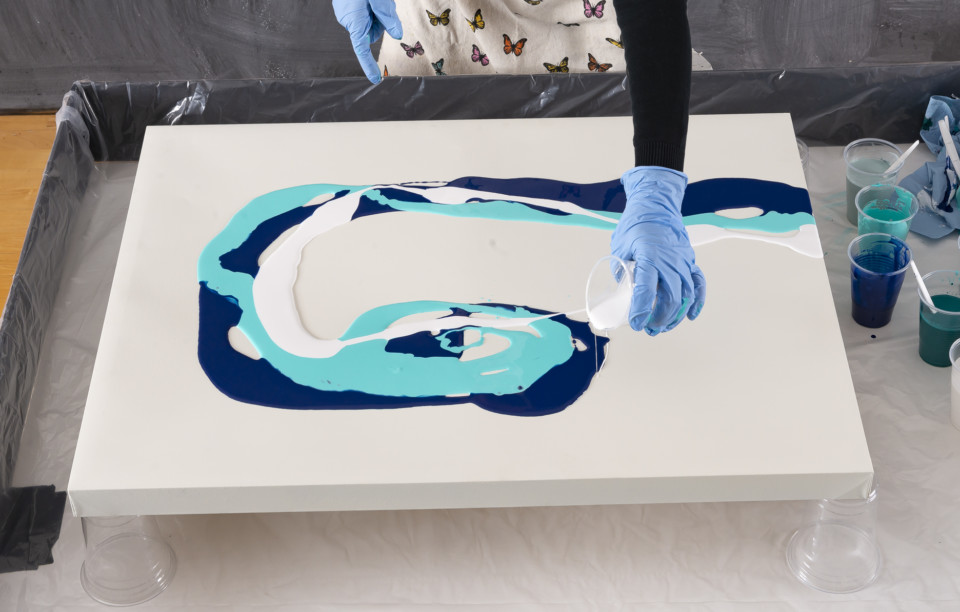
Continue pouring, overlapping some of the colours.
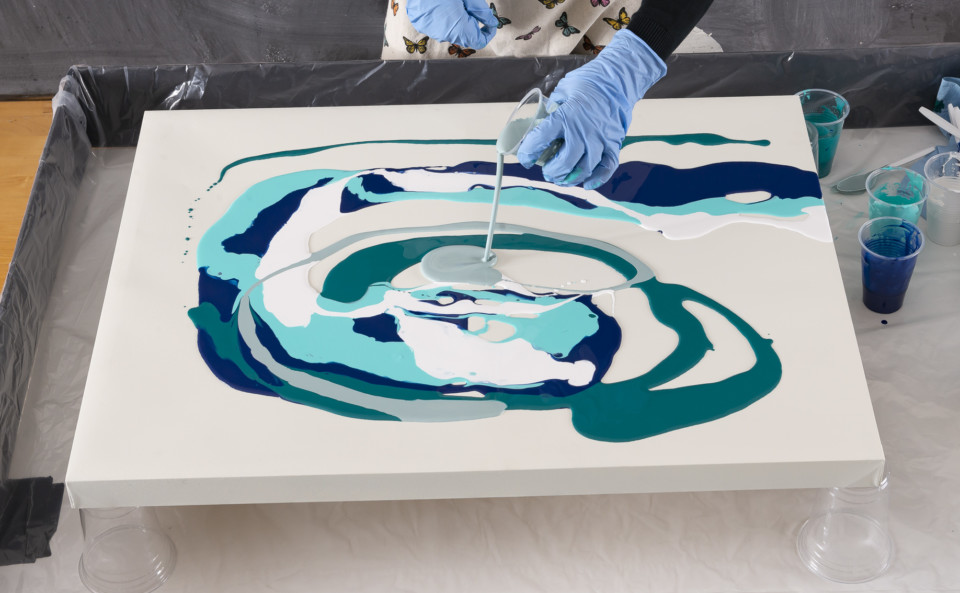
When all of the individual colours have been poured, pour the Casement marked without the Cell Enhancer on the edges of the canvas to cover any missed surface.
STEP 4
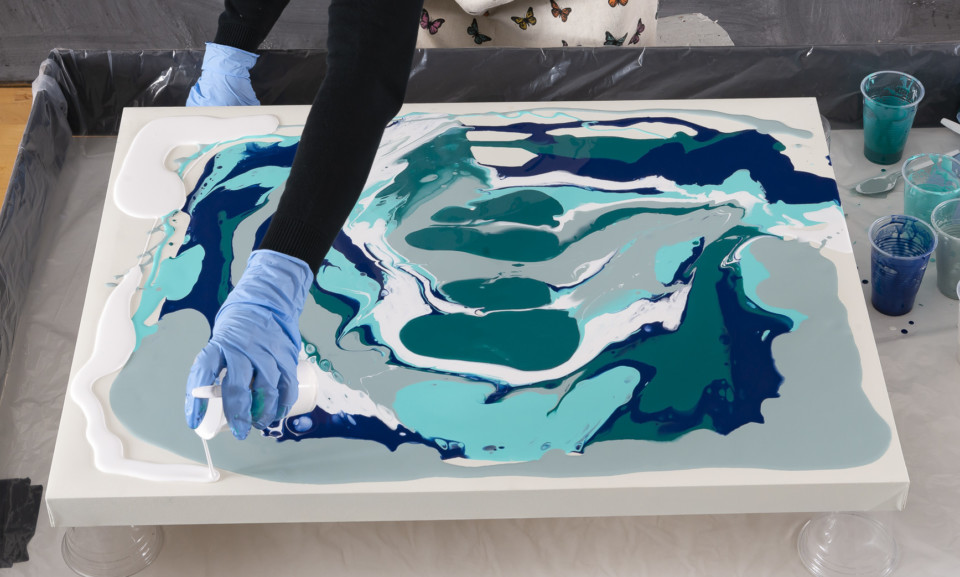
SPREAD THE CELL ENHANCER
Once all the product has been poured, take a stick and slide over the paint left to right and then top to bottom. In this case you can see the Cell Enhancer taking effect in the circular formations.
STEP 5
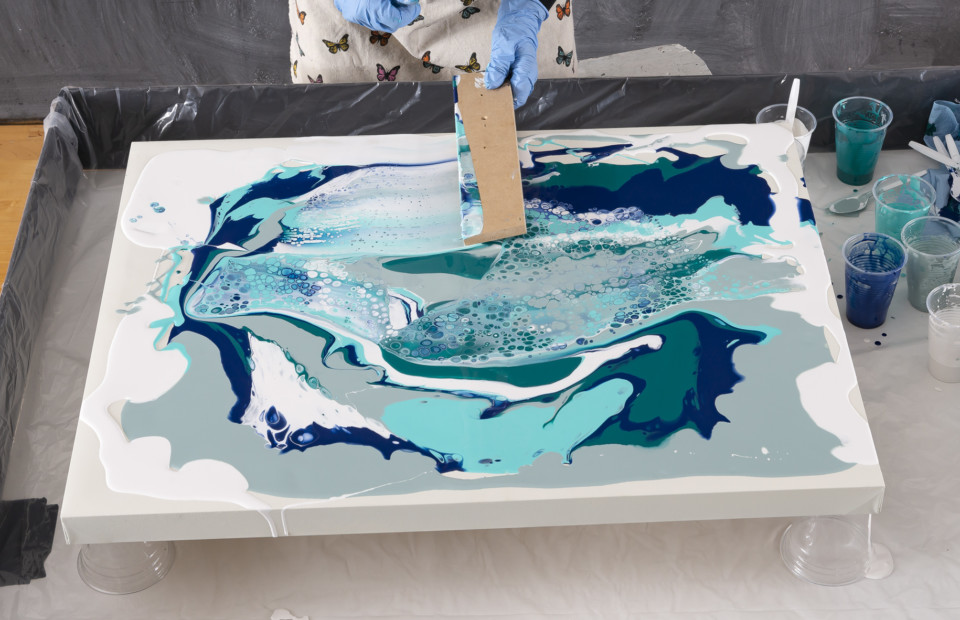
IT’S TIME TO TILT AND GET MESSY!
Now you want to tilt the canvas to bring the paint off the edges and create any patterns you desire. Continue by tilting and pouring out any extra paint on your canvas.
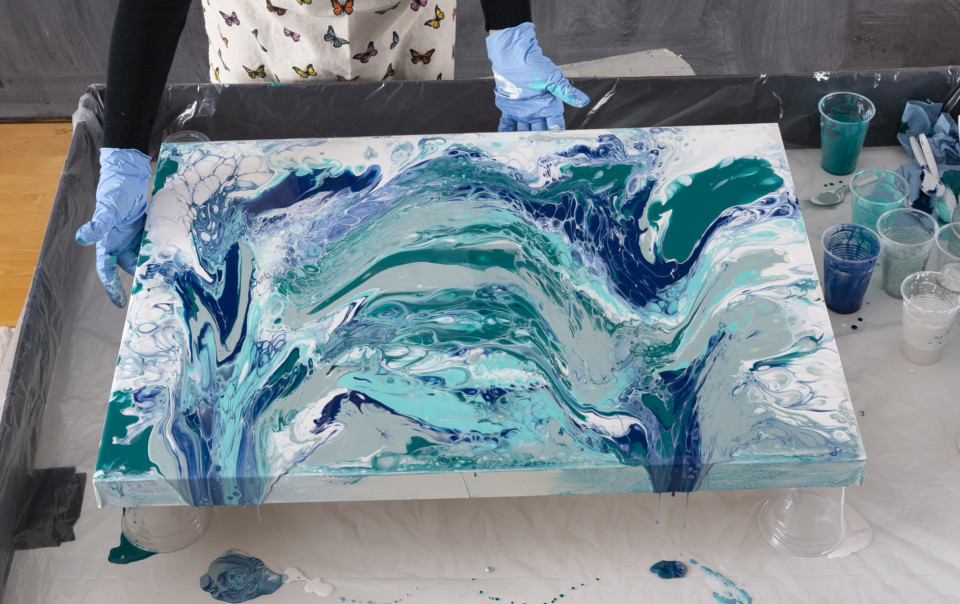
STEP 6
DRY & DISPLAY
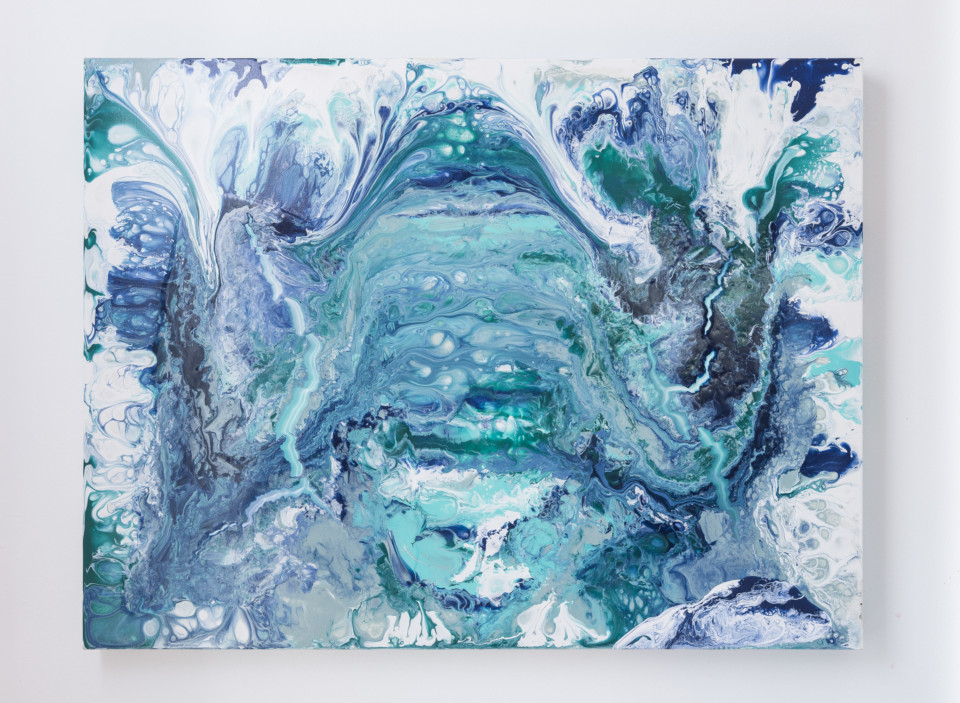
Let your piece dry for 12-24 hours and then it’s ready to be displayed!
In the areas where there’s cell enhancer, you may see a shiny area. That will remain shiny unless you take a cotton swab with rubbing alcohol to remove the excess cell enhancer.

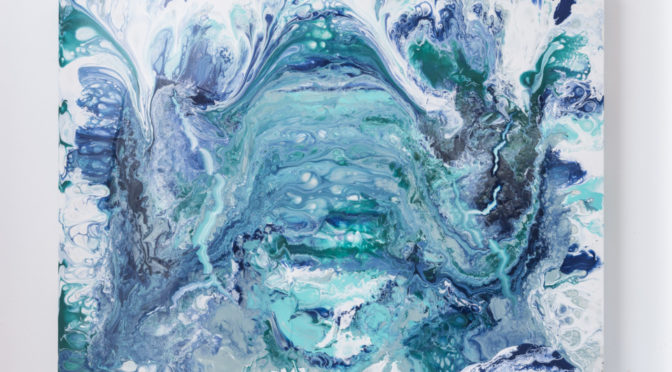
Finally, step back and look at the beautiful unique piece of art you have created!
Are you feeling tempted too? I can feel a whole new workshop coming on for those that want to try before they buy.
