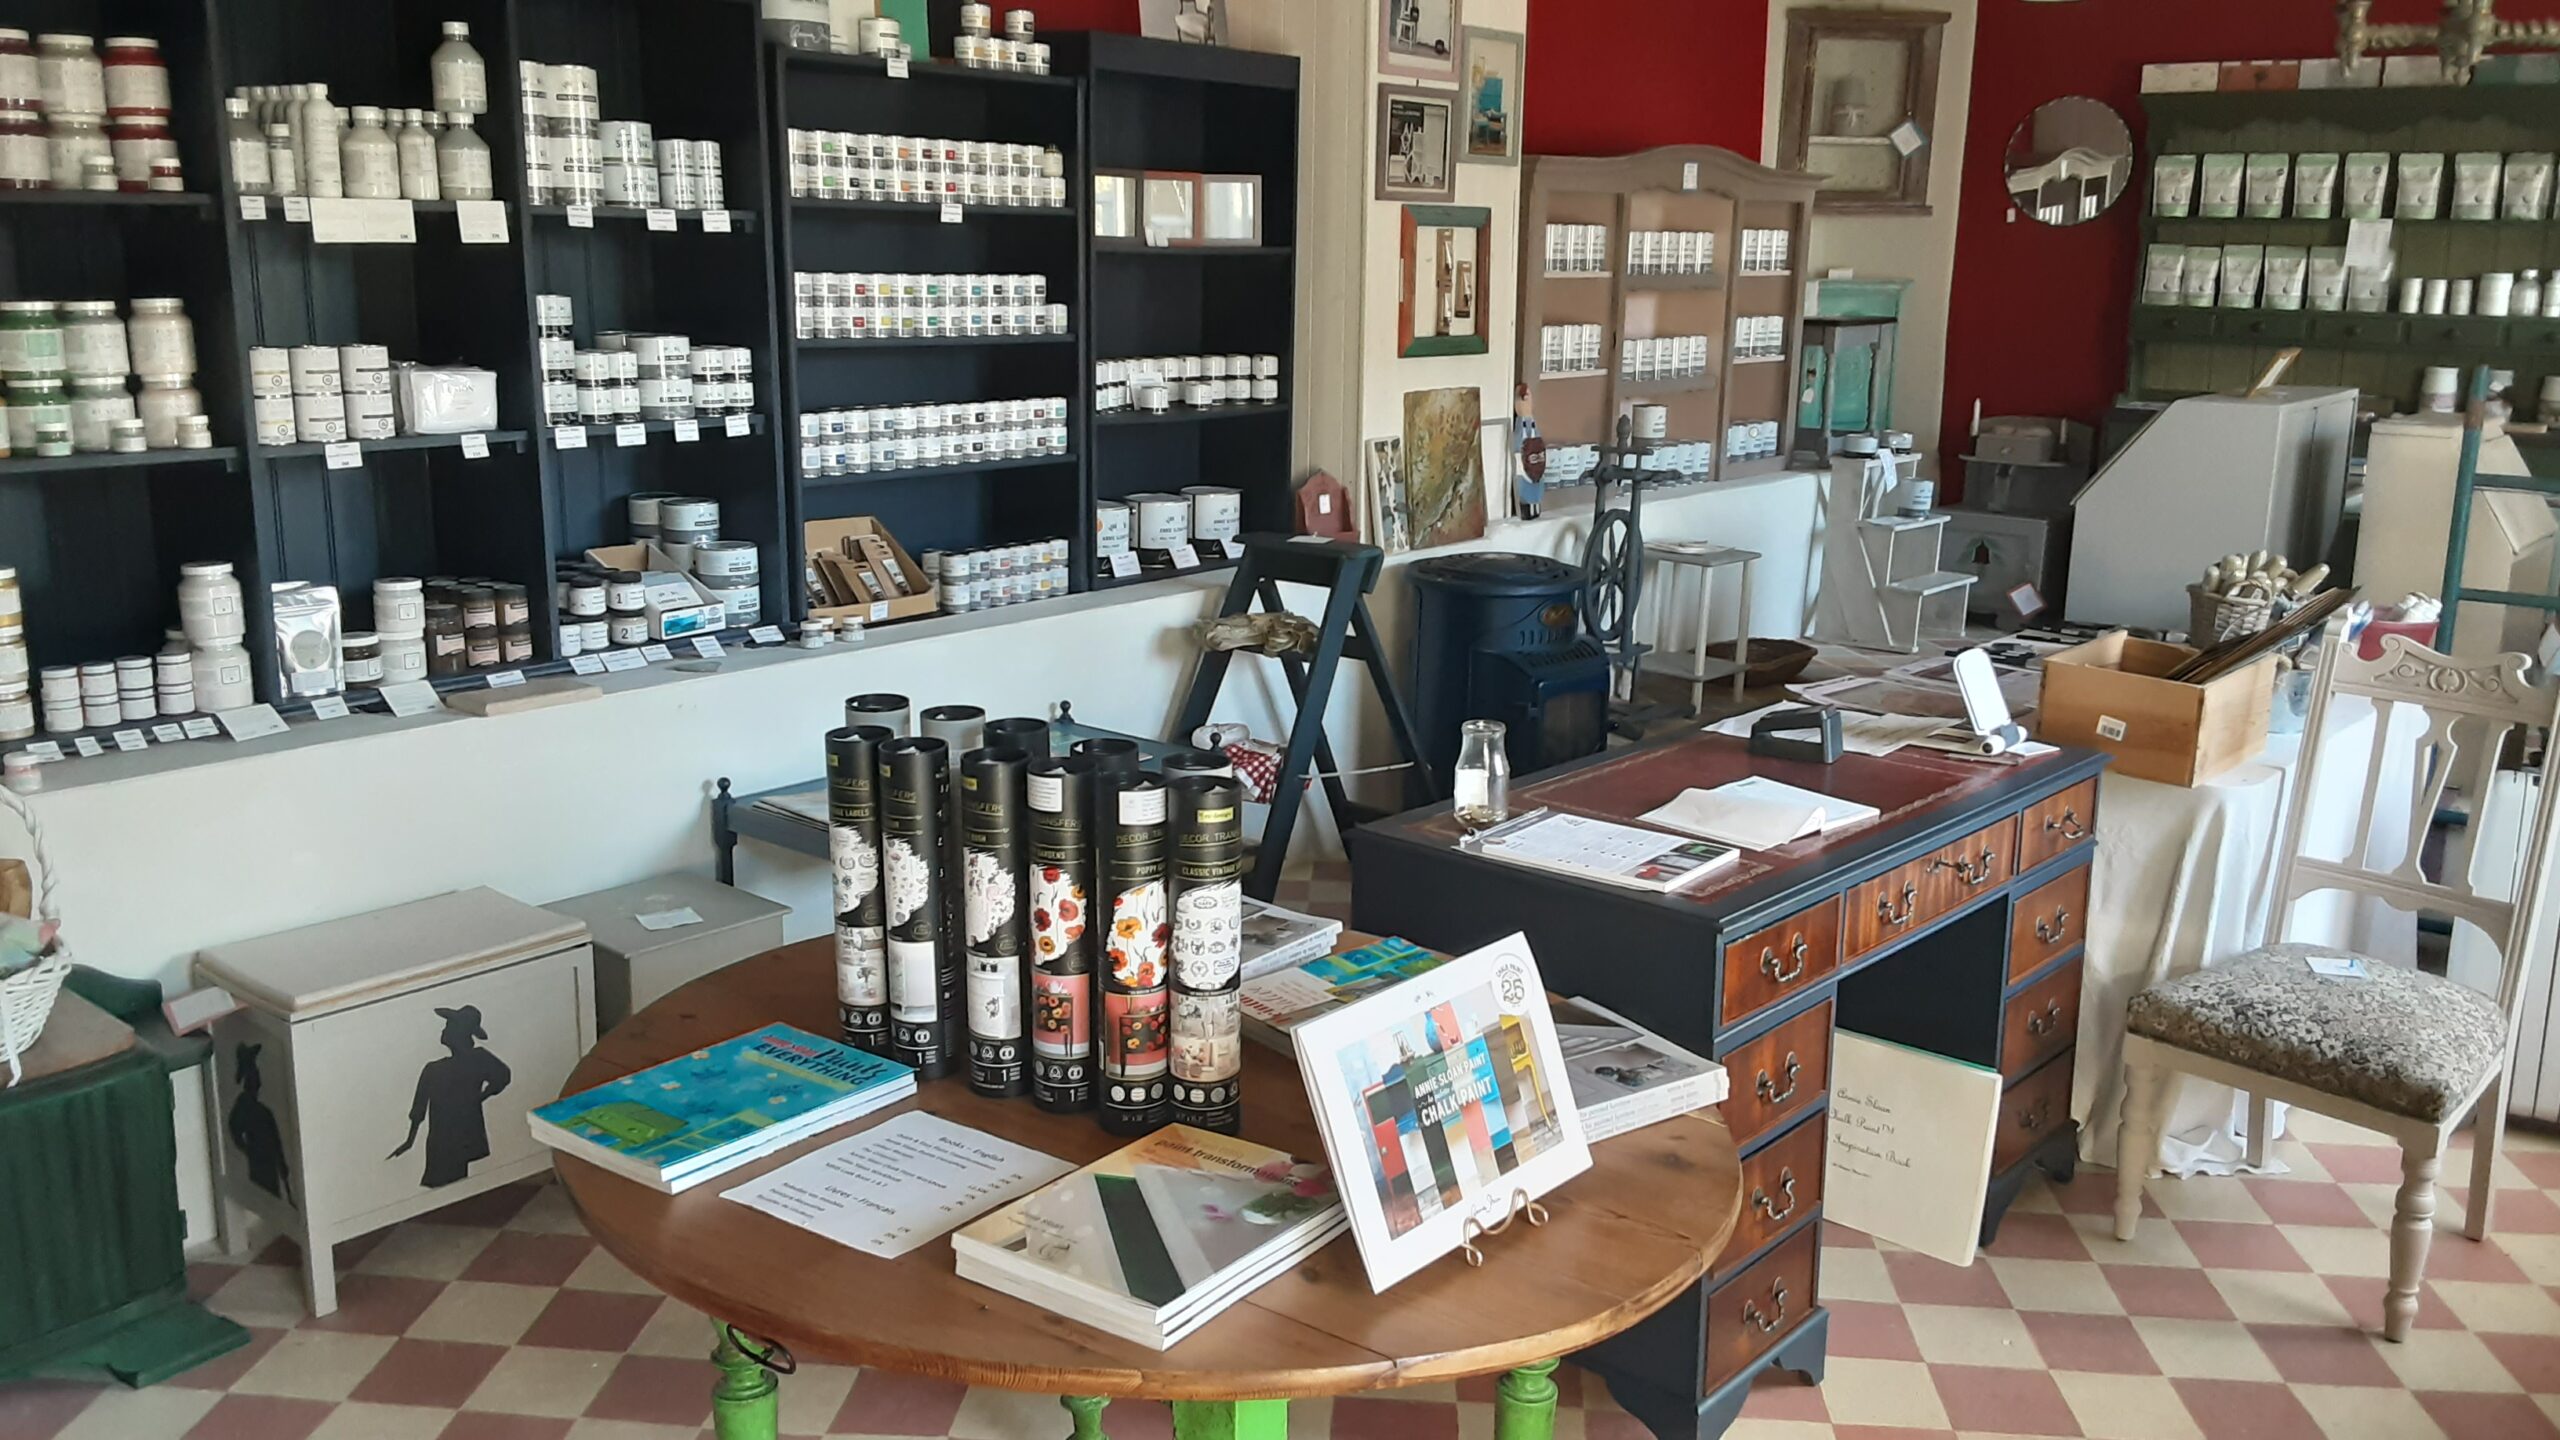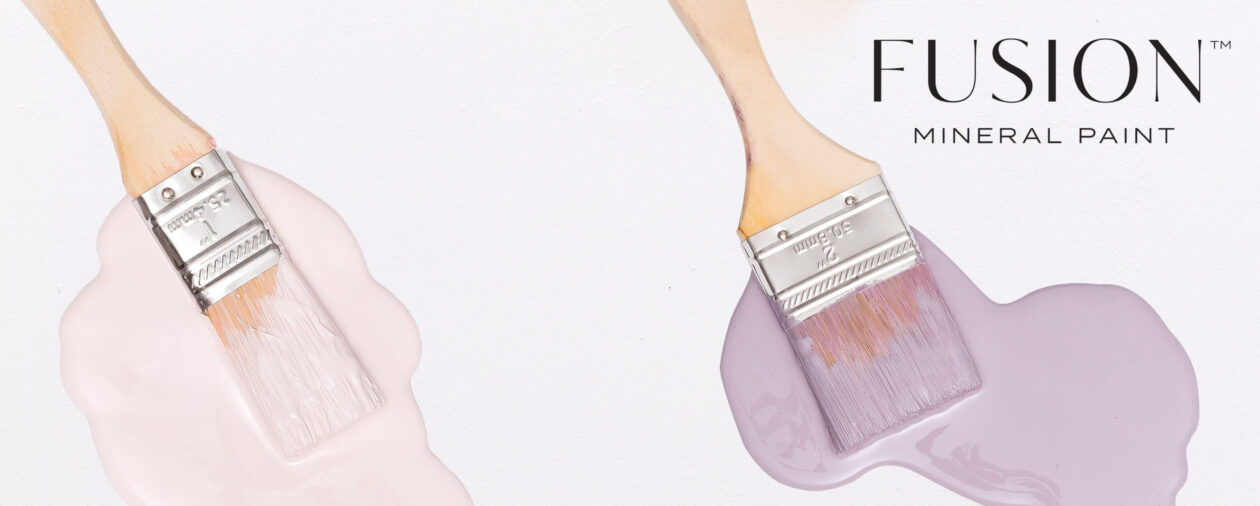
If you’re a DIY enthusiast, furniture upcycler, or just someone looking to breathe new life into your home décor, Fusion Mineral Paint could be the perfect addition to your creative toolkit. Known for its superior quality, durability, and ease of use, this brand of mineral paint has become a favourite among both beginners and seasoned painters alike.
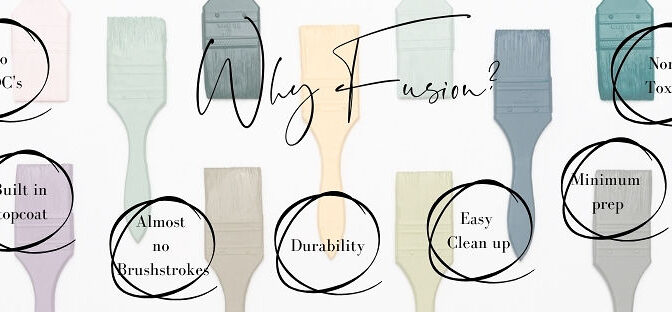
One of the standout features of Fusion mineral paint is its exceptional adhesion and built-in topcoat. Unlike traditional furniture paint, Fusion requires little to no priming or sanding beforehand, making your projects quicker and more enjoyable. Whether you’re working with wood, laminate, or even glass, this mineral paint bonds beautifully to the surface, ensuring a long-lasting, professional finish.
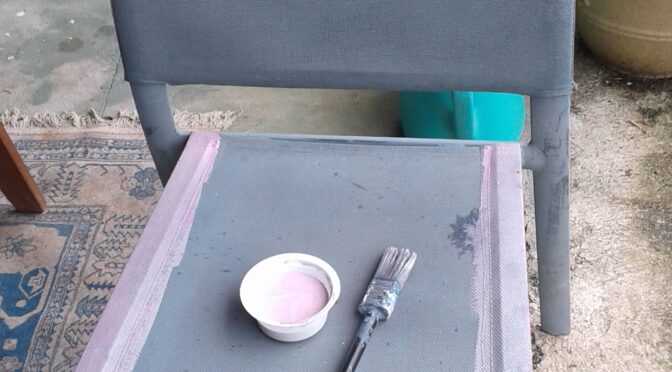
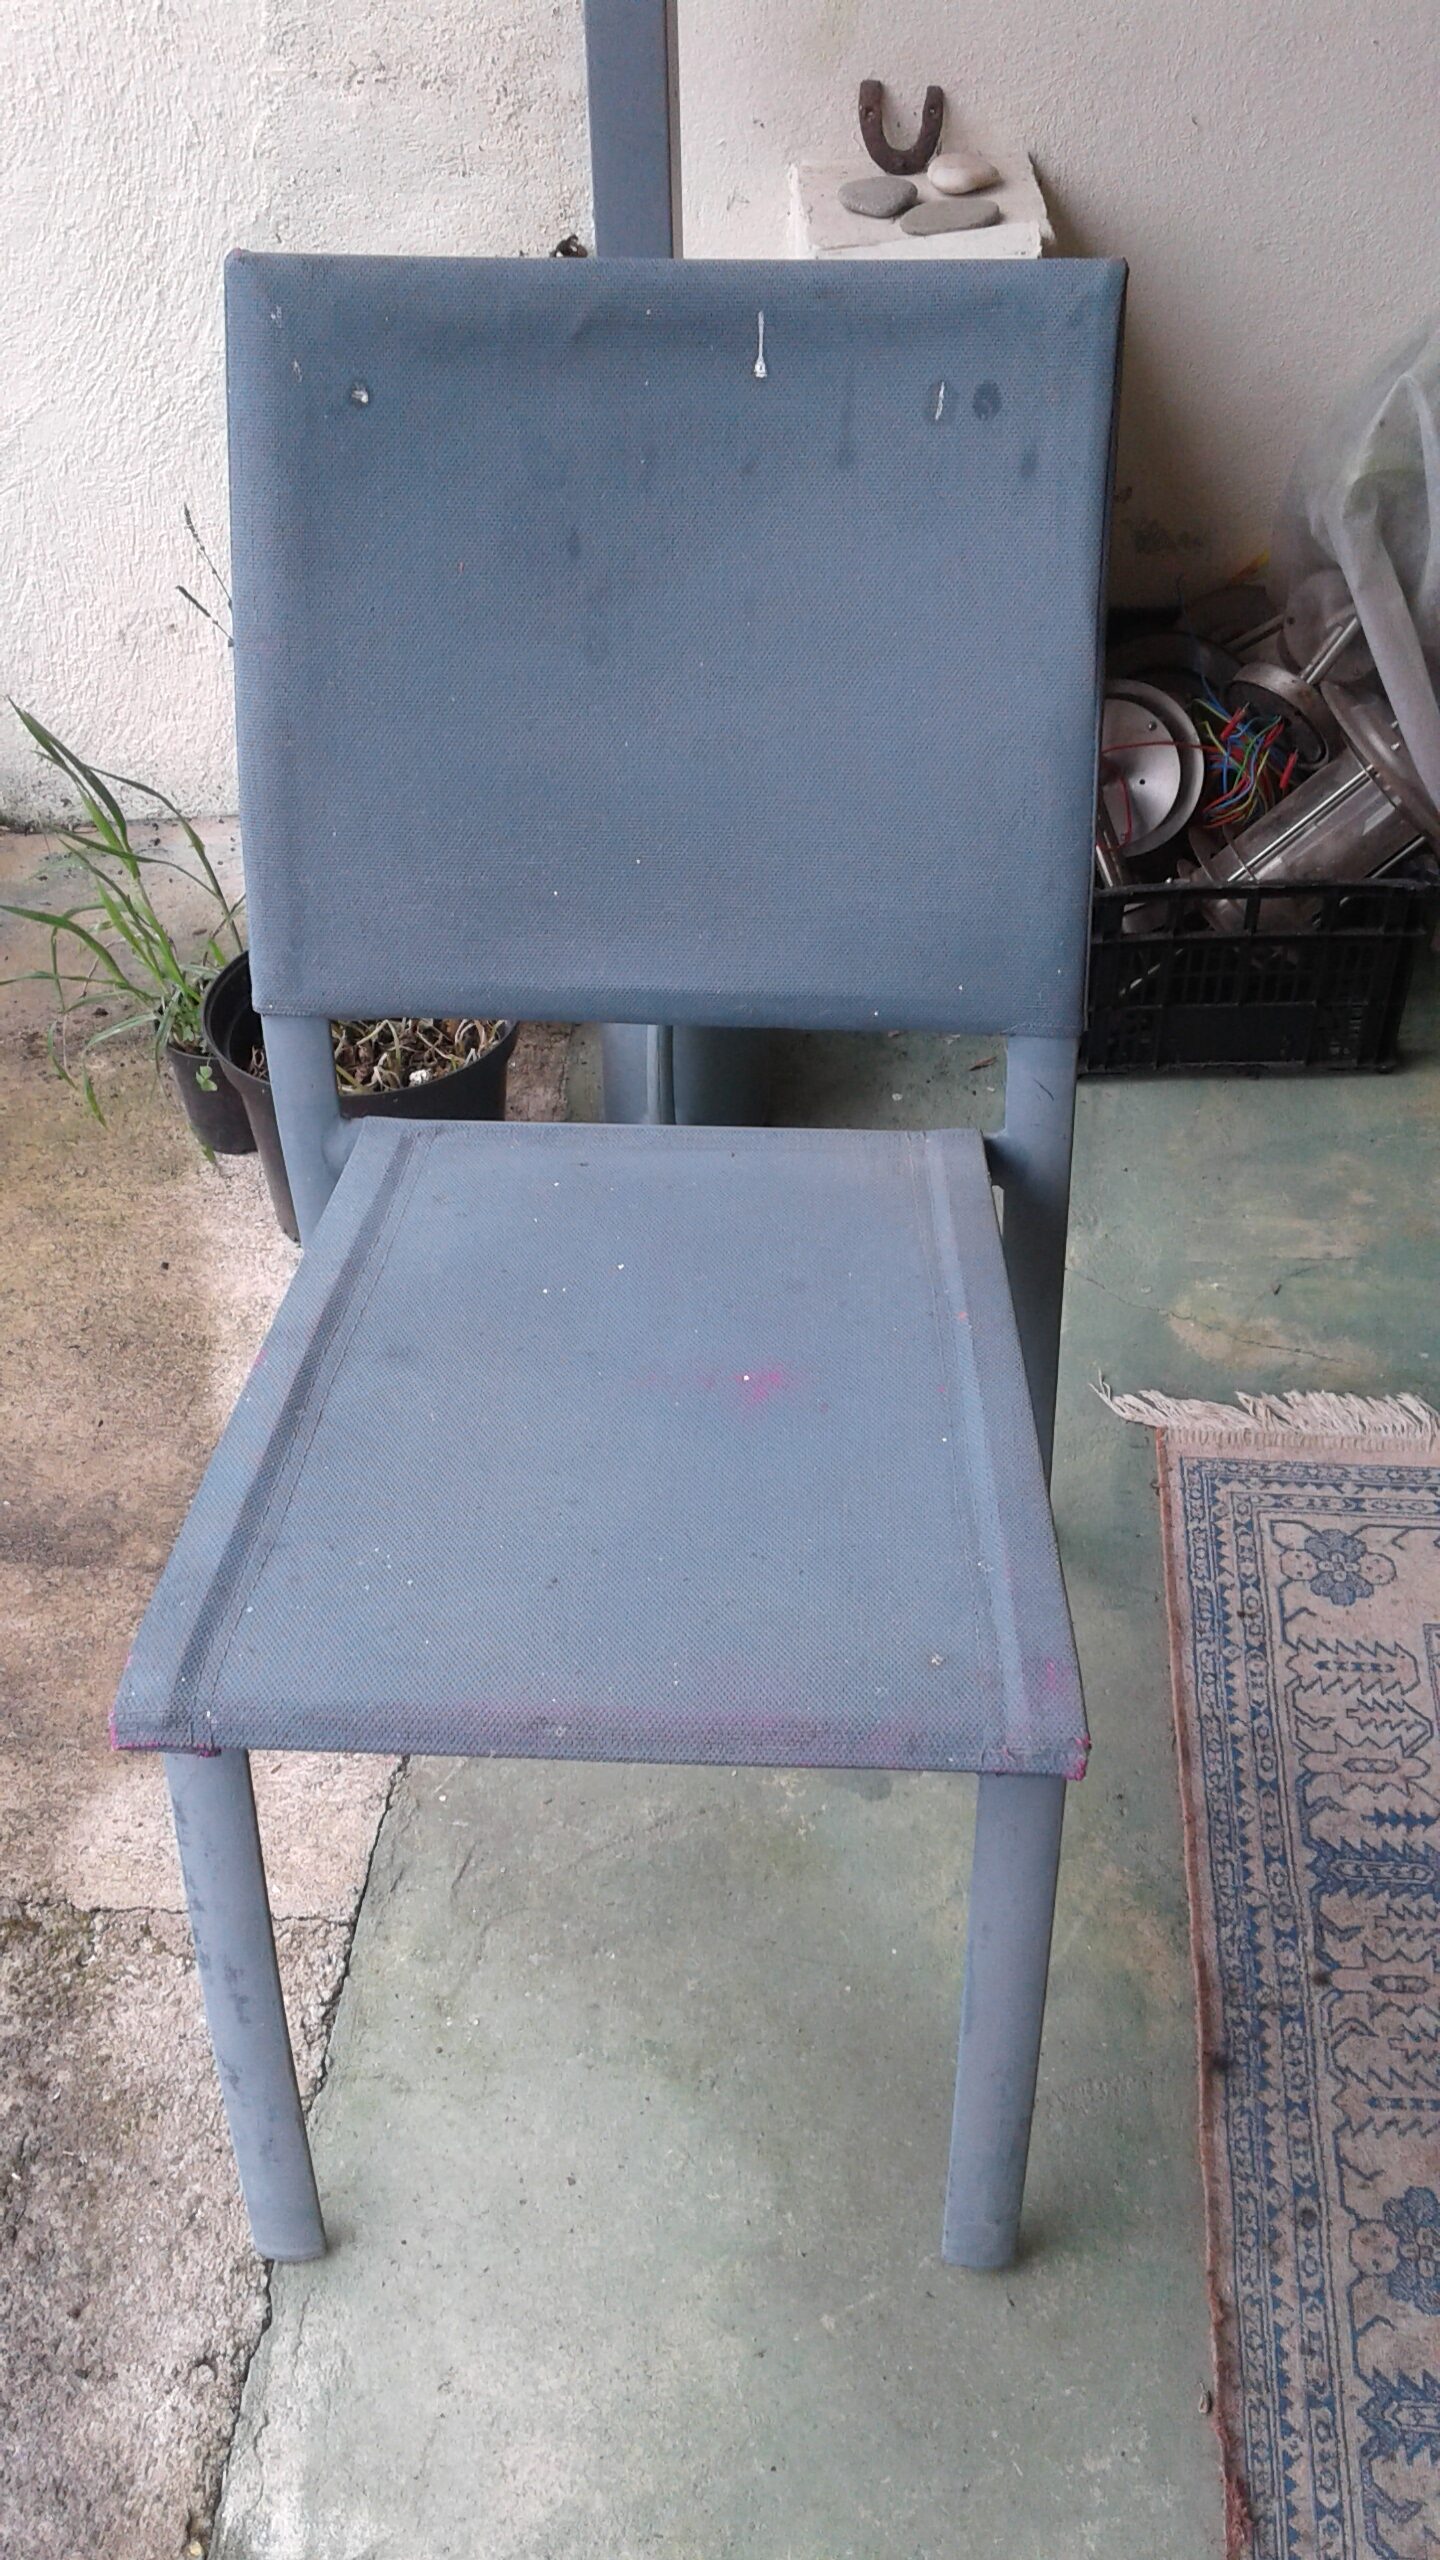
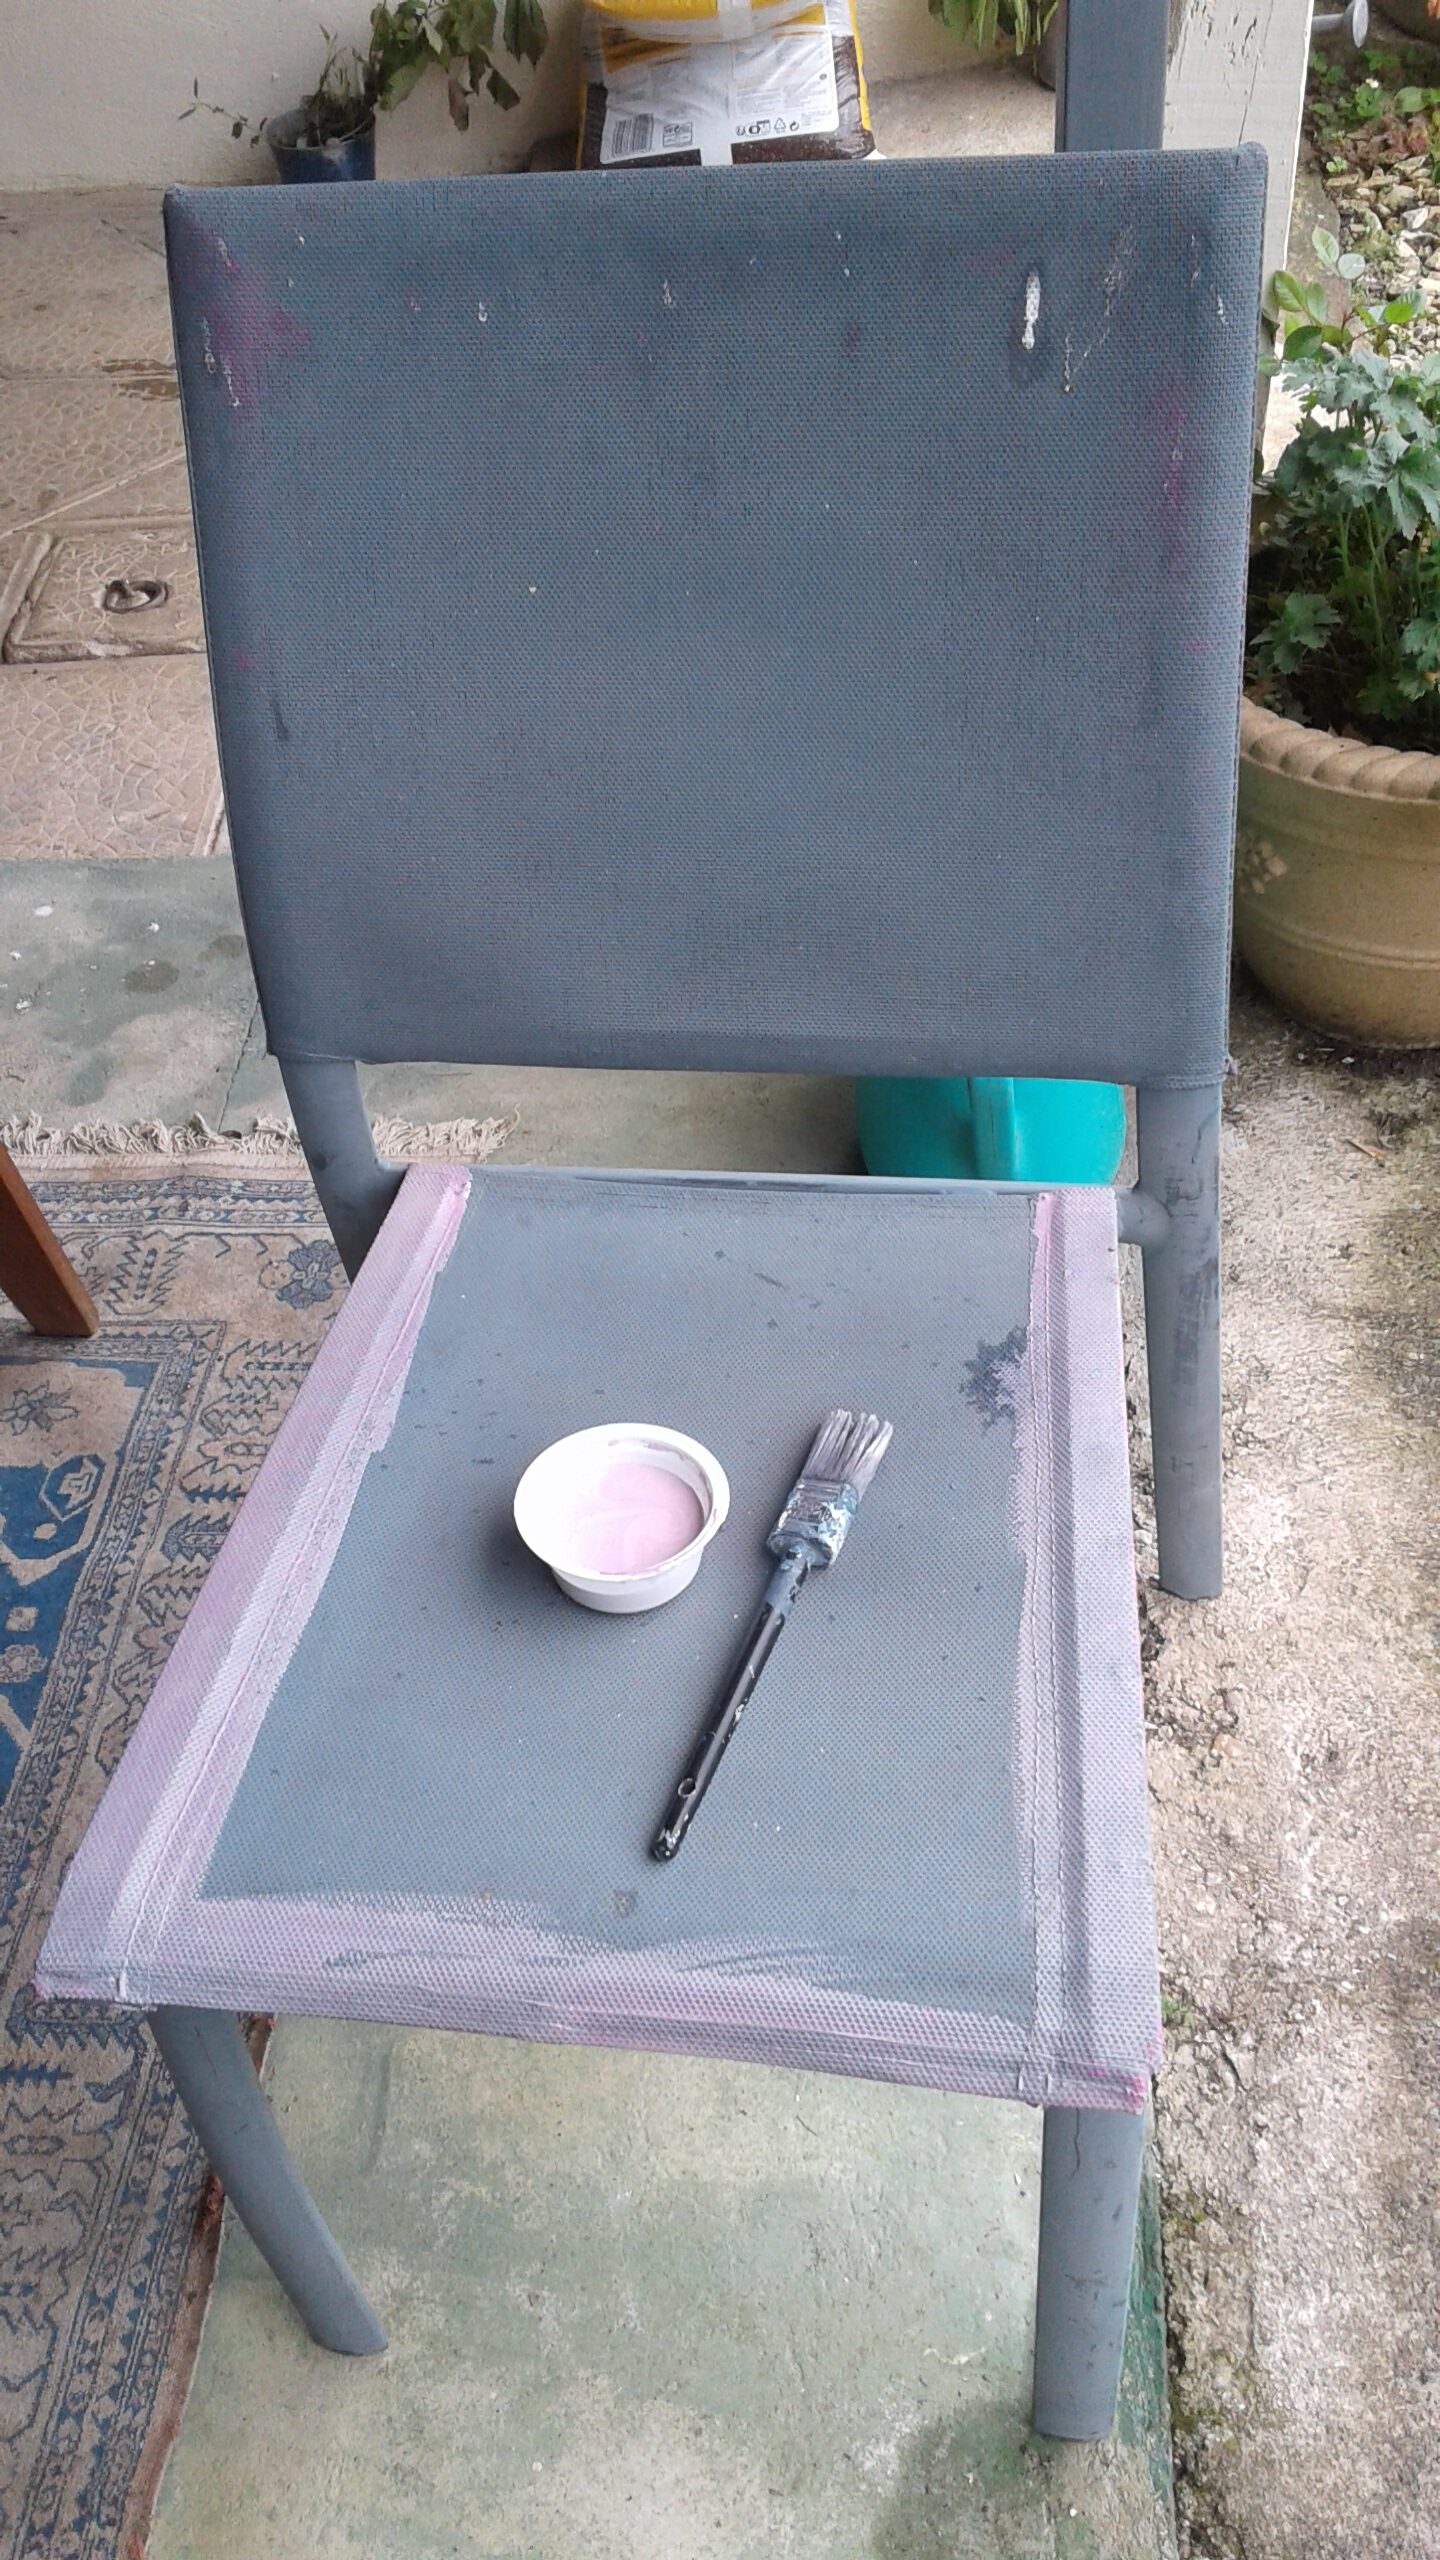
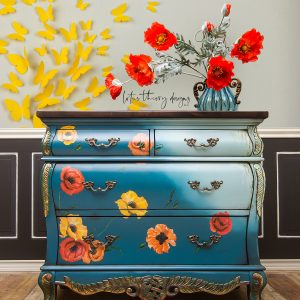
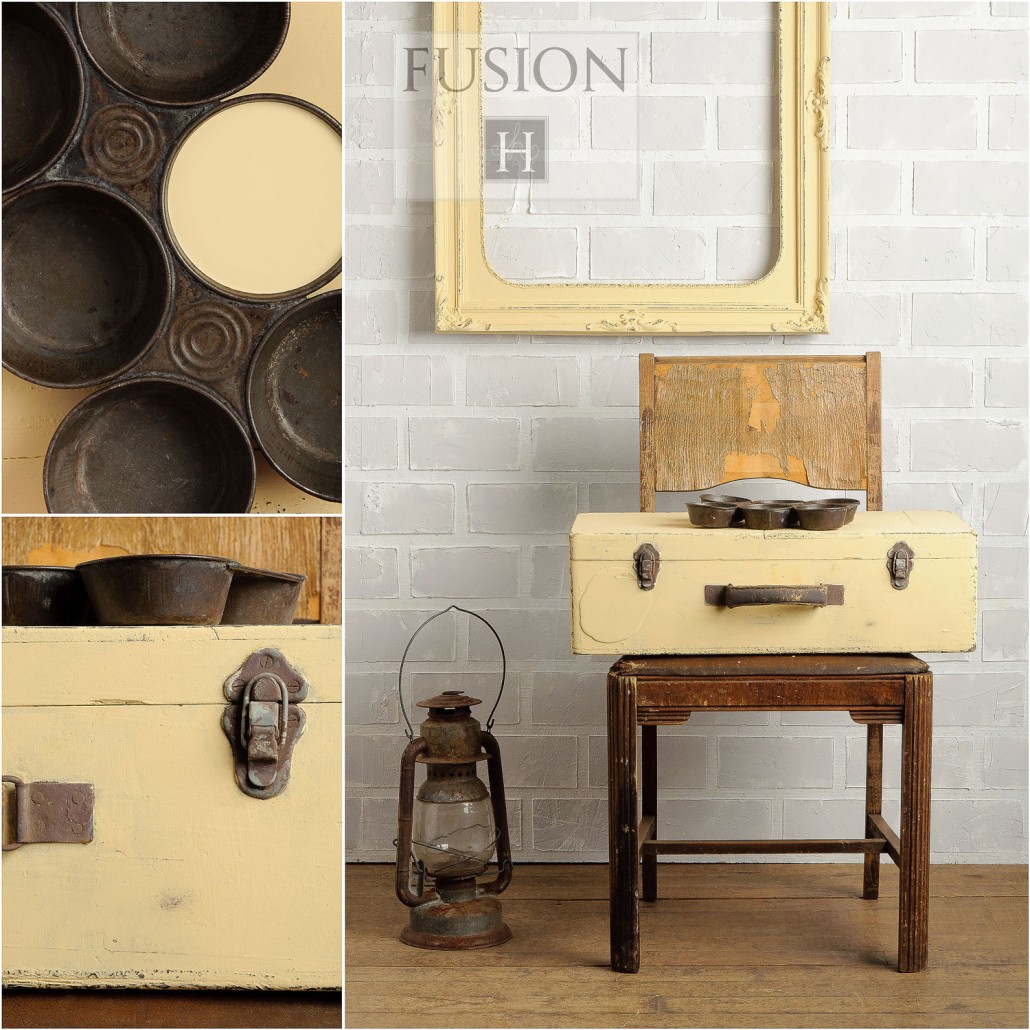
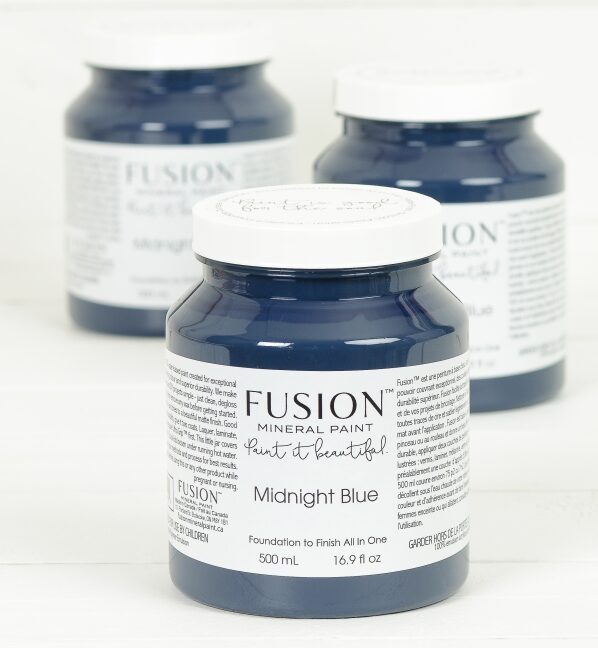
When it comes to transforming old or tired furniture, choosing the right furniture paint makes all the difference. Fusion furniture paint offers a smooth, matte finish that not only looks fantastic but also stands the test of time. Its low VOC (volatile organic compounds) formulation means it’s safe to use indoors and doesn’t produce harsh fumes—a welcome bonus for those working in enclosed spaces.
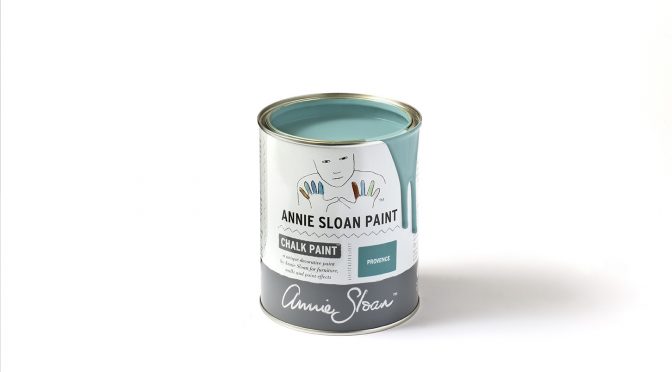
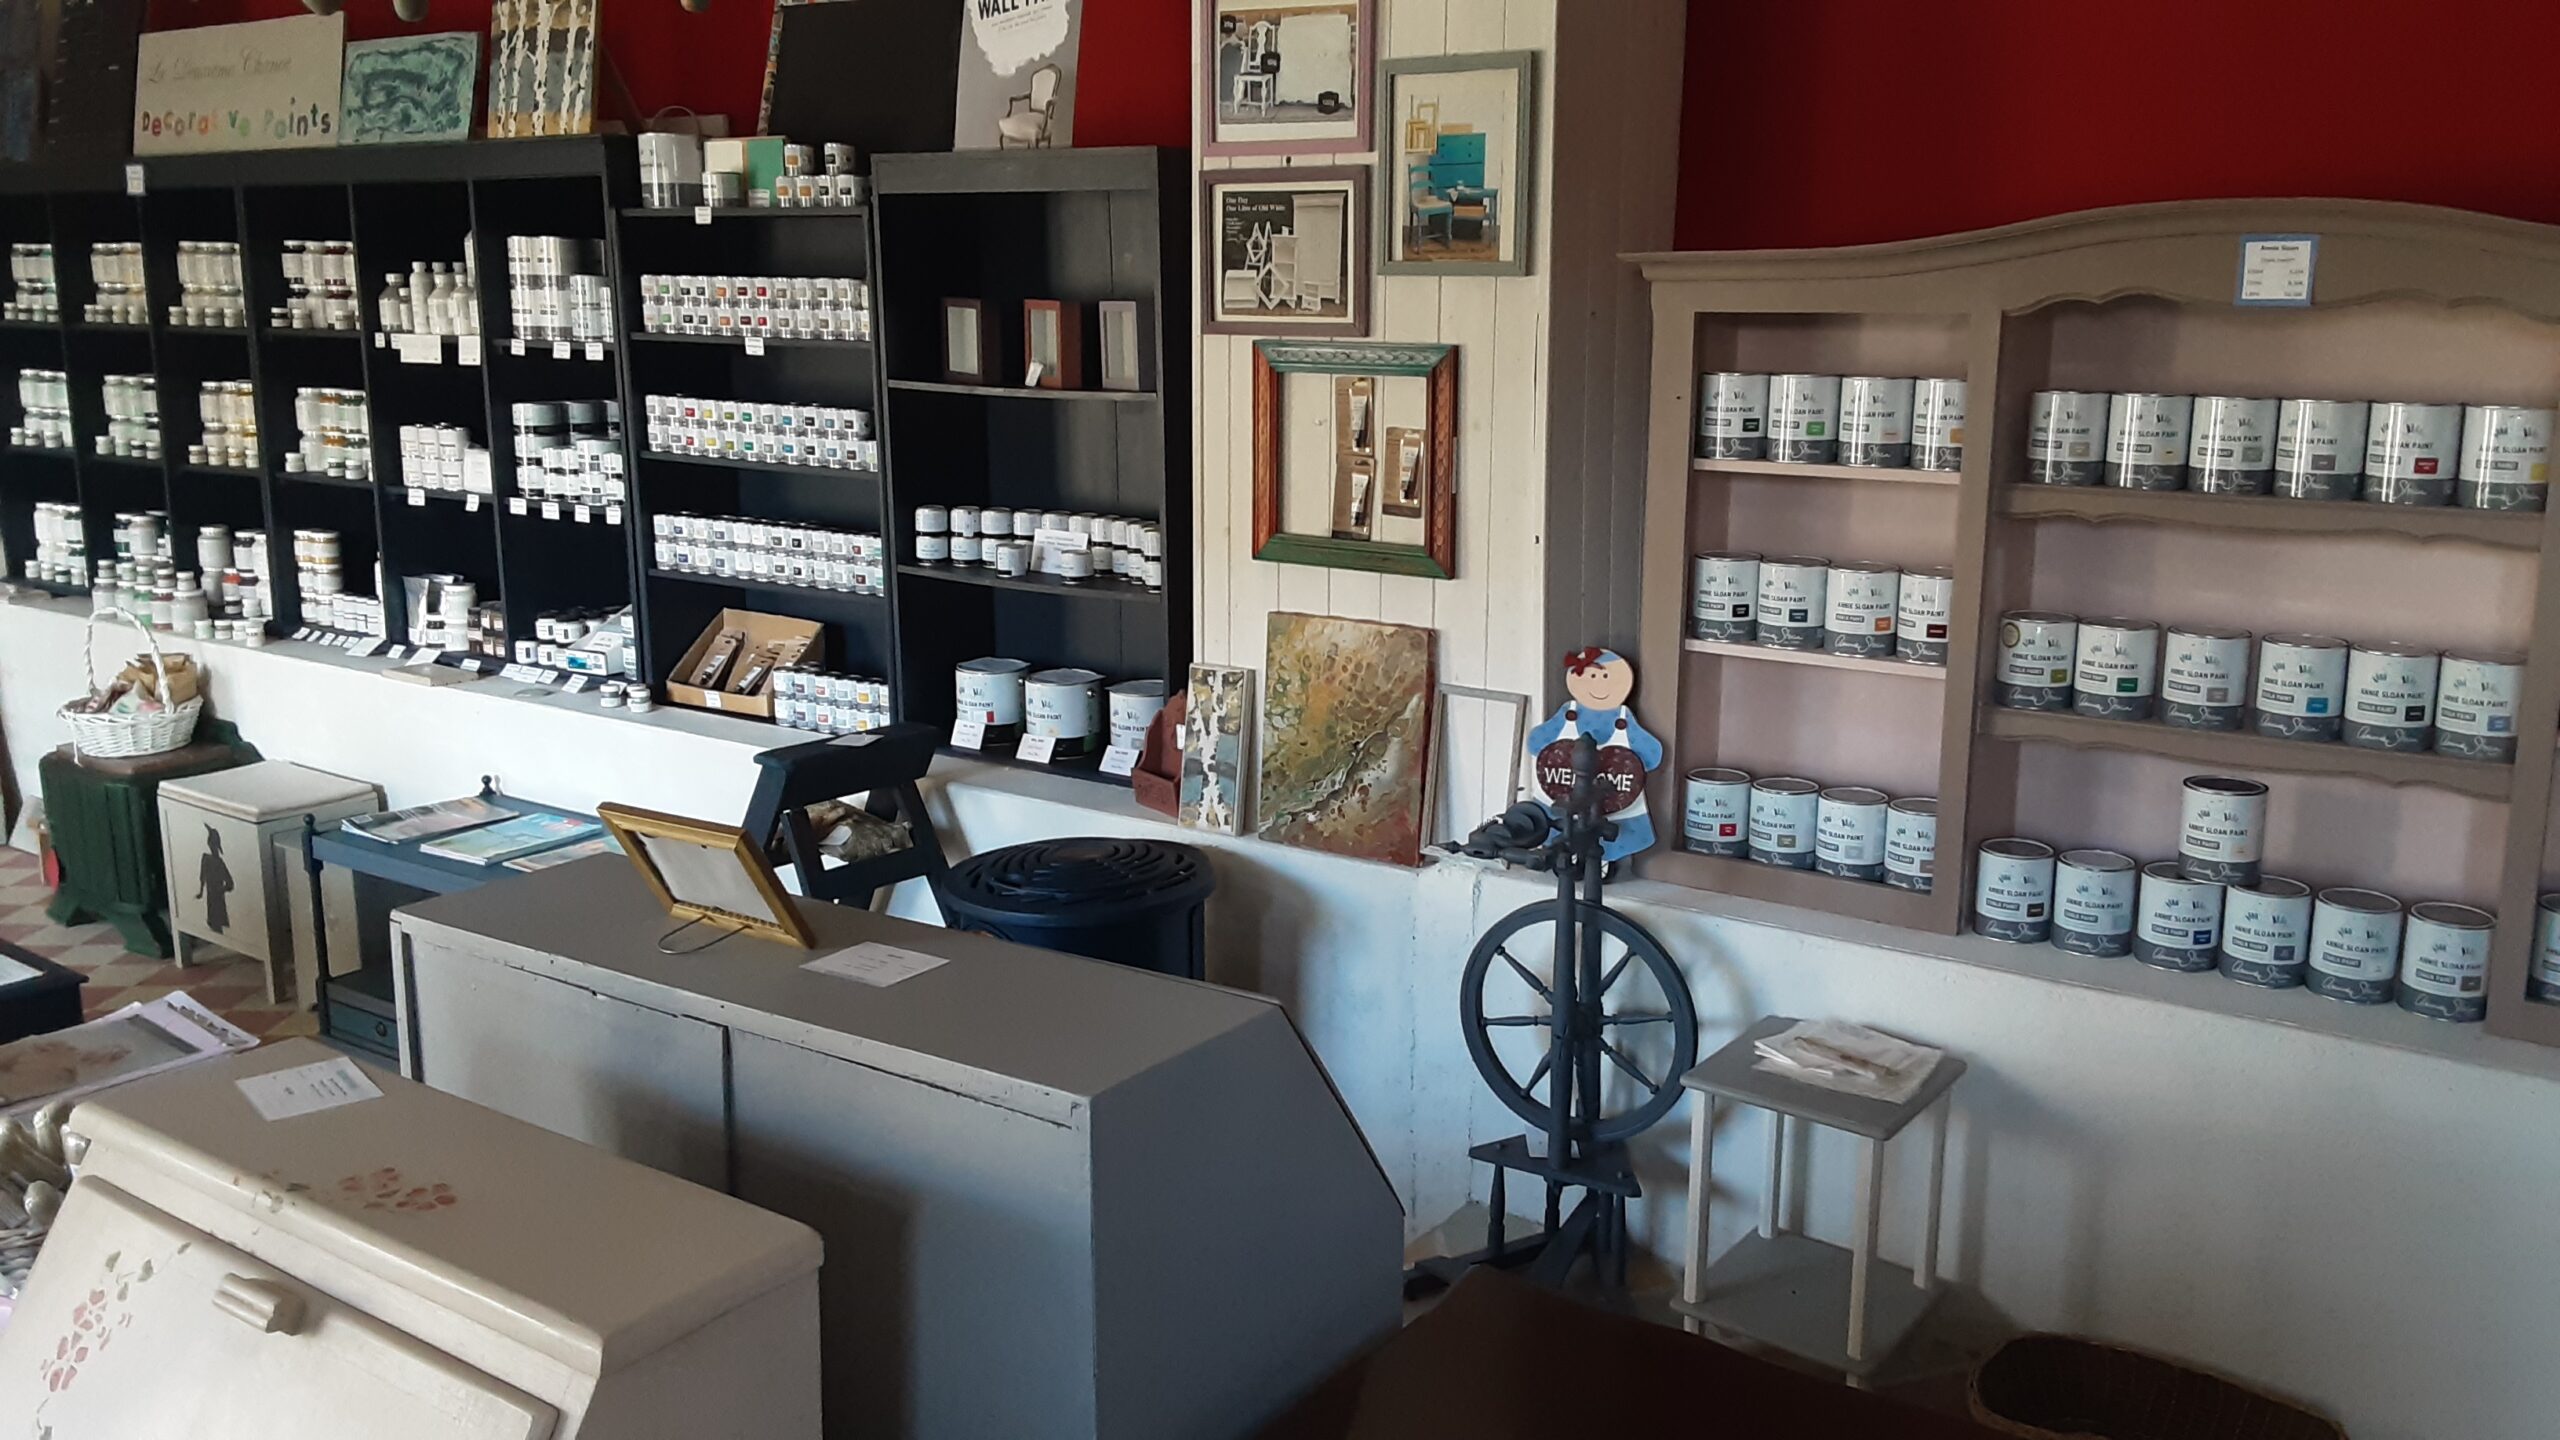
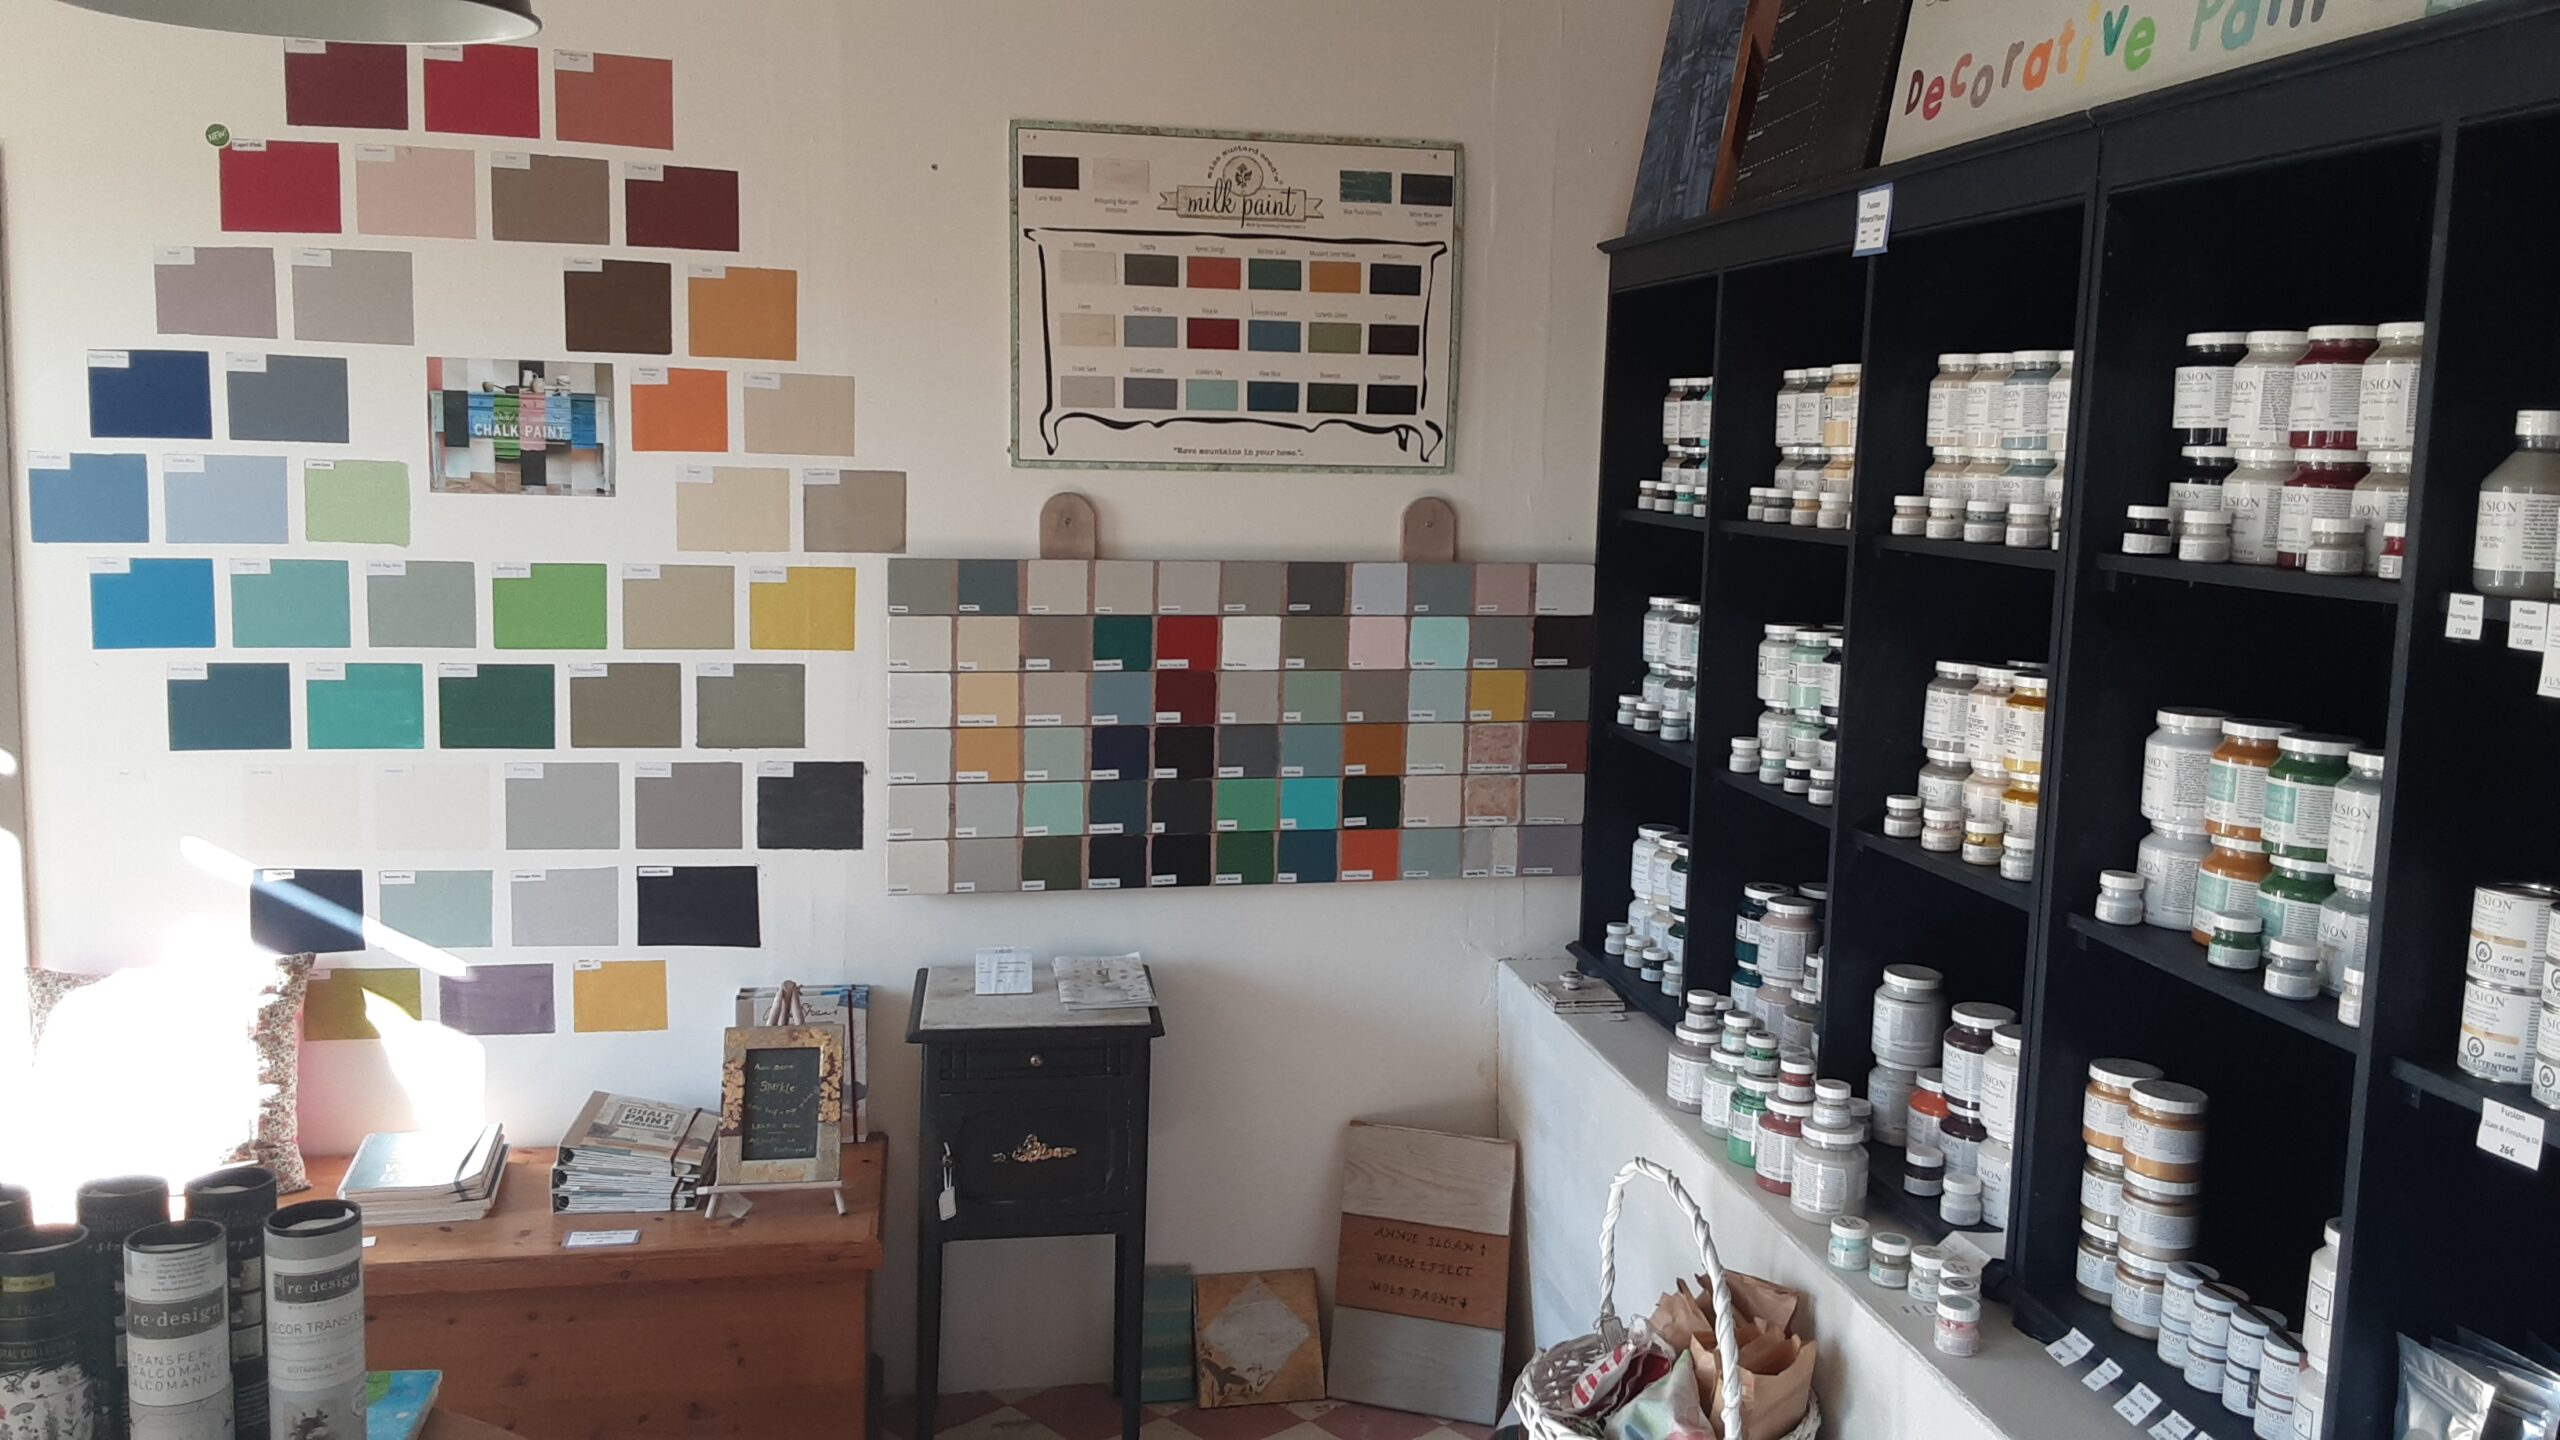
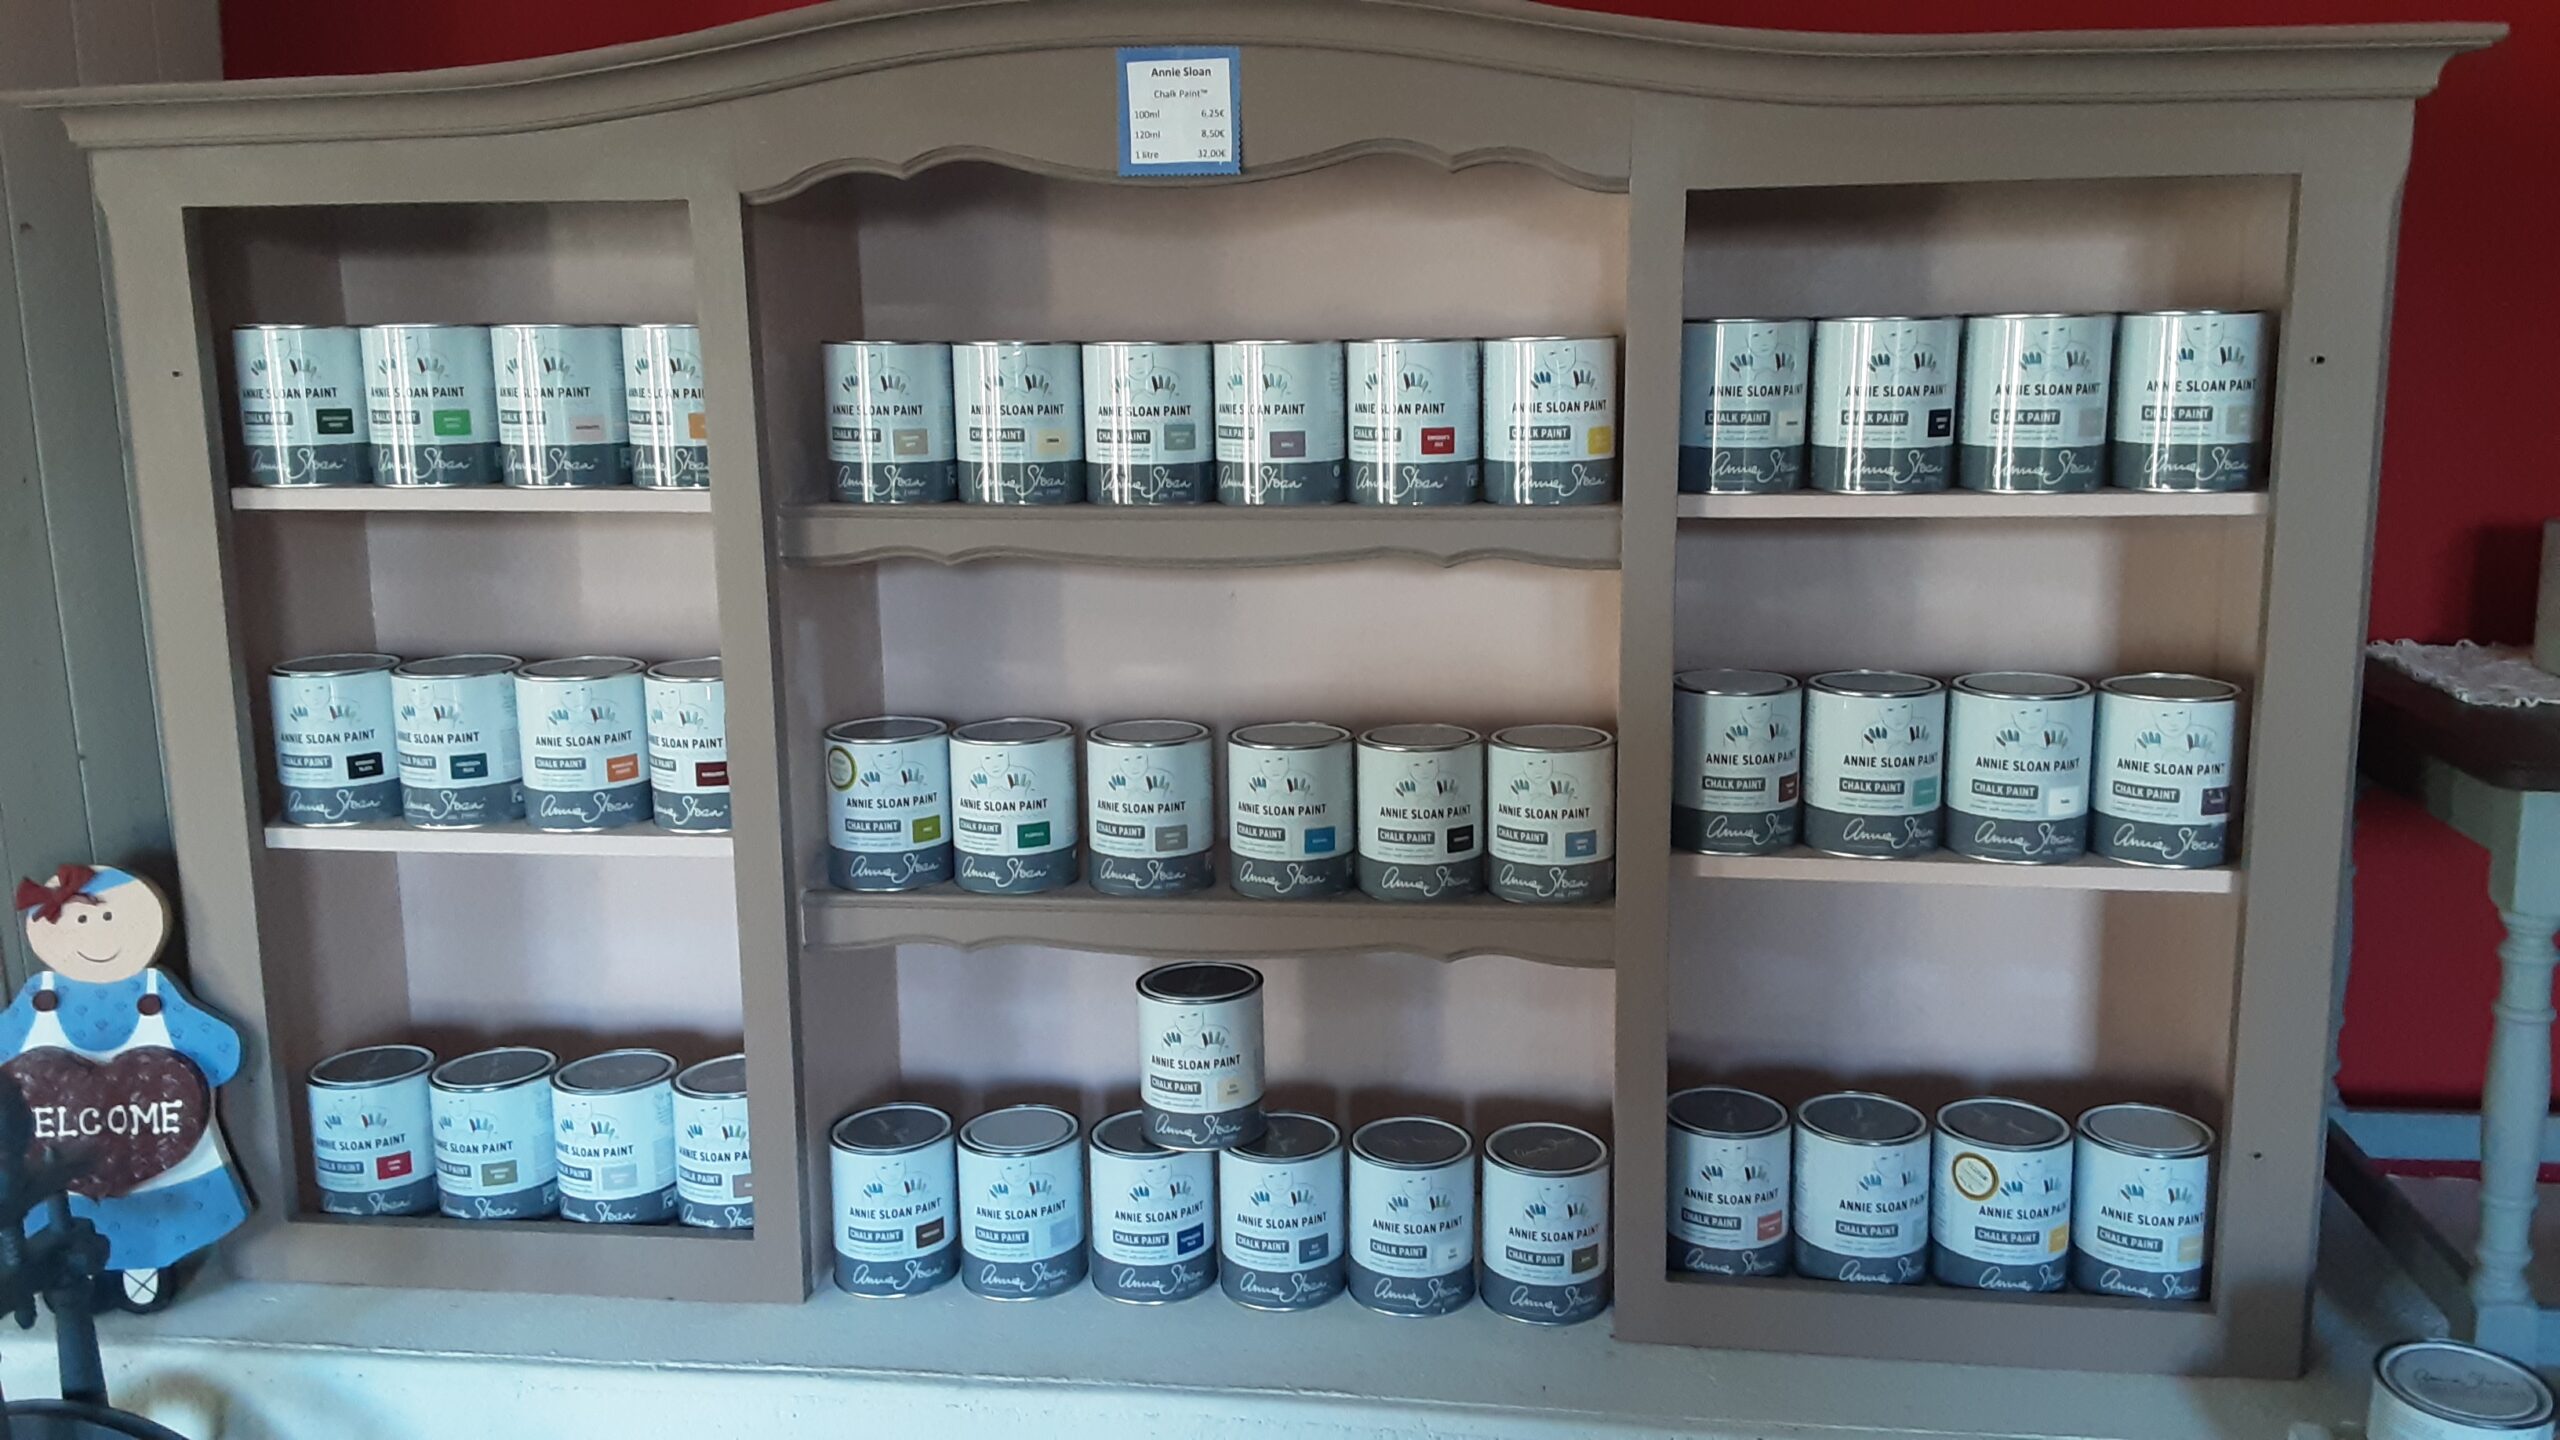
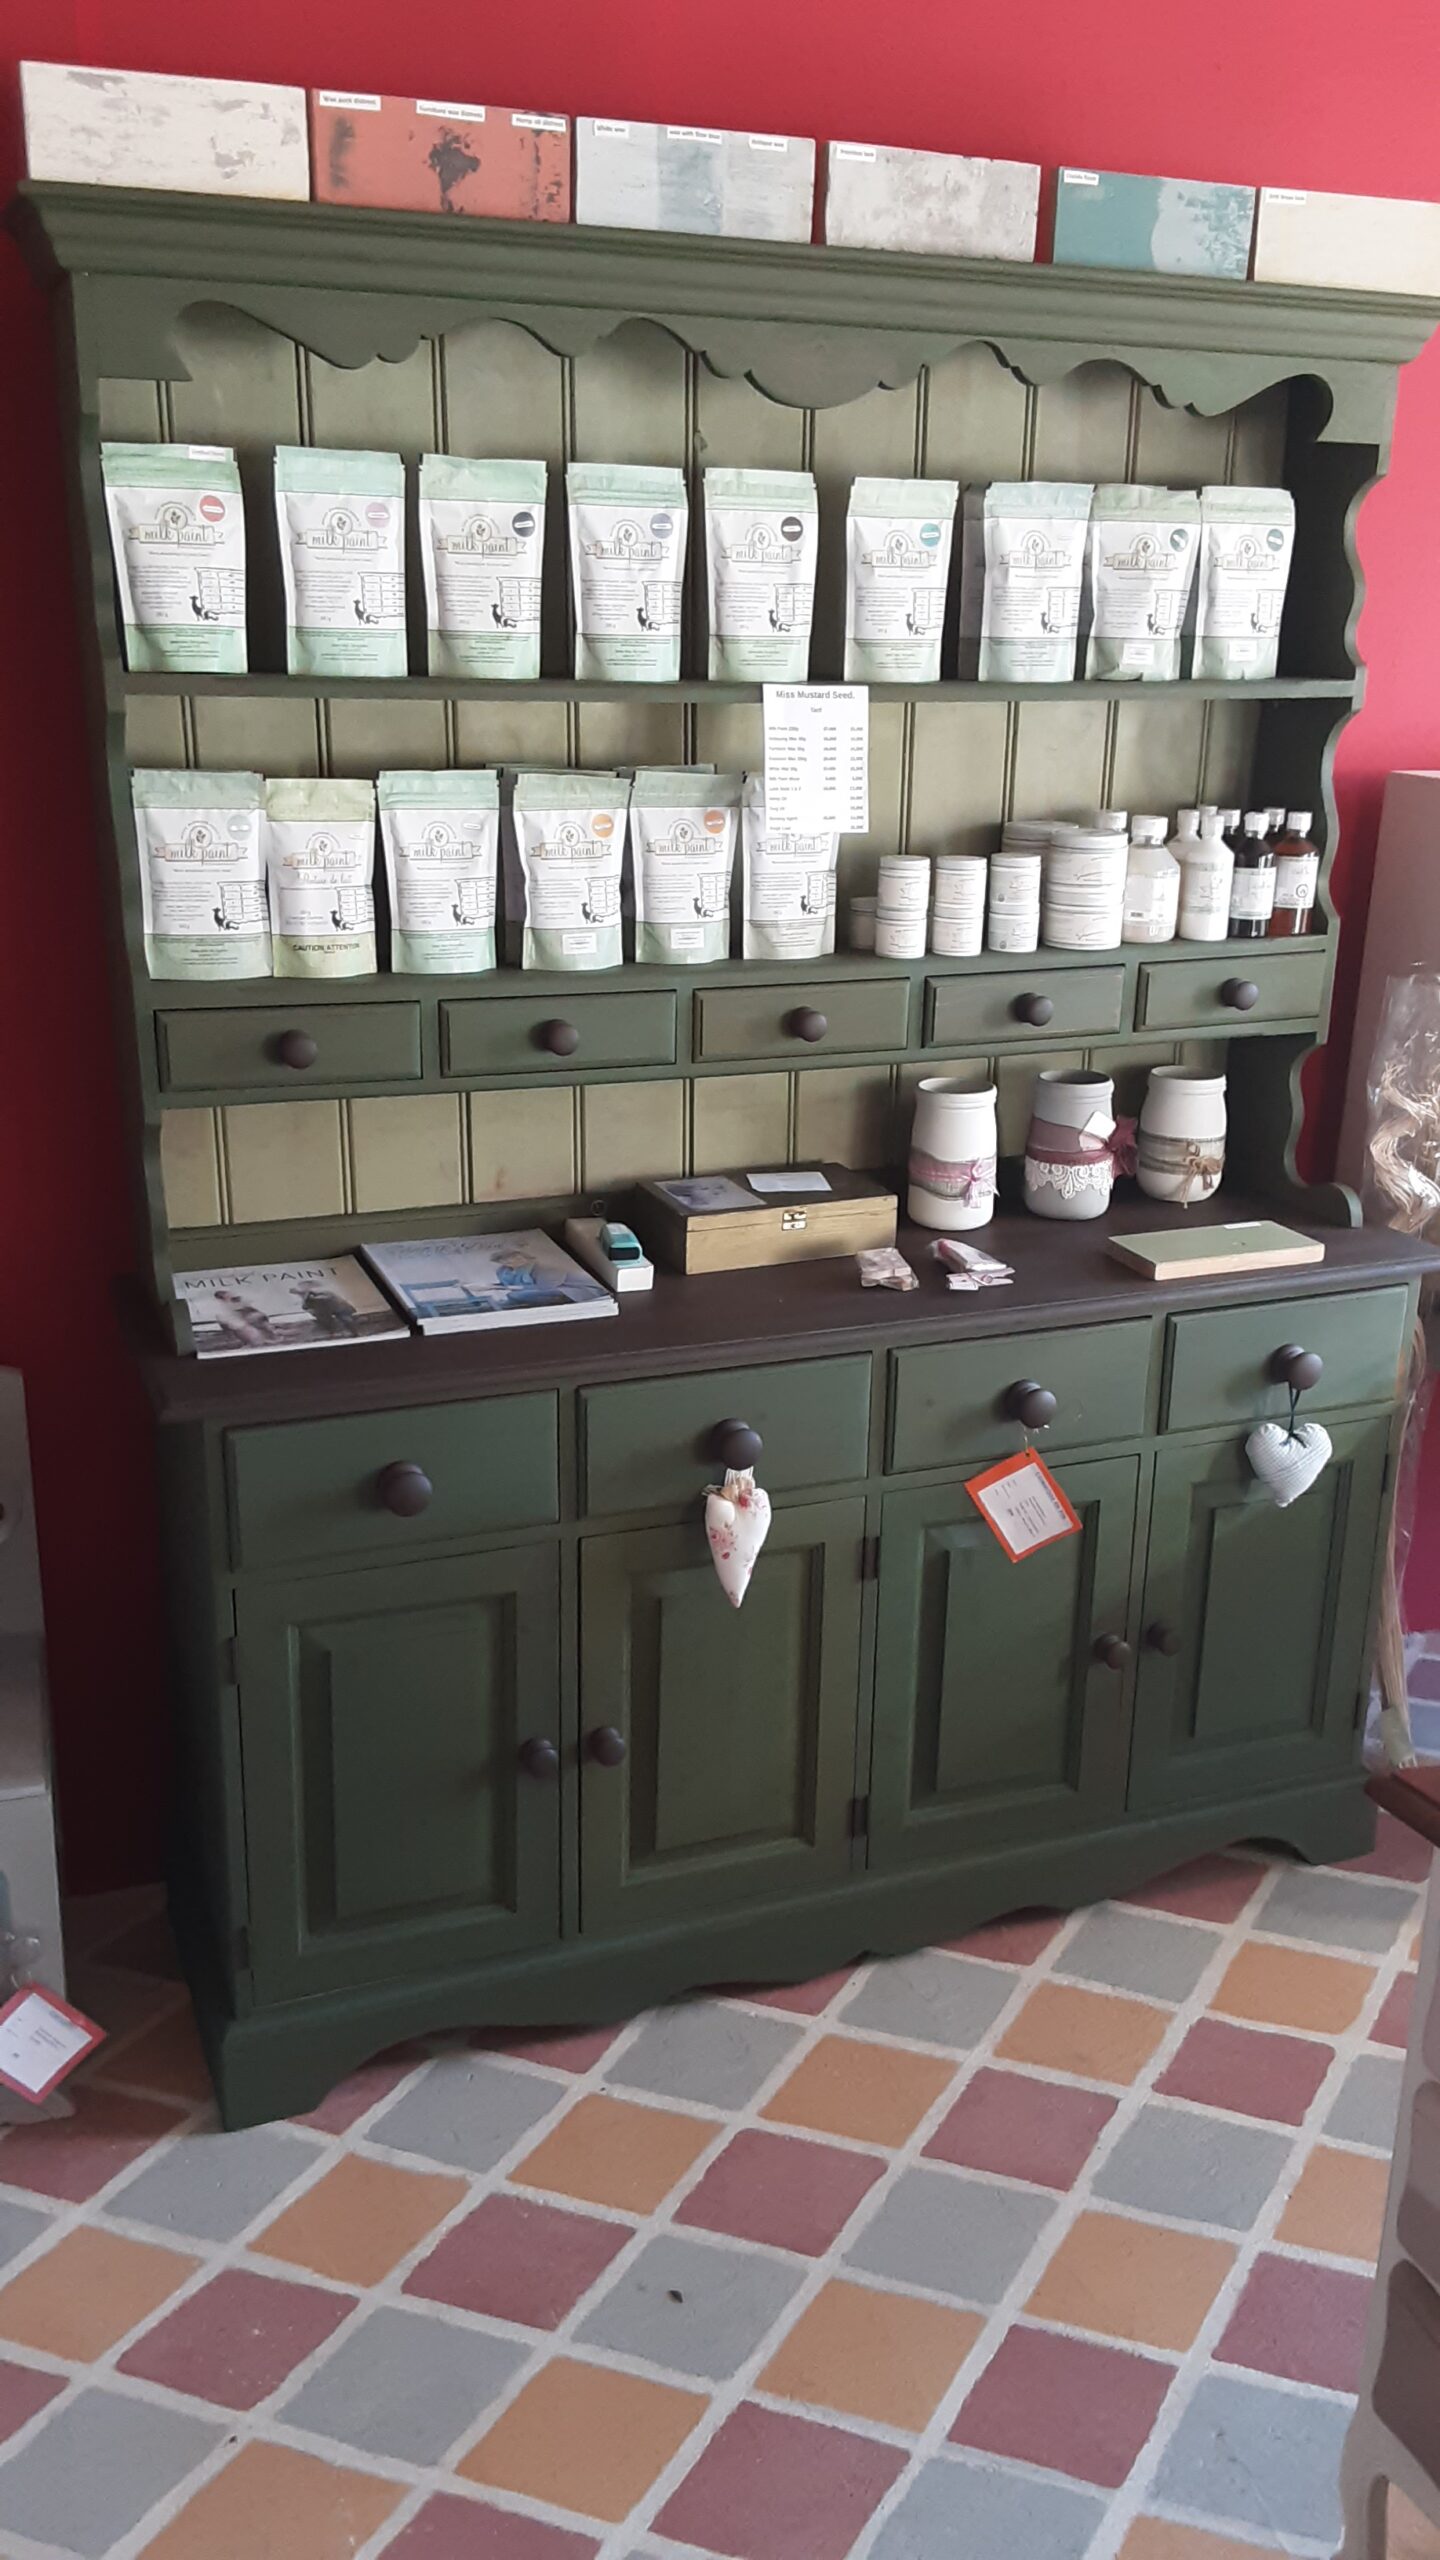
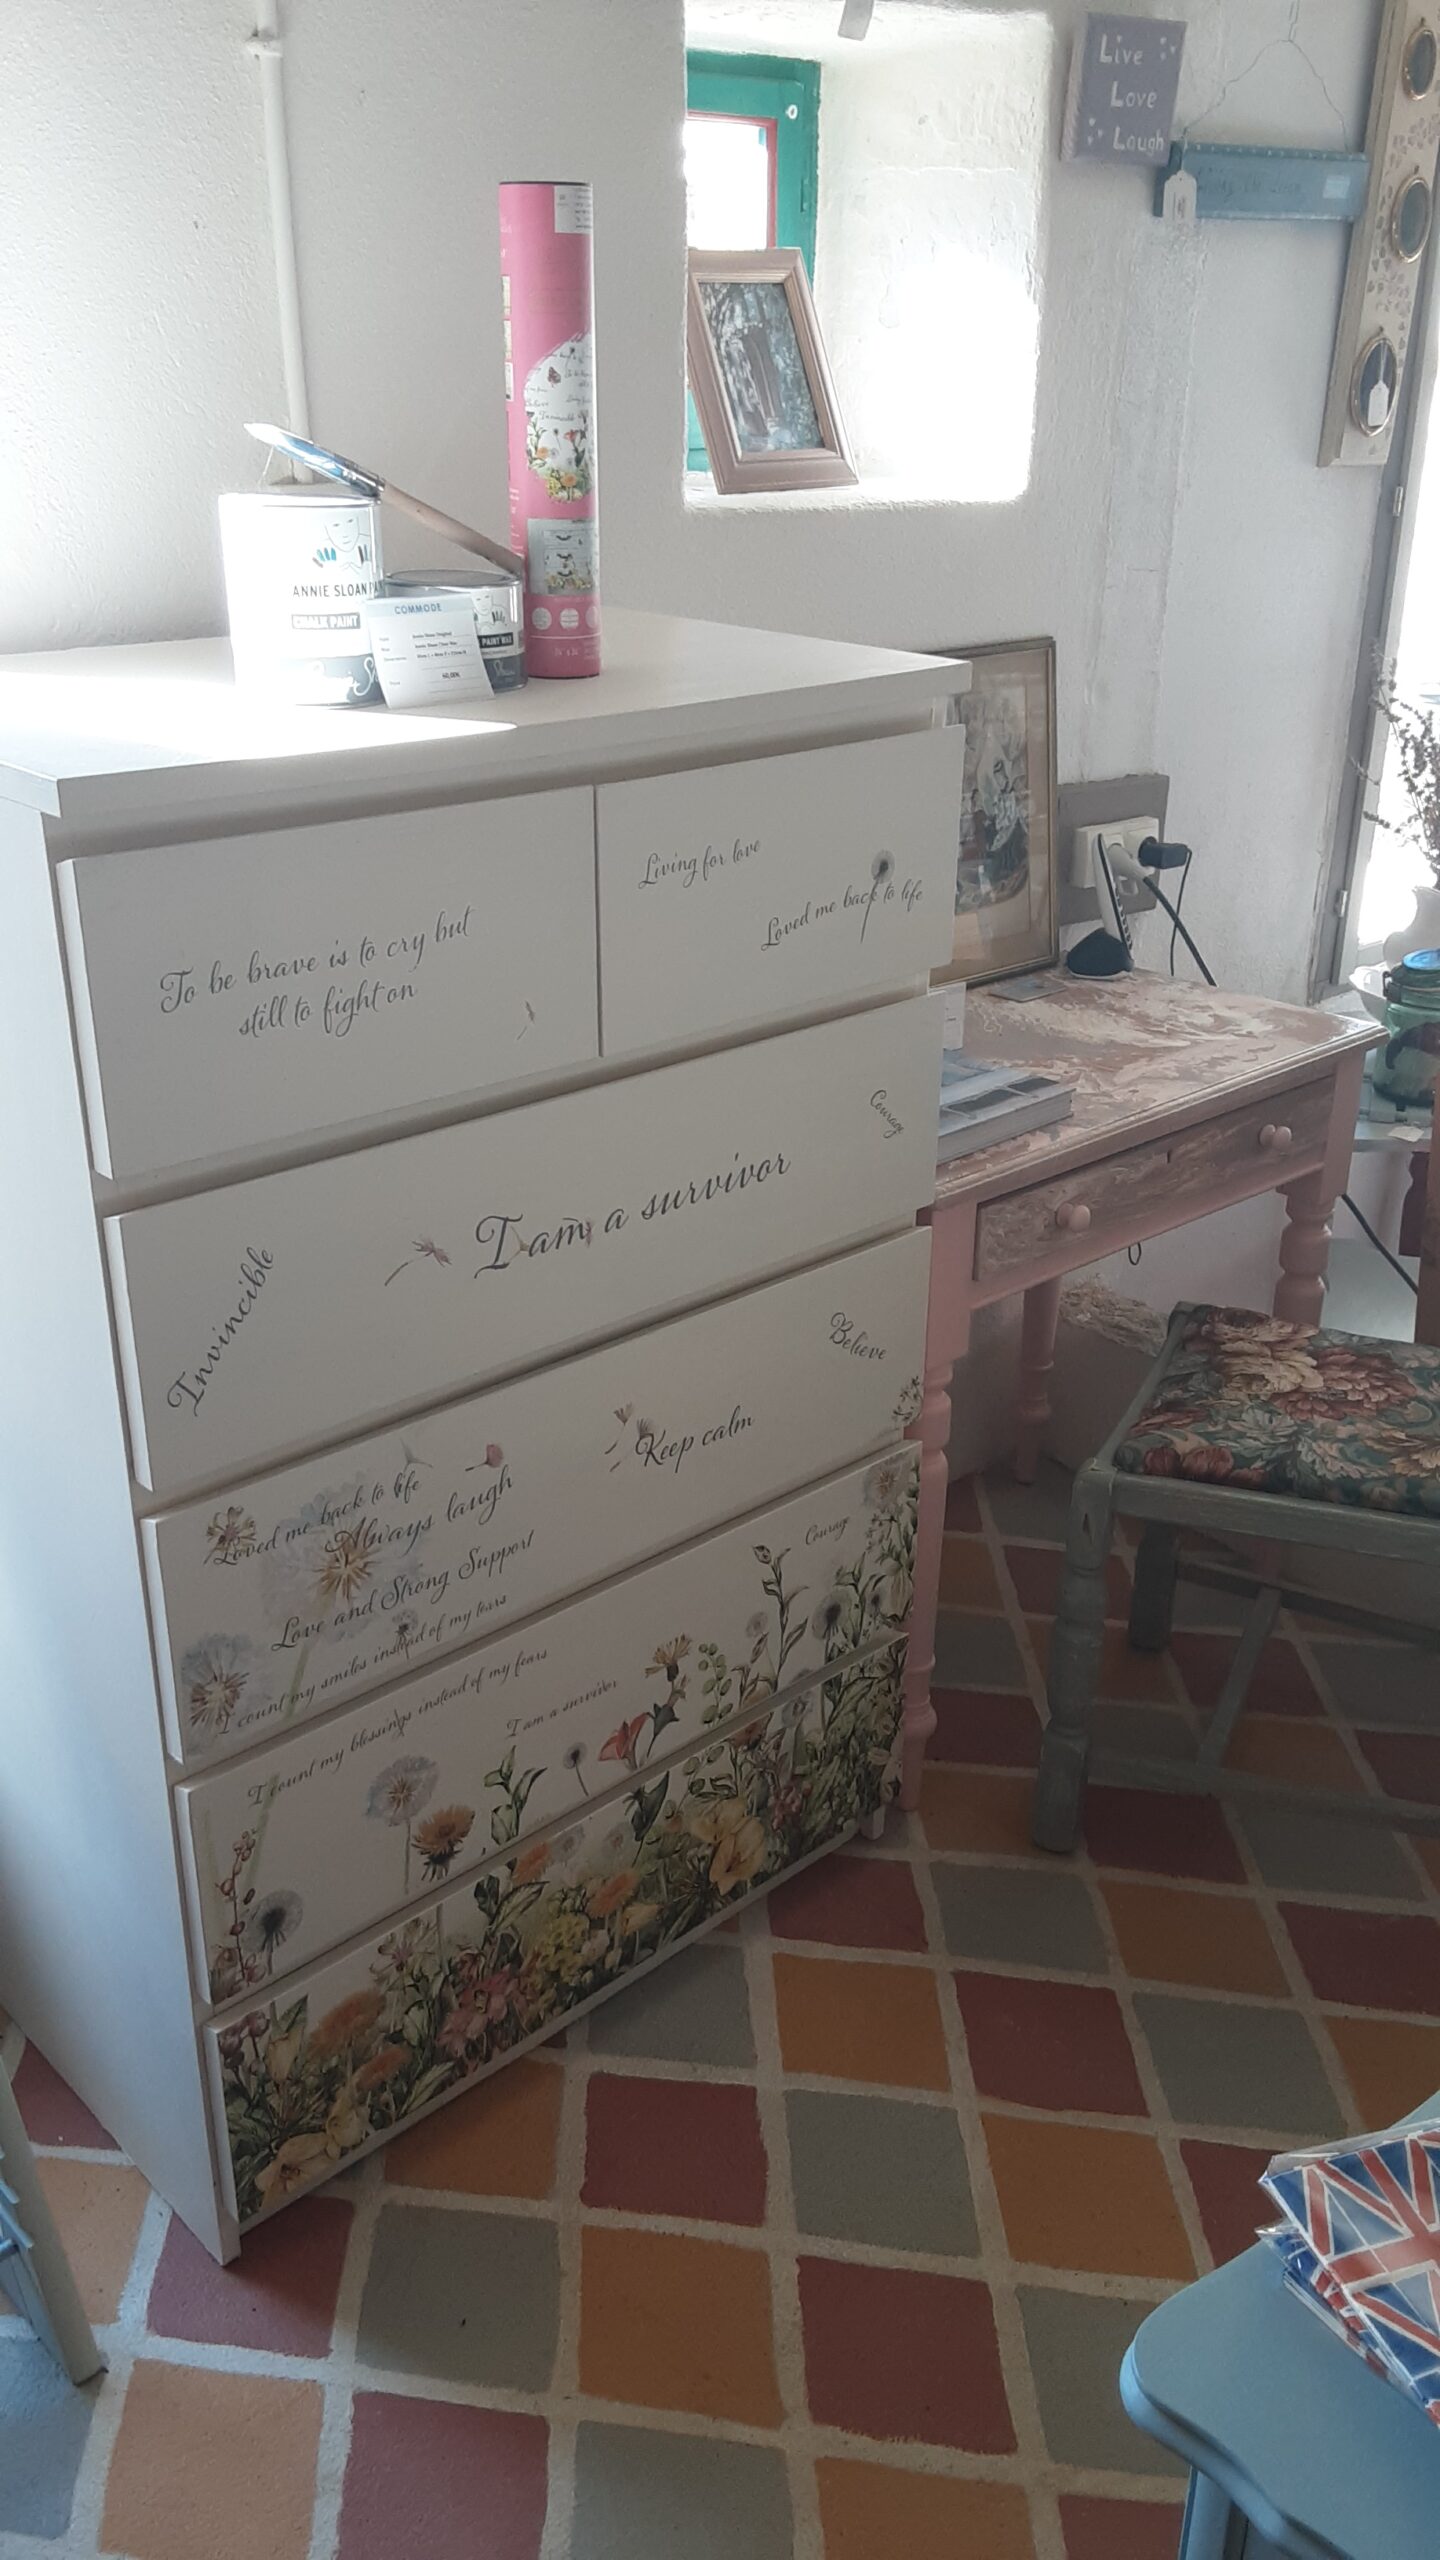
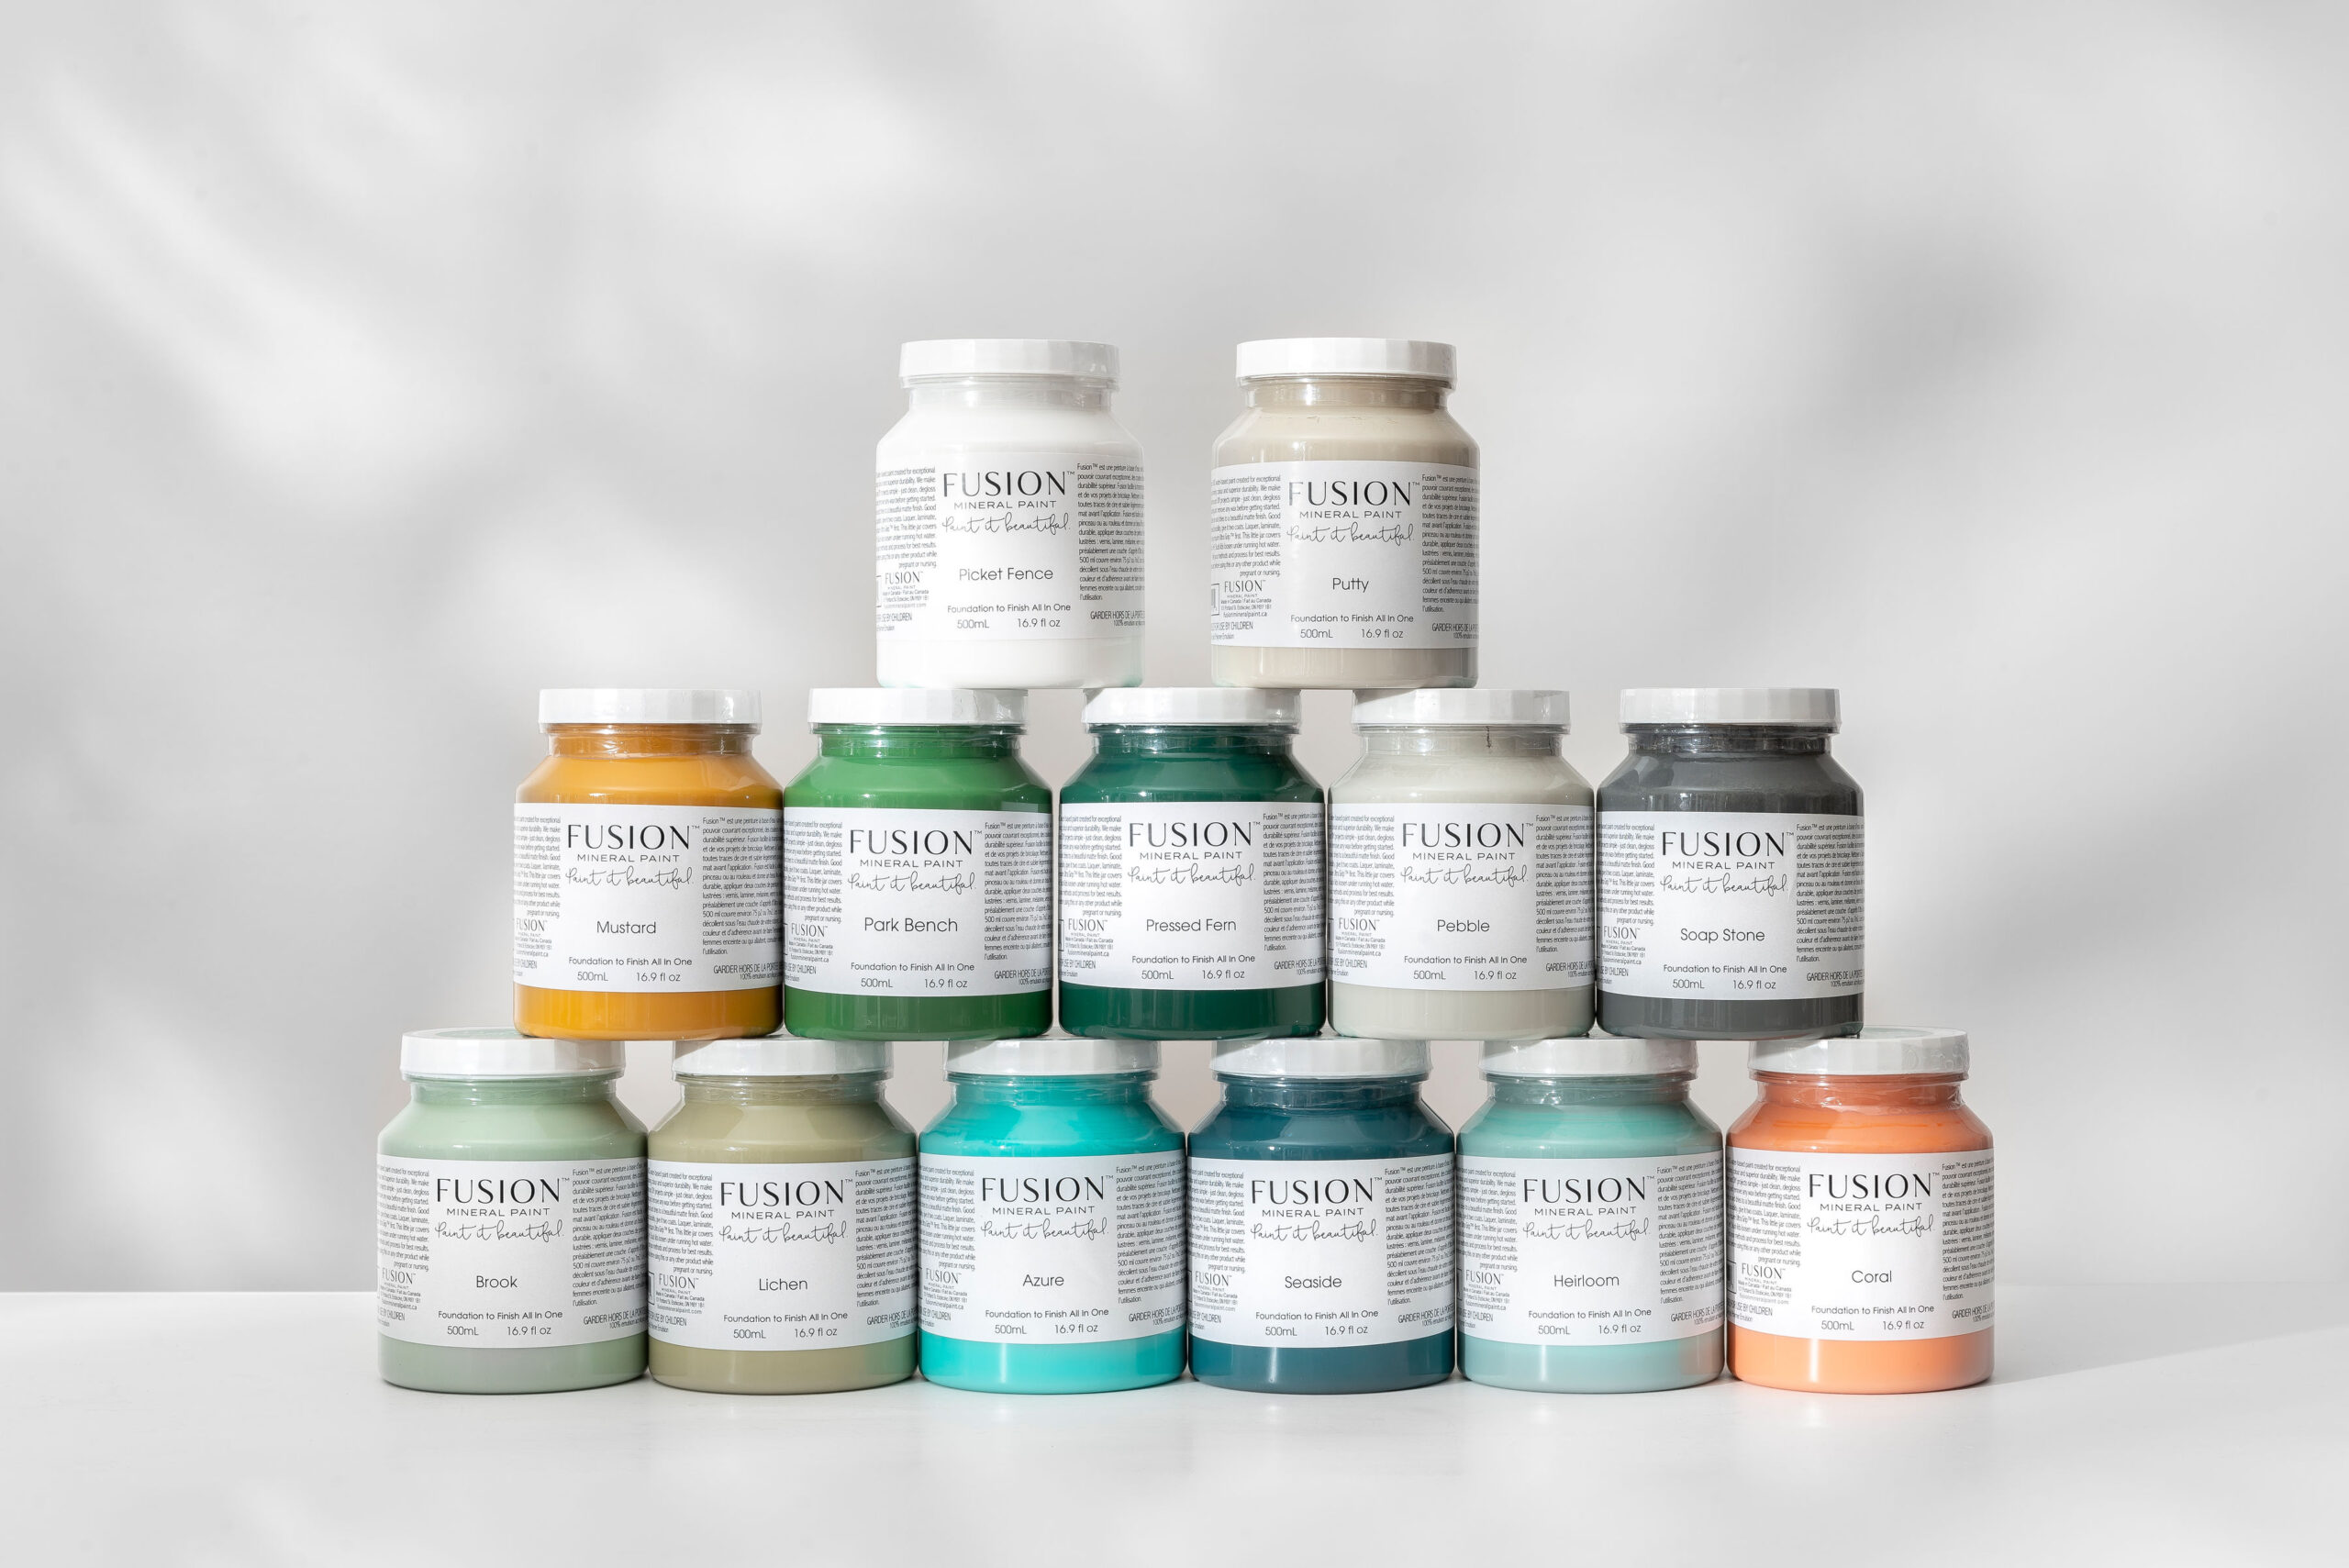
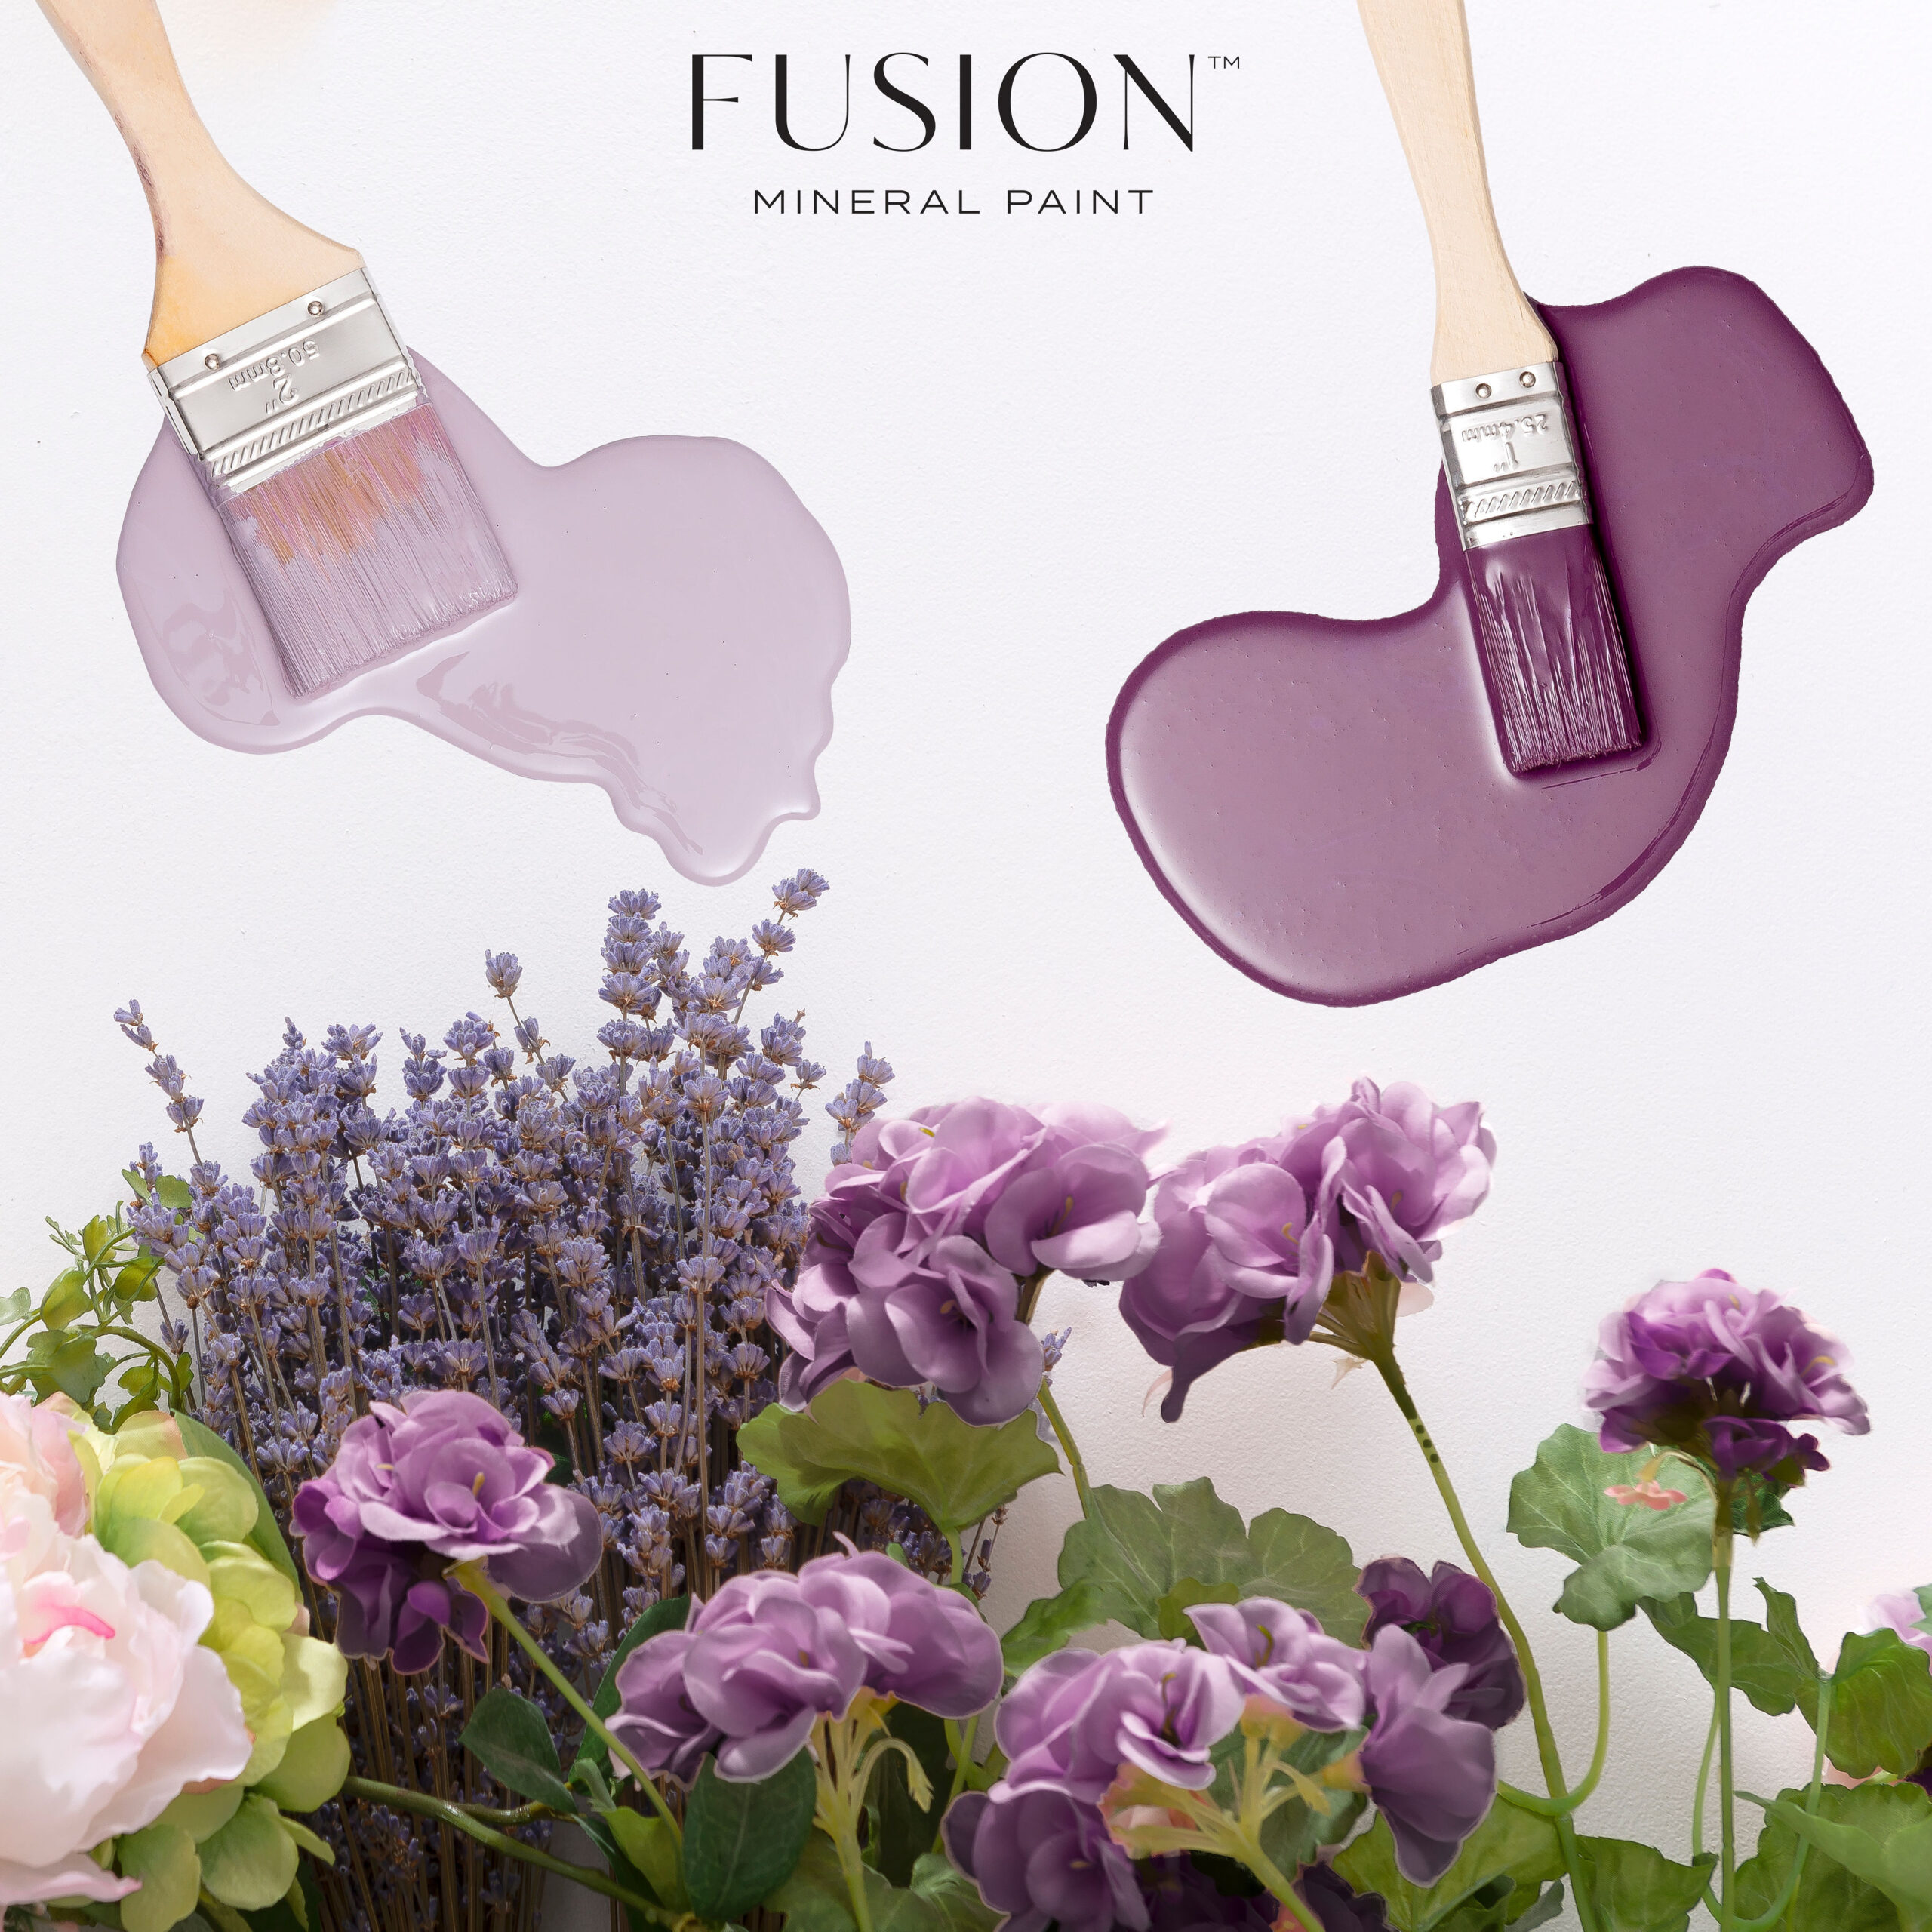
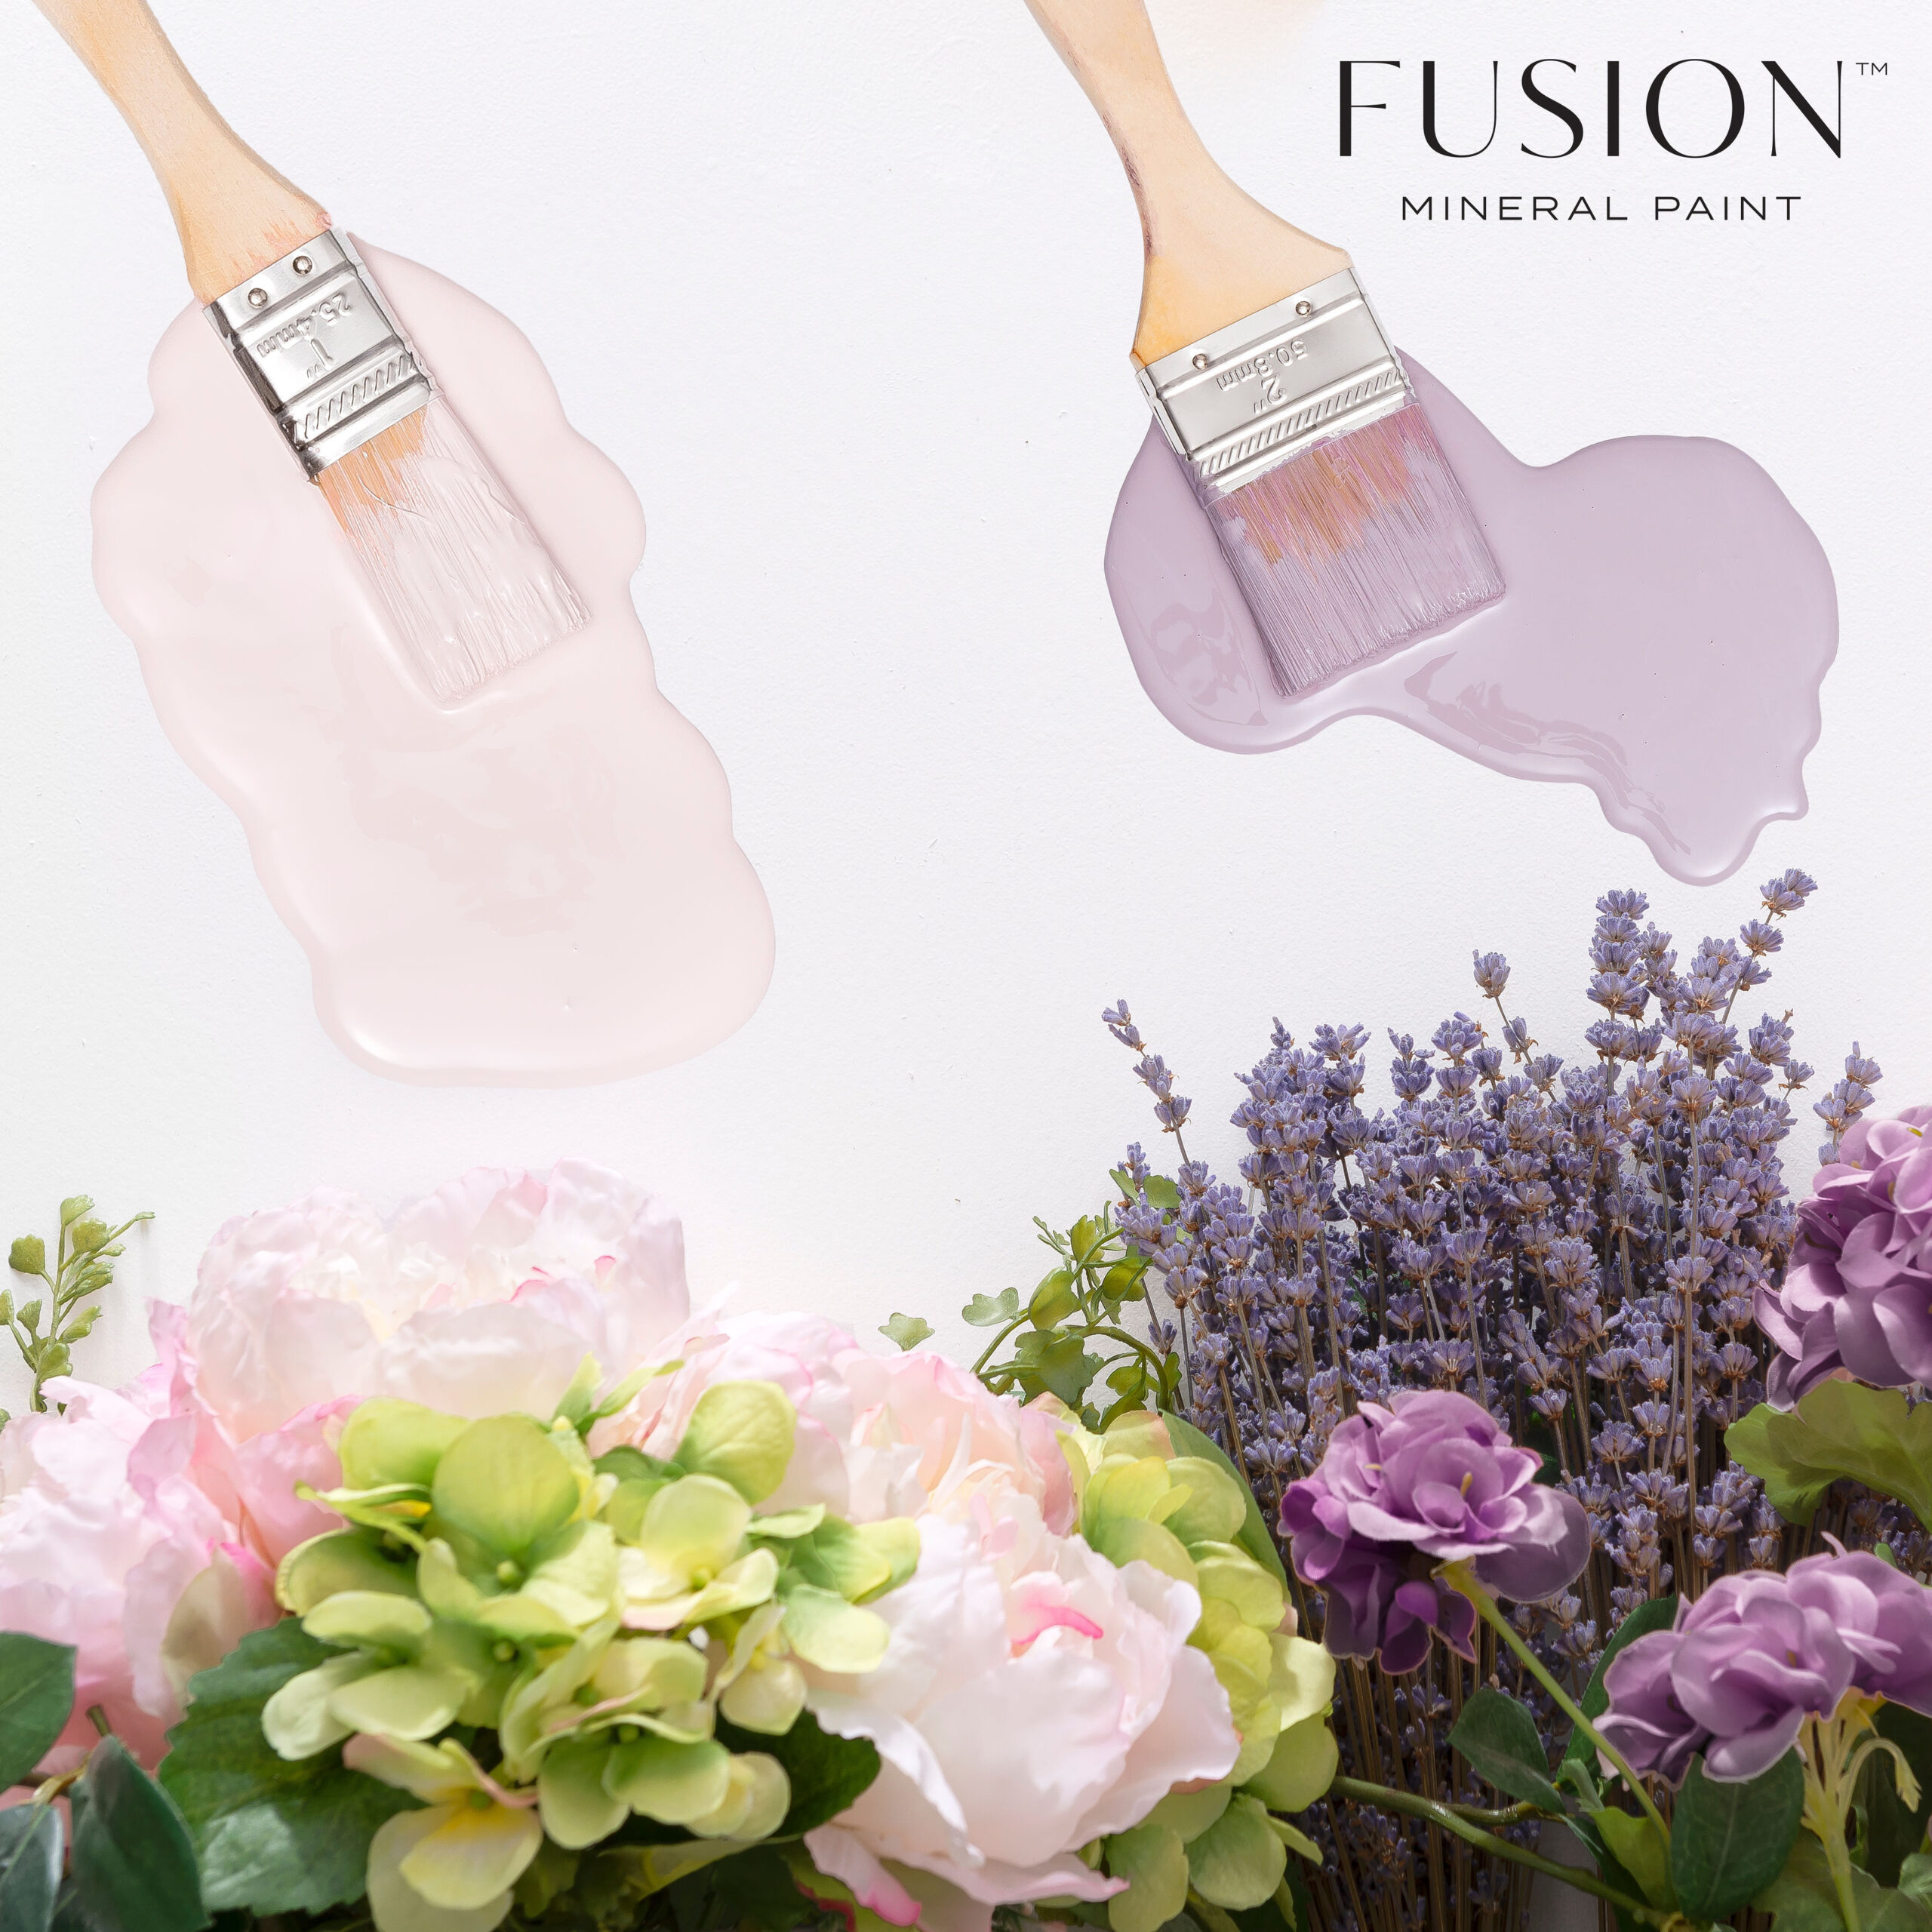
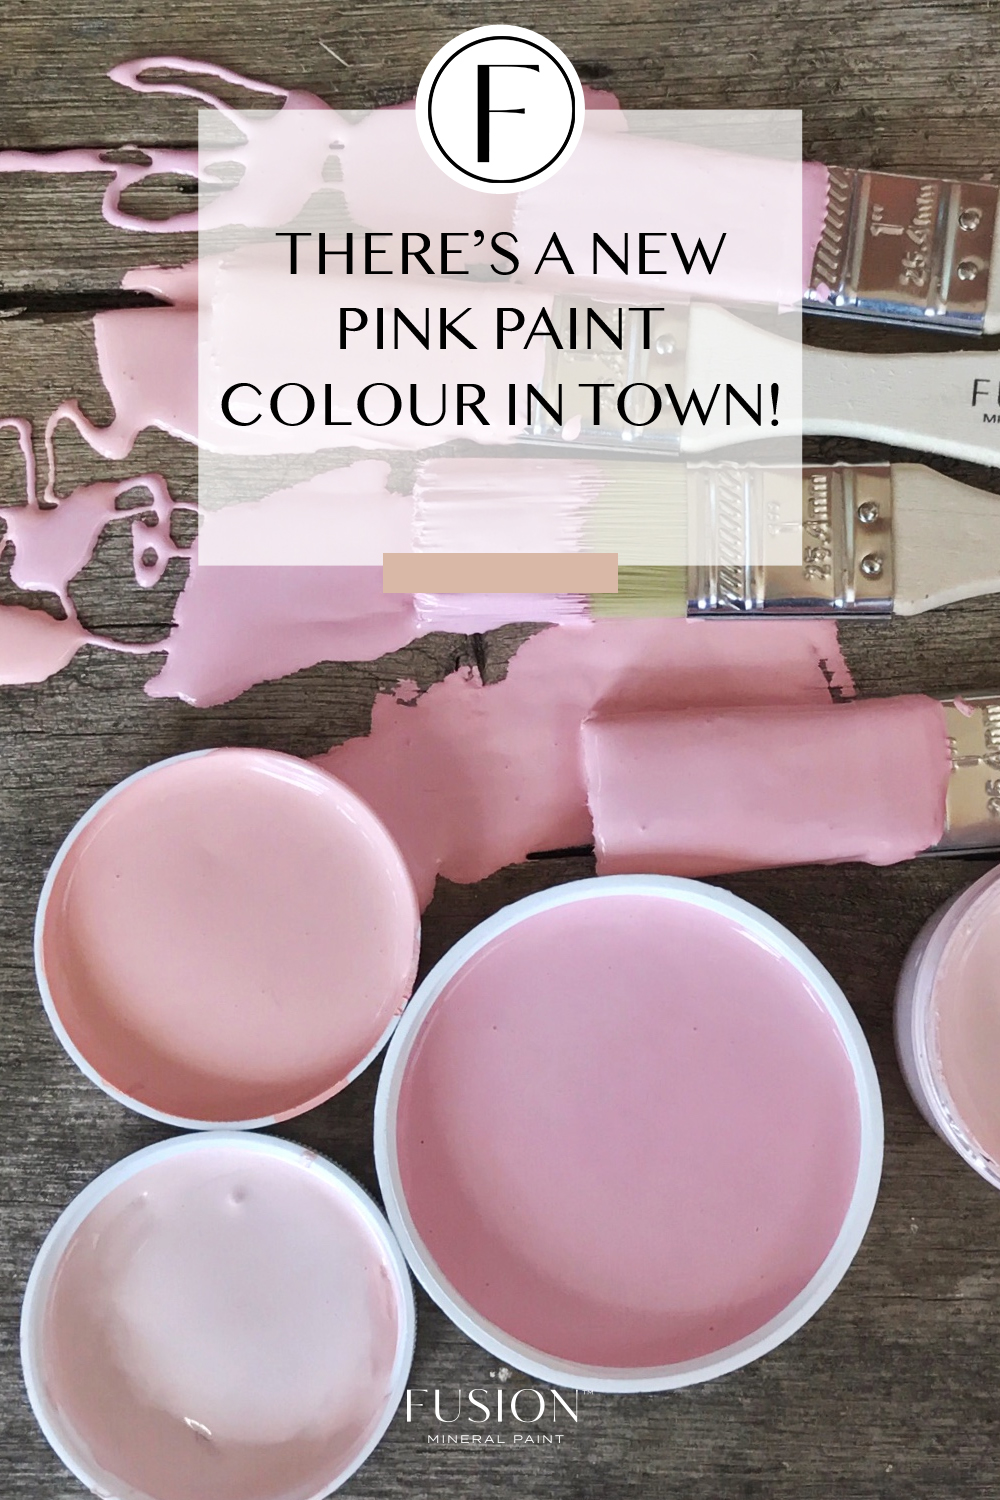
Another reason DIYers love Fusion mineral paint is the impressive range of colours and finishes available. From bold, contemporary shades to classic neutrals, there’s something to suit every style. Of particular note is the Fusion metallics line, which adds a touch of glamour and sophistication to any project. Whether you’re refreshing a chest of drawers or updating cabinet hardware, Fusion metallics offer rich, shimmery tones that create eye-catching detail.
Fusion’s metallics are formulated using real mica pigments, providing depth and light-reflecting qualities that elevate your work from simple to stunning. They’re incredibly versatile too—use them on their own for a full-metallic finish or layer them over other colours of furniture paint for a customised effect. Their creamy consistency makes them easy to apply with a brush, roller, or even sponge for a textured look.
Maintenance is another area where Fusion furniture paint shines. Once cured, it becomes highly durable, resisting scratches, water damage, and general wear and tear.
This makes it a popular choice for high-traffic areas and frequently used items like coffee tables, bedside tables, and kitchen cabinets. The addition of Fusion metallics can also help disguise minor imperfections while adding a luxe aesthetic.
Environmental sustainability is increasingly important, and Fusion mineral paint takes this seriously. Its eco-conscious formulation, combined with recyclable packaging and responsible sourcing, means you can enjoy creating beautiful projects without compromising the planet. It’s a win-win for style and sustainability.
To summarise, whether you’re giving a second life to an old dresser or experimenting with decorative finishes, Fusion mineral paint offers the quality and versatility needed for a successful outcome. With its wide selection of furniture paint colours, stunning metallics range, and user-friendly formula, it’s easy to see why so many people are making the switch to Fusion. Dive in, get creative, and let your furniture truly shine.