Category Archives: Uncategorized

Reviving a wood finish

Reviving a wood finish.
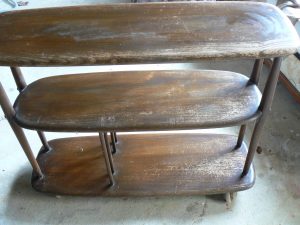
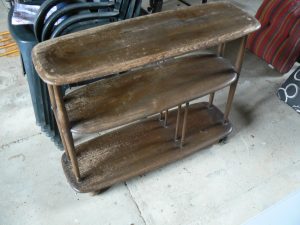
A few weeks ago we picked up a discarded table that had seen better days. It was a rare find in this part of France as it was an old Ercoll table. True to type it had an really dark finish to it but where it had worn it was possible to see the original oak finish.

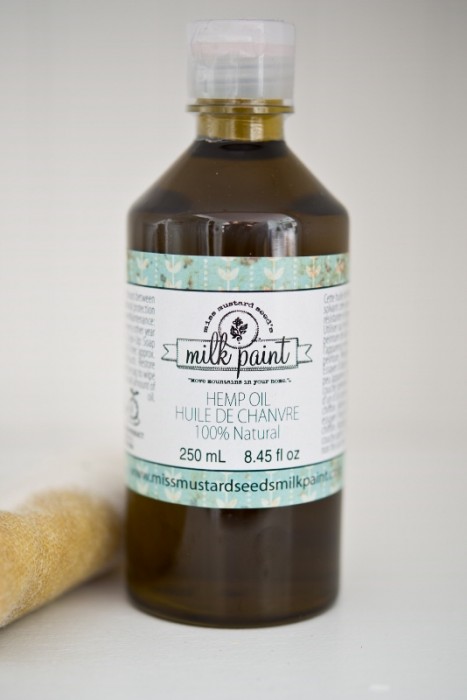
Oak can be prone to bleed through so this time as there was some lovely grain in the wood a different finish was called for. Time to get out the trusty orbital sander. Once all the dark stain/varnish had been removed it was time to go about reviving and enhancing the wood. To do this I used Miss Mustard Seed’s Hemp oil. This is particularly good at not only feeding the wood but also protecting it plus it is a totally natural product.

Hemp Oil
Hemp Oil

To use simply pour on to the wood and work in with a cloth. Leave for 15 minutes then remove any excess. Depending on how dry the wood is additional coats may be necessary. Keep applying until the oil starts to pool on the surface. Once dry you can buff the surface the same as if you had waxed it. There is no need to apply anything else, just top it up if it starts to look dull. You can if you really want add a coat of wax but it is not really necessary.
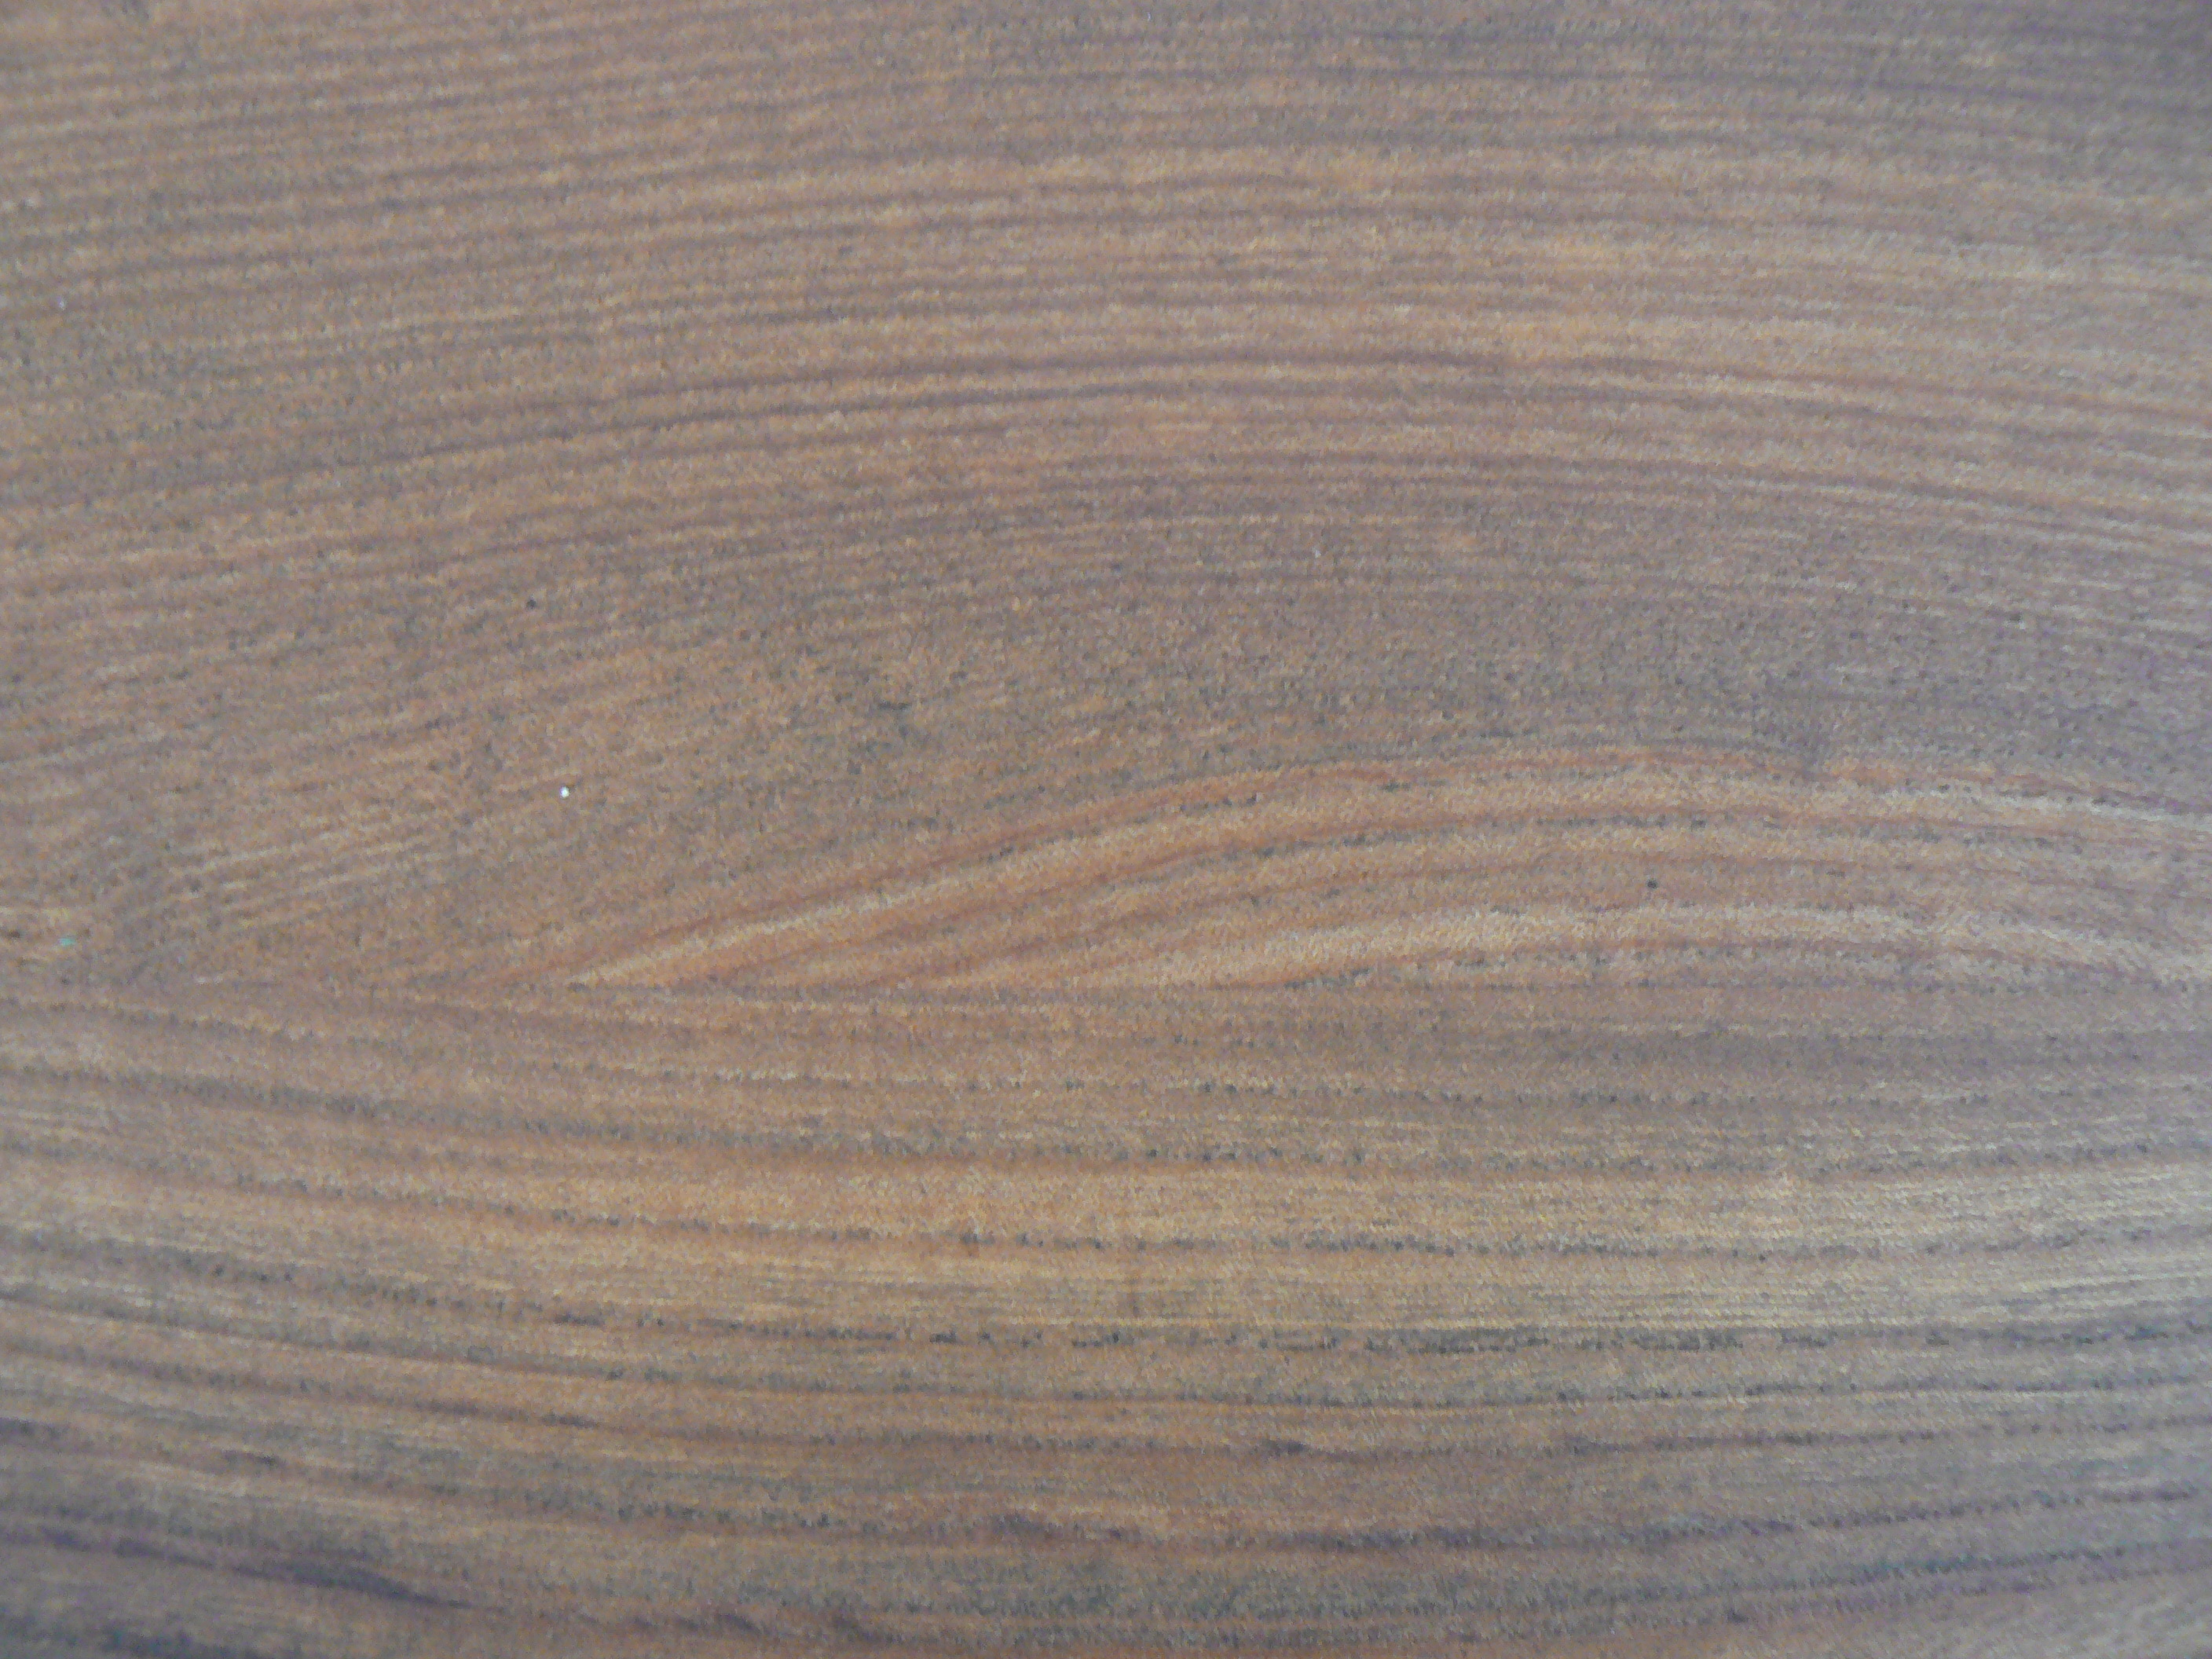
Here’s a photo showing the finish after applying the oil.

close up of new finish

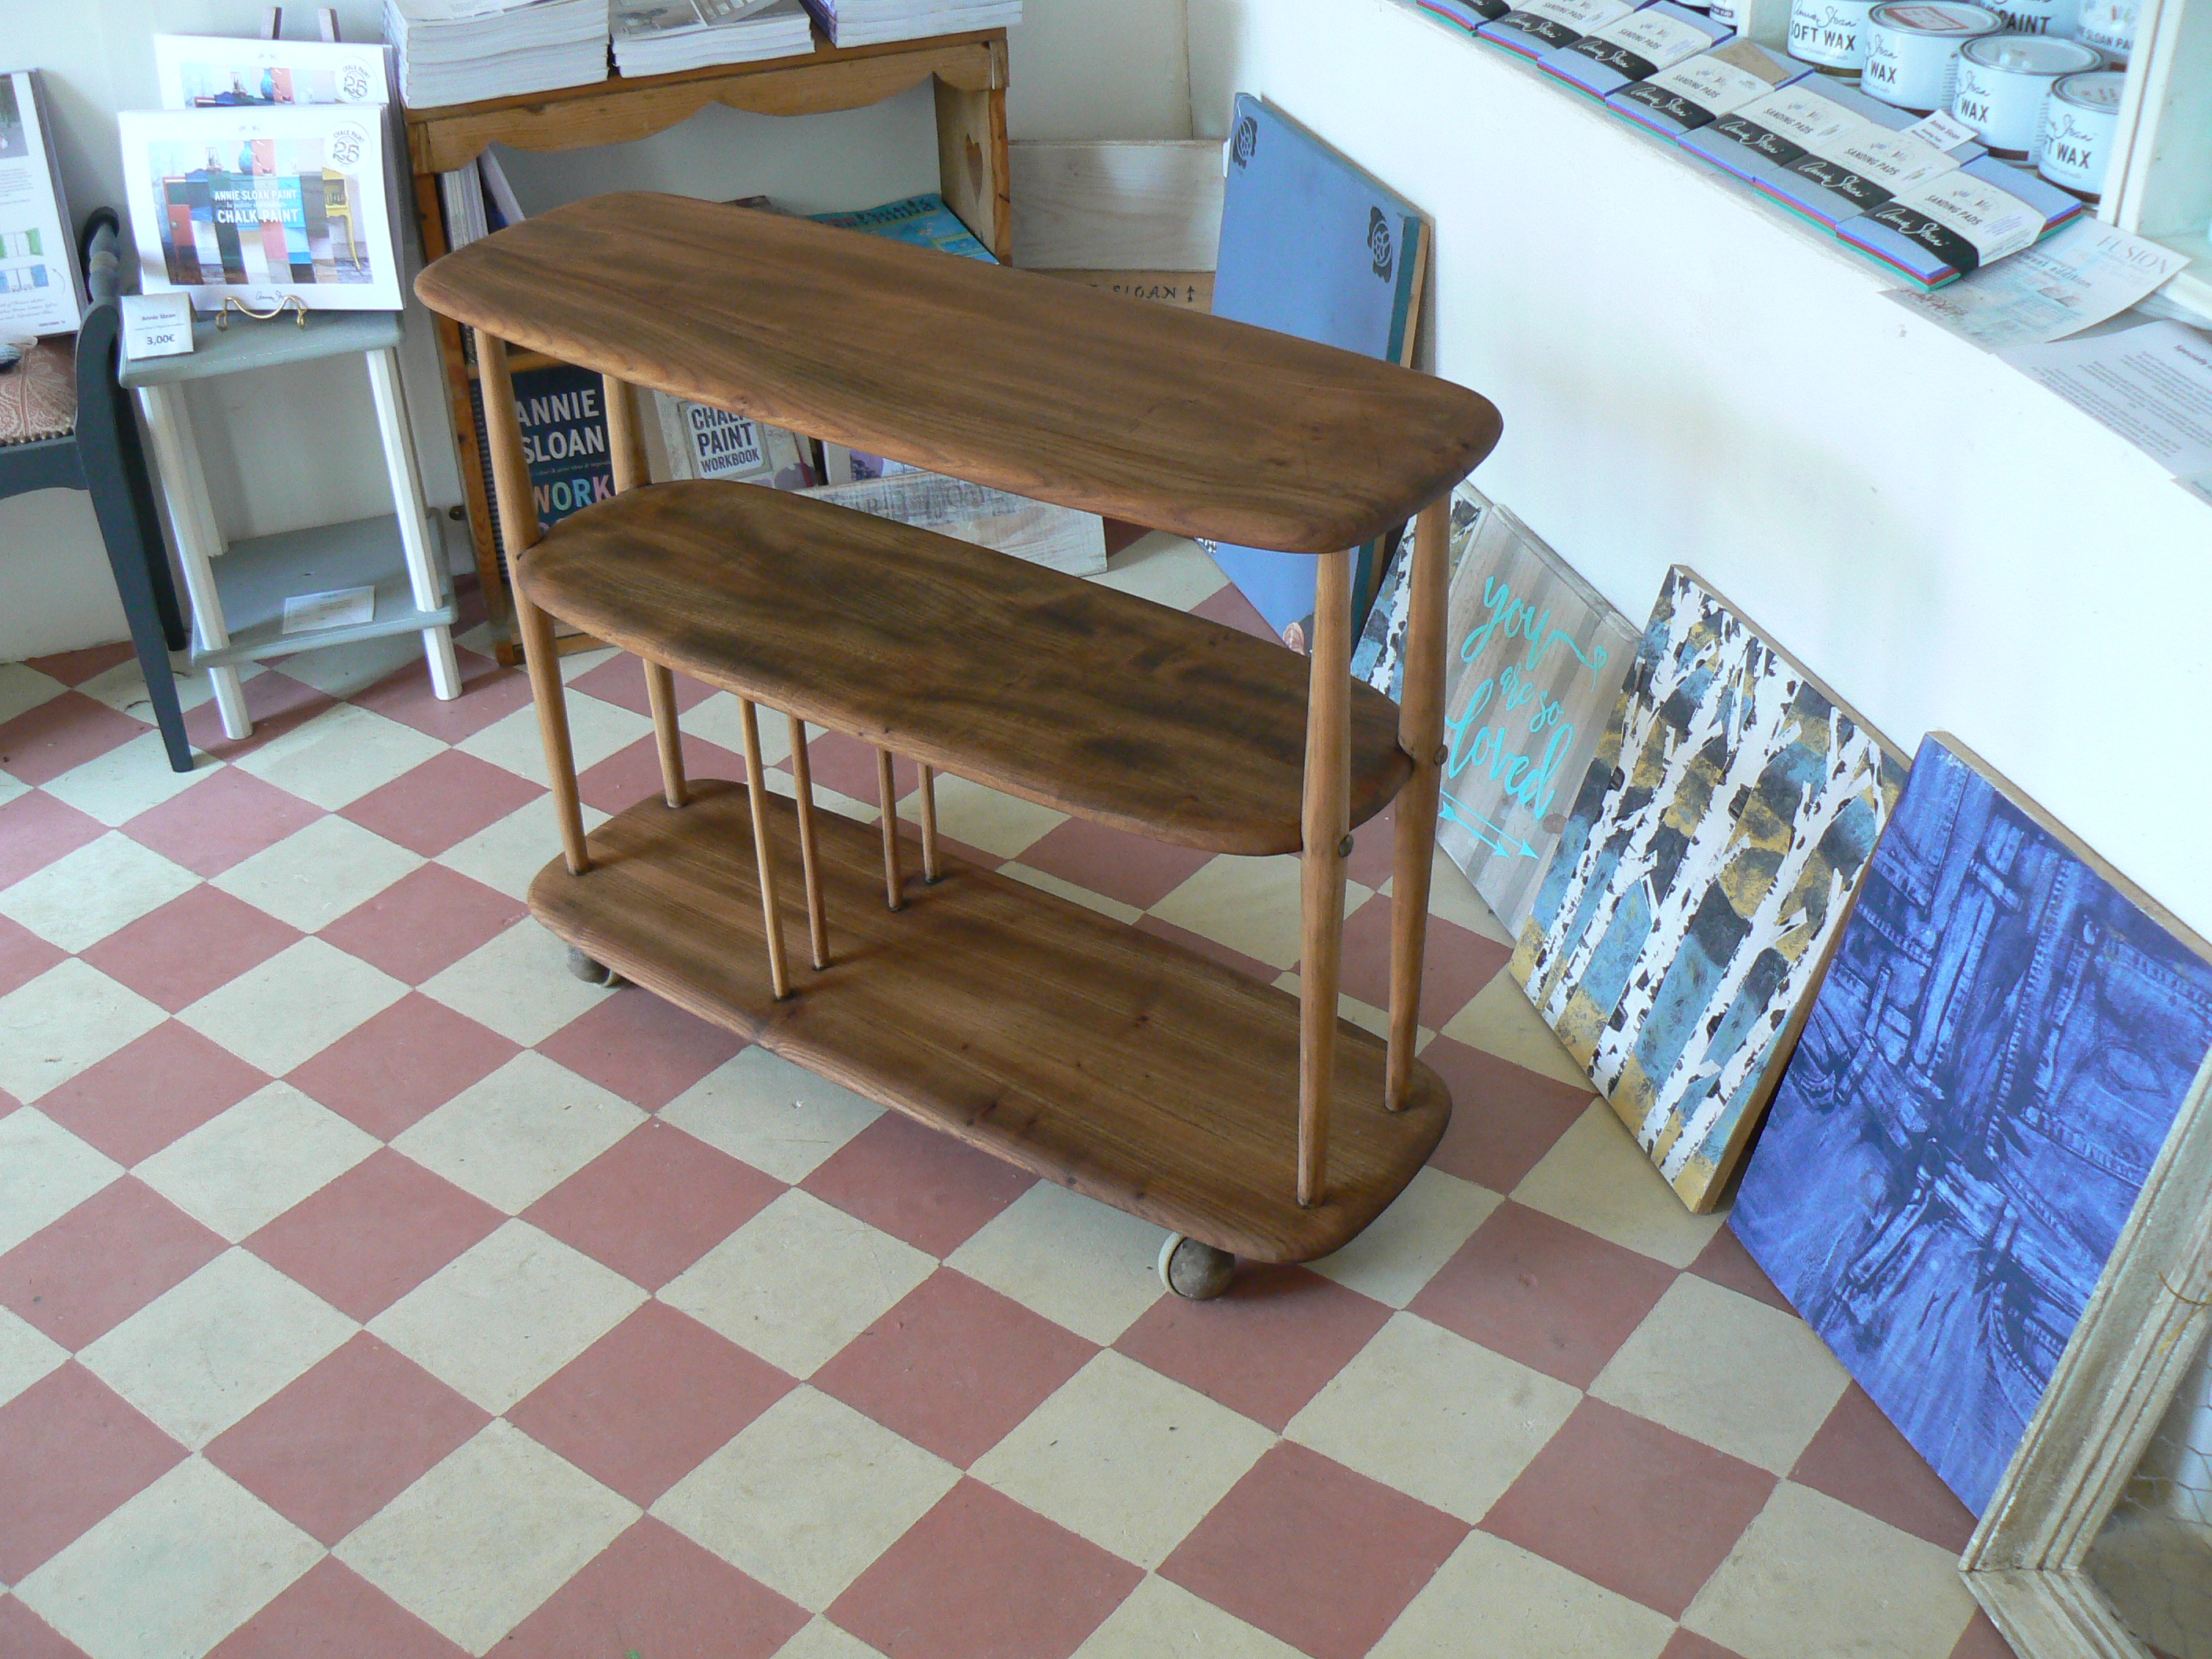
And here is the finished item

finished item
finished item

Hemp oil is available to buy in our shop or on line.

Utilisation de la cire à dorer d’Annie Sloan.

Utilisation de la cire à dorer d’Annie Sloan.
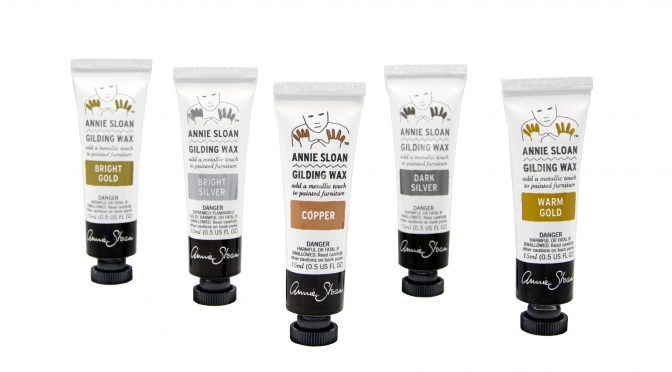
Utiliser la cire à dorer d’Annie Sloan est simple comme bonjour! Dans ce court tutoriel, Annie vous explique comment obtenir une magnifique finition métallique, en utilisant la couleur Old Violet de sa collection Chalk Paint™ et sa cire à dorer en Bright Gold.

1. Peignez votre meuble avec Chalk Paint™ en vous assurant de passer votre pinceau dans toutes les directions pour une finition texturée avec une couleur intense.

2. Laissez la peinture sécher. Cela ne devrait pas prendre trop longtemps : la peinture doit seulement être sèche au toucher.

3. Utilisez vos doigts pour passer la cire à dorer sur toutes les surfaces que vous souhaitez mettre en valeur, par exemple les gravures.

4. Vous pouvez accentuer certaines surfaces en appliquant plusieurs couches de cire.

Produits présentés

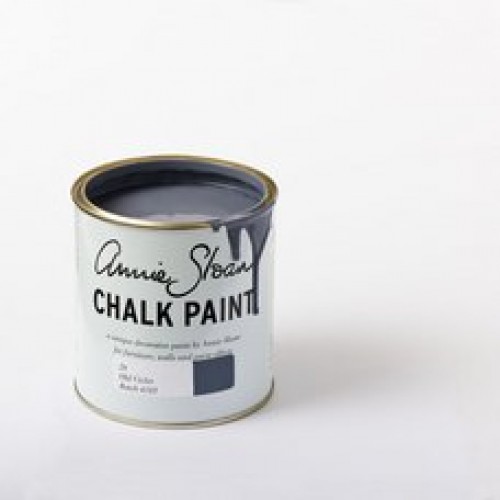
Annie Sloan Chalk Paint - old violet
Old Violet

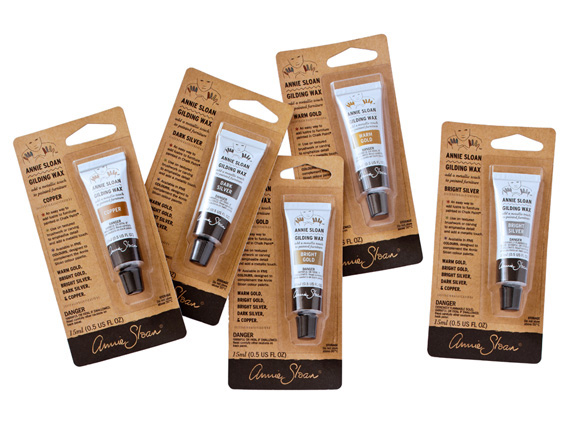
gilding wax by Annie Sloan
cire à dorer d’Annie Sloan

Peindre une tête de lit

Pour ce projet, je les suivantes:

Les Ingrédients
Les Ingrédients

Provence par Annie Sloan
Cire Claire par Annie Sloan
Pinceaux n°8 par Annie Sloan
Brosse à cire par Annie Sloan
Tampons de ponçage par Annie Sloan
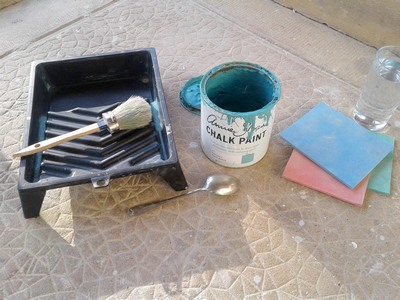
Bac à peinture
Eau

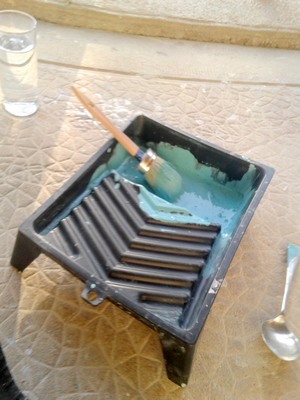
Diluez le Provence avec de l’eau pour le rendre plus liquide et faciliter son absorption par le velours. J’ai réalisé mon mélange dans le bac.

Faire un mélange avec du l'eau
Faire un mélange avec du l’eau

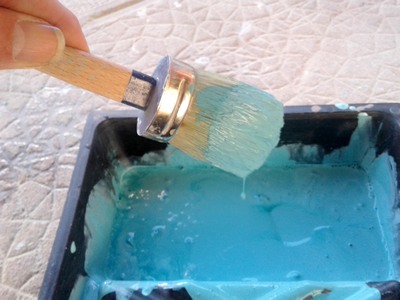
Le peinture doit imprégner la surface plutôt que de pénétrer à l’intérieur du tête de lit, il faut éviter qu’elle soit épaisse car elle s’agglomèrent autour des fibre pour devenir, après séchage, dure et craquante.
Provence avec beaucoup de l'eau
Provence avec beaucoup de l’eau

Si vous pensez qu’elle n’est pas encore assez fluide, ajouter de l’eau et étalez-la frettant le pinceau. Laissez sécher.
La première couche
La première couche

Après la deuxième couche de peinture

Quand le peinture est sèche appliquez une couche de cire transparente avec le pinceau approprié, ou en passant un chiffon propre et sec à mesure pour obtenir une couverture uniforme. Lustrez la surface pour la faire briller et ressembler à du cuir.

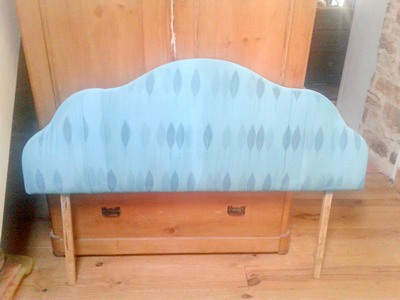
Le projet fini et en place

**Testez votre combination de couleurs au préalable pour juger l’effet que la texture et la teinte du tissue auront la nuance de la peinture.

**Tous les tissues, y compris le cuir, peuvent se peindre. Toutefois, plus ils contiennent de coton, mieux c’est car celui-ci absorbe très bien la peinture ou un motif en relief peut devenir très intéressante quand on la peint.

Achetez la peinture Annie Sloan ici

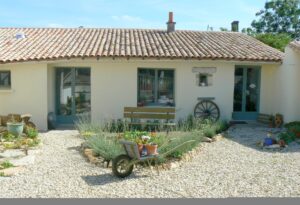
Using Annie Sloan Chalk Paint™ Outside.

exterior of shop
www.ladeuxiemechance.com

As summer approaches and we once more venture in to our gardens to enjoy the sun, some of you no doubt will be looking around and thinking isn’t it about time to refresh and paint tired or worn looking painted woodwork or garden furniture.Edit – it is currently 32° outside. Summer is here 🙂

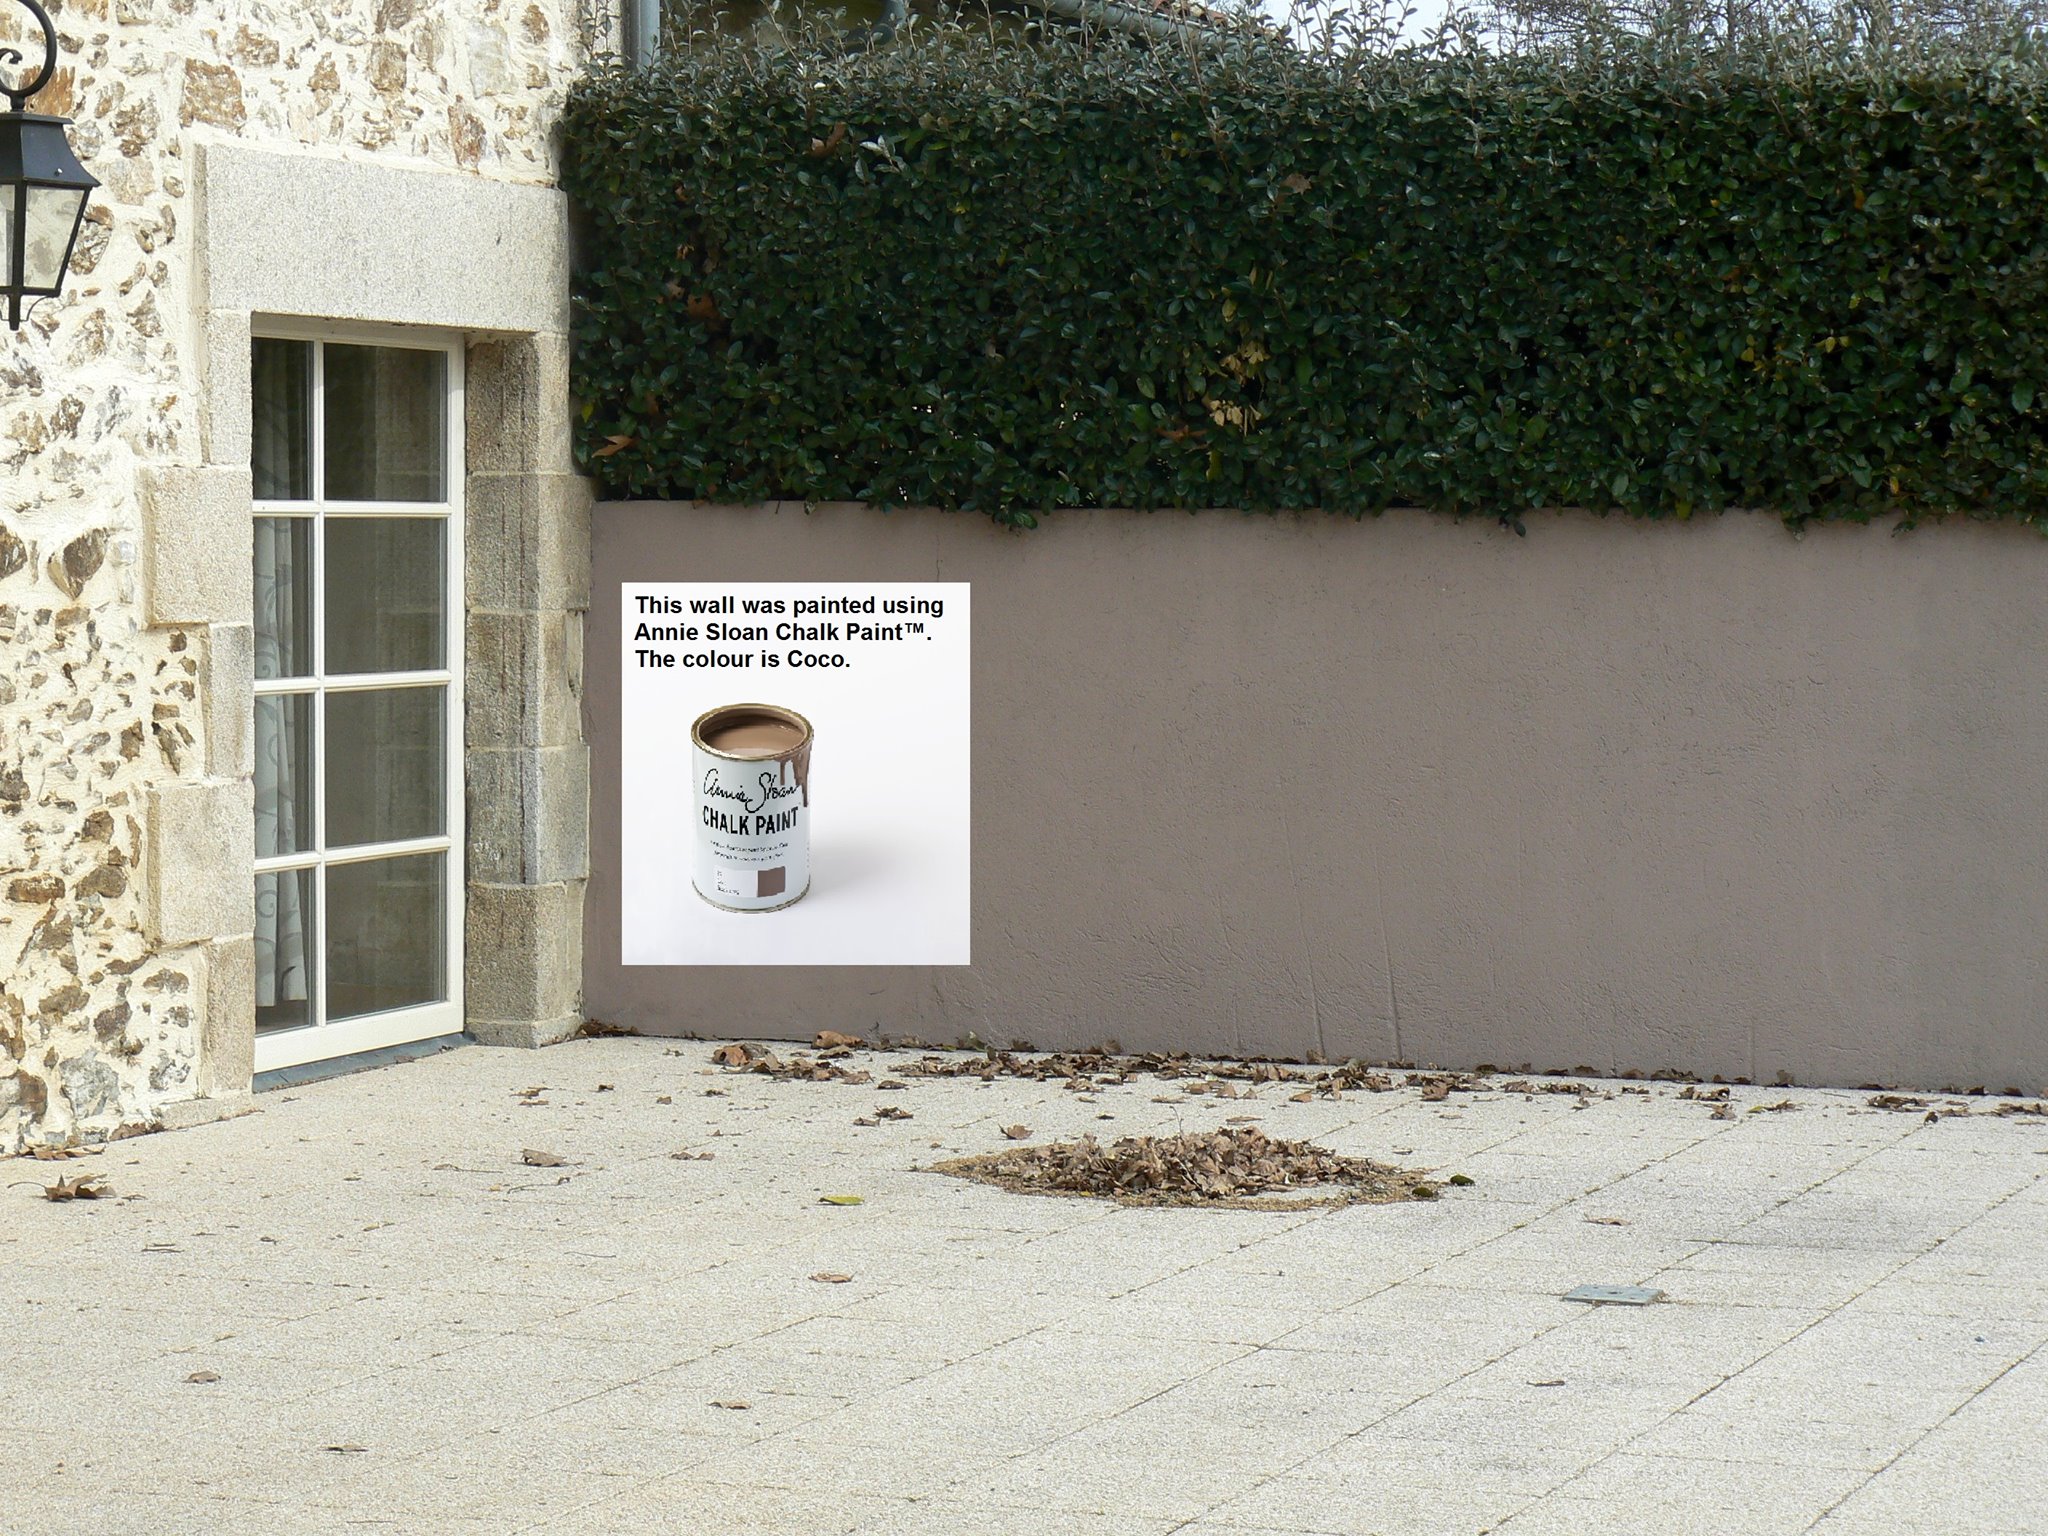
One of the wonderful things about Chalk Paint™ is that it sticks to just about anything. And some things you really don’t want it to. Case in point was when we had a dog and it landed up with a very nice painted tail. Yes a black and white collie with an Emporer’s silk tail ! Very fetching! Fortunately it washed out very easily. Now, most of us will have used Chalk Paint™ on furniture, walls and floors inside your houses but today we are going to move outside the house. Did you know that Chalk Paint™ even works outdoors ?! Oh yes, it is particularly good on brick, concrete, stone and terracotta – and there’s no need to wax. You can even breathe new life in to that tired looking garden furniture.

wall painted in Annie Sloan Coco
wall paint in Annie Sloan Coco

Now hold on a minute! Here are a few things to bear in mind before rushing outside with your paint brush in one hand and a pot of Chalk Paint™ in the other. What? What can possibly go wrong?? Well, First of all it will fade in the sun. Secondly it does age gracefully with the elements. Importantly bear in mind that it is a water-based decorative paint and does not have any weatherproof or protective properties. Let me repeat that. It is a decorative paint and not a protective paint. Depending on the look you want, and conditions of where you are, you may find it will need a fresh coat periodically.

I am sure I have mentioned this somewhere before but please remember Chalk Paint™ is not recommended for teak or other oily woods. To avoid any dissappointment always try painting a small test area first! The majority of issues that arise when people paint wooden garden furniture – you may be unaware that it is teak or another oily wood, or it may have been treated with something to make it more weather resistant (eg Cuprinol, Ducks back etc). Bear in mind that using a water based paint on a surface that is designed to resist water is never going to be easy. All of these things can affect the adhesion of the paint, and as I have already said the best advise is to paint a test patch if you are not sure.
Some colours can fade quite quickly if they are used in an area that is exposed to very strong sunlight – this is particularly the case with reds. Oh the joys of living in sunny France! A water based exter

exterior of shop
www.ladeuxiemechance.com
ior varnish with UV protection is advisable if this is likely to be an issue. On garden furniture, we would strongly recommend a coat of water-based exterior varnish which will protect against stains and keep the finish looking good for much longer. For the best results get a varnish with UV protection to prevent colour fading.

So far I have mentioned using a water based exterior varnish and here is why. Wax and Lacquer are not suitable for outdoor use. Both of these are water resistant finishes, but not completely non permeable – water can get underneath the sealant and cause the paint to flake or bubble. And apart from anything else in hot sun any wax will melt and disappear and it will also make floor lacquer turn yellow. Don’t waste your time or money doing this as it will quickly be undone.

If you are painting an outdoor piece ‘in situ’, wait for a spell of good weather and certainly not when rain is imminent (Yes I know, easier said than done at this time of year). Your piece should be COMPLETELY dry before you begin. If you can leave it to dry in the sun after painting, this will help the paint to bond with the surface. You are basically baking the paint onto the surface to creating a tougher finish.

There are of course exceptions to every rule and perhaps this post is erring on the safe side of things but if you don’t want a perfectly painted look then Chalk Paint™. And I hope all of you reading this will continue to do so! There are some amazing projects out there – trucks, cars and caravans to name but a few! If after reading this you would prefer to buy a paint that is more suitable to exterior use please contact us with details of what you would like to paint and the type of finish you would like to achieve.

To buy on line or in store click here

UPDATE
Since writing this article back in 2017 Annie Sloan has brought out a brand new Chalk Paint Lacquer for you to use outdoors. Chalk Paint™ Lacquer is a hard-wearing, water-based polyacrylic varnish with built-in UV protection. Use it over Chalk Paint™ for a robust finish that will withstand general wear and tear – perfect for dining room tables, outdoor furniture, floors and skirting boards. It goes on perfectly clear and dries quickly without yellowing over time.

.

Peinture D’Annie Sloan

Chalk Paint - Peinture Annie Sloan
Chalk Paint – Peinture Annie Sloan

Découvrez pourquoi tout le monde appelle ceci une peinture “Miraculeuse”?

Relooker vos meubles

Imaginez… Aucun ponçage! Aucun décapage! Aucun apprêtage! NON SÉRIEUSEMENT! C’est vrai…

Annie Sloan a conçut une peinture qui adhère à presque n’importe quelle surface ainsi que le vieux bois, mélamine, métal, pierre, brique et même 100 ans de cire accumuler sur vos meubles, sans aucun travail de préparation!!! De plus, elle permet un changement de couleur, sans tracas. Facile d’application, Chalk Paint™, une peinture décorative par Annie Sloan ™ est à base d’eau, non polluante (faible en COV) et fortement concentrée en pigment pour un revêtement considérablement durable.
Épaisse ou diluée, Chalk Paint™ peut être utiliser aussi bien à l’intérieur qu’à l’extérieur. (Attendre 24h avant exposition au soleil et à la pluie). Elle ne s’écaille pas comparativement aux autres peintures.
On peut lui donner un fini mat ou bien un effet patine avec l’application de la cire molle.
De plus, elle adhère à presque toutes les surfaces et cela
SANS sabler, SANS apprêter, SANS décaper!!!

Chalk Paint™ / Peinture Chalk Paint par Annie Sloan

Annie Sloan
Annie Sloan

APPLIQUEZ LA PEINTURE AVEC UN PINCEAU SYNTHÉTIQUE OU UN PINCEAU D’ANNIE SLOAN. APPLIQUEZ 1-2 COUCHES, SELON LA SURFACE. (POUR UNE SURFACE PLUS LISSE, LA PEINTURE PEUT ÊTRE DILUÉE AVEC DE L’EAU).

· APPLIQUEZ LA CIRE MOLLE CLAIRE EN COUCHE MINCE AVEC UNE BROSSE DE SOIES NATURELLES.

· ESSUYEZ VOTRE SURFACE CIRÉE AVEC UN ESSUIE-TOUT OU UN LINGE EN COTTON.

· POUR DONNER UN ASPECT VIEILLI À VOS MEUBLES, SABLER LA SURFACE AVEC UN PAPIER A SABLER GRAIN 320 APRÈS AVOIR APPLIQUEZ VOTRE PREMIÈRE COUCHE DE CIRE. (CECI EMPECHE LES FINES POUSSIERES ET AINSI EST PLUS SAIN).

· SI UNE PATINE EST DÉSIRÉ, TRAVAILLEZ VOTRE SURFACE AVEC LA CIRE MOLLE FONCÉ EN PETITES SECTIONS. ESSUYEZ L’EXCÈS AVEC UN CHIFFON EN COTTON OU UN ESSUIE-TOUT.

· SI LA CIRE MOLLE FONCÉ N’EST PAS UTILISÉ, PROCEDEZ A CETTE ÉTAPE. RÉ-APPLIQUEZ LA CIRE MOLLE CLAIRE SUR LES SURFACE QUE VOUS AVEZ VIEILLI AVEC LE PAPIER Á SABLER.

· POUR LES SURFACE AYANT UN NIVEAU D’ACTIVITÉ PLUS ÉLEVÉS, UNE DEUXIÈME COUCHE DE CIRE PEUX ÊTRE APPLIQUER 24 HEURES APRÈS VOTRE DERNIÉRE COUCHE DE CIRE.

· LA CIRE SÉCHE DANS 24 HEURES, MAIS PRENDS 30 JOURS POUR DURCIR COMPLÈTEMENT. TRAITER DÉLICATEMENT VOTRE SURFACE PENDANT CETTE PÉRIODE.

· POUR LES PIÈCES PEINTES QUI SERONT UTILISÉ DEHORS OU LES SURFACES EXTÉRIEURES, NE PAS UTILISEZ DE CIRE MOLLE.
ATTENDRE 24 HEURES AVANT D’EXPOSER AUX ÉLÉMENTS EXTÉRIEURS.
(SOLEIL, PLUIE, NEIGE…). LA PREMIÈRE FOIS QUE VOUS ESSUYEZ VOTRE SURFACE, UN PEU DE PIGMENT PEUT SE DÉTACHER SUR VOTRE LINGE. LA PEINTURE DURCIE EN 30 JOURS.

· LES SURFACES NON CIRÉ PEUVENT ÊTRE UTILISÉ COMME TABLEAU Á LA CRAIE COLORÉ.

Revendeur de Chalk Paint par  Annie Sloan
Revendeur de Chalk Paint par Annie Sloan

Commandez en ligne

Introducing Tones for Tots

Tones for Tots
Tones for Tots

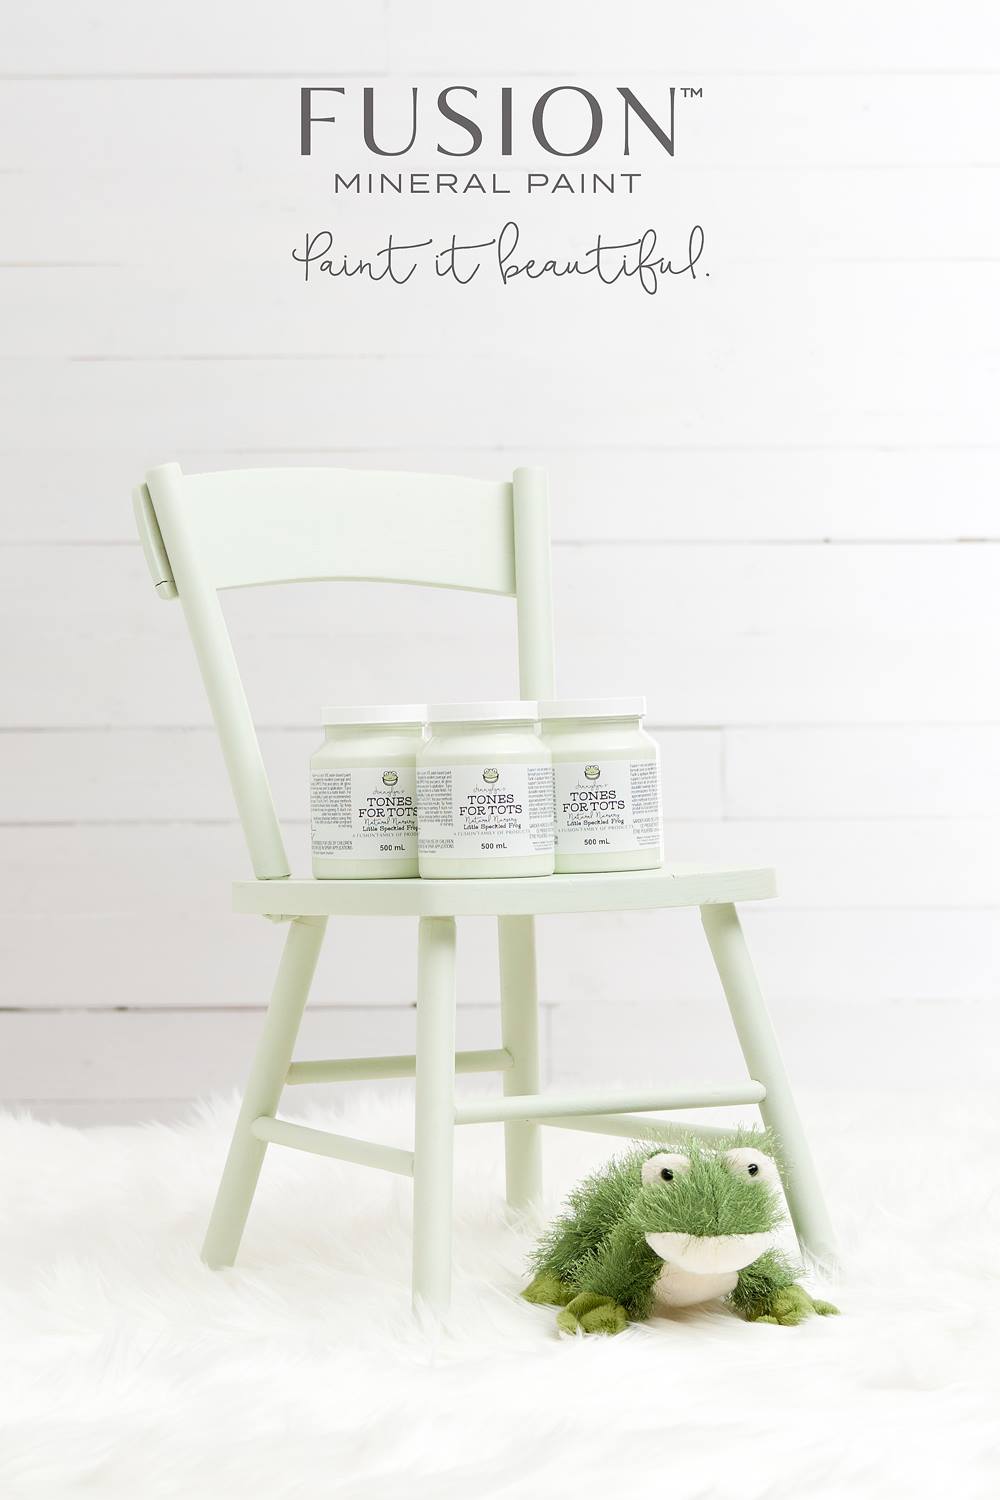
Introducing some amazing pastel shades from Fusion Paint.

Tones for Tots is a new range of colours from Fusion Paint which launch on the 28th May. They are designed specifically with Nurseries and toys in mind. guaranteed to make all mums (and grandmothers too!) say ” wow! “

So before we get to the actual colours here is some background: Fusion™ know you want the best for your little one. At Fusion™, they want the same.

That is why they wanted to develop a paint that was TRULY zero VOC and non-toxic for you and your loved ones. Through years of development Fusion™ have achieved this without sacrificing quality and durability. Fusion™ is a best-in-class paint that features an environmentally and health conscious formulation.

Babies and young children are more susceptible to the health risks associated with VOCs. Fusion™ Paint is lead free, phthalate free, formaldehyde free, ammonia free, virtually odourless and is Zero VOC.

Fusion cares about you and your wee ones. the new Tones for Tots collection complies with both the lead and phthalate restrictions of the Toy Safety Standards of North America and Europe, as well as the ASTM D4236 LHAMA safety labeling requirements.

Ok, now ladies take a deep breath……..

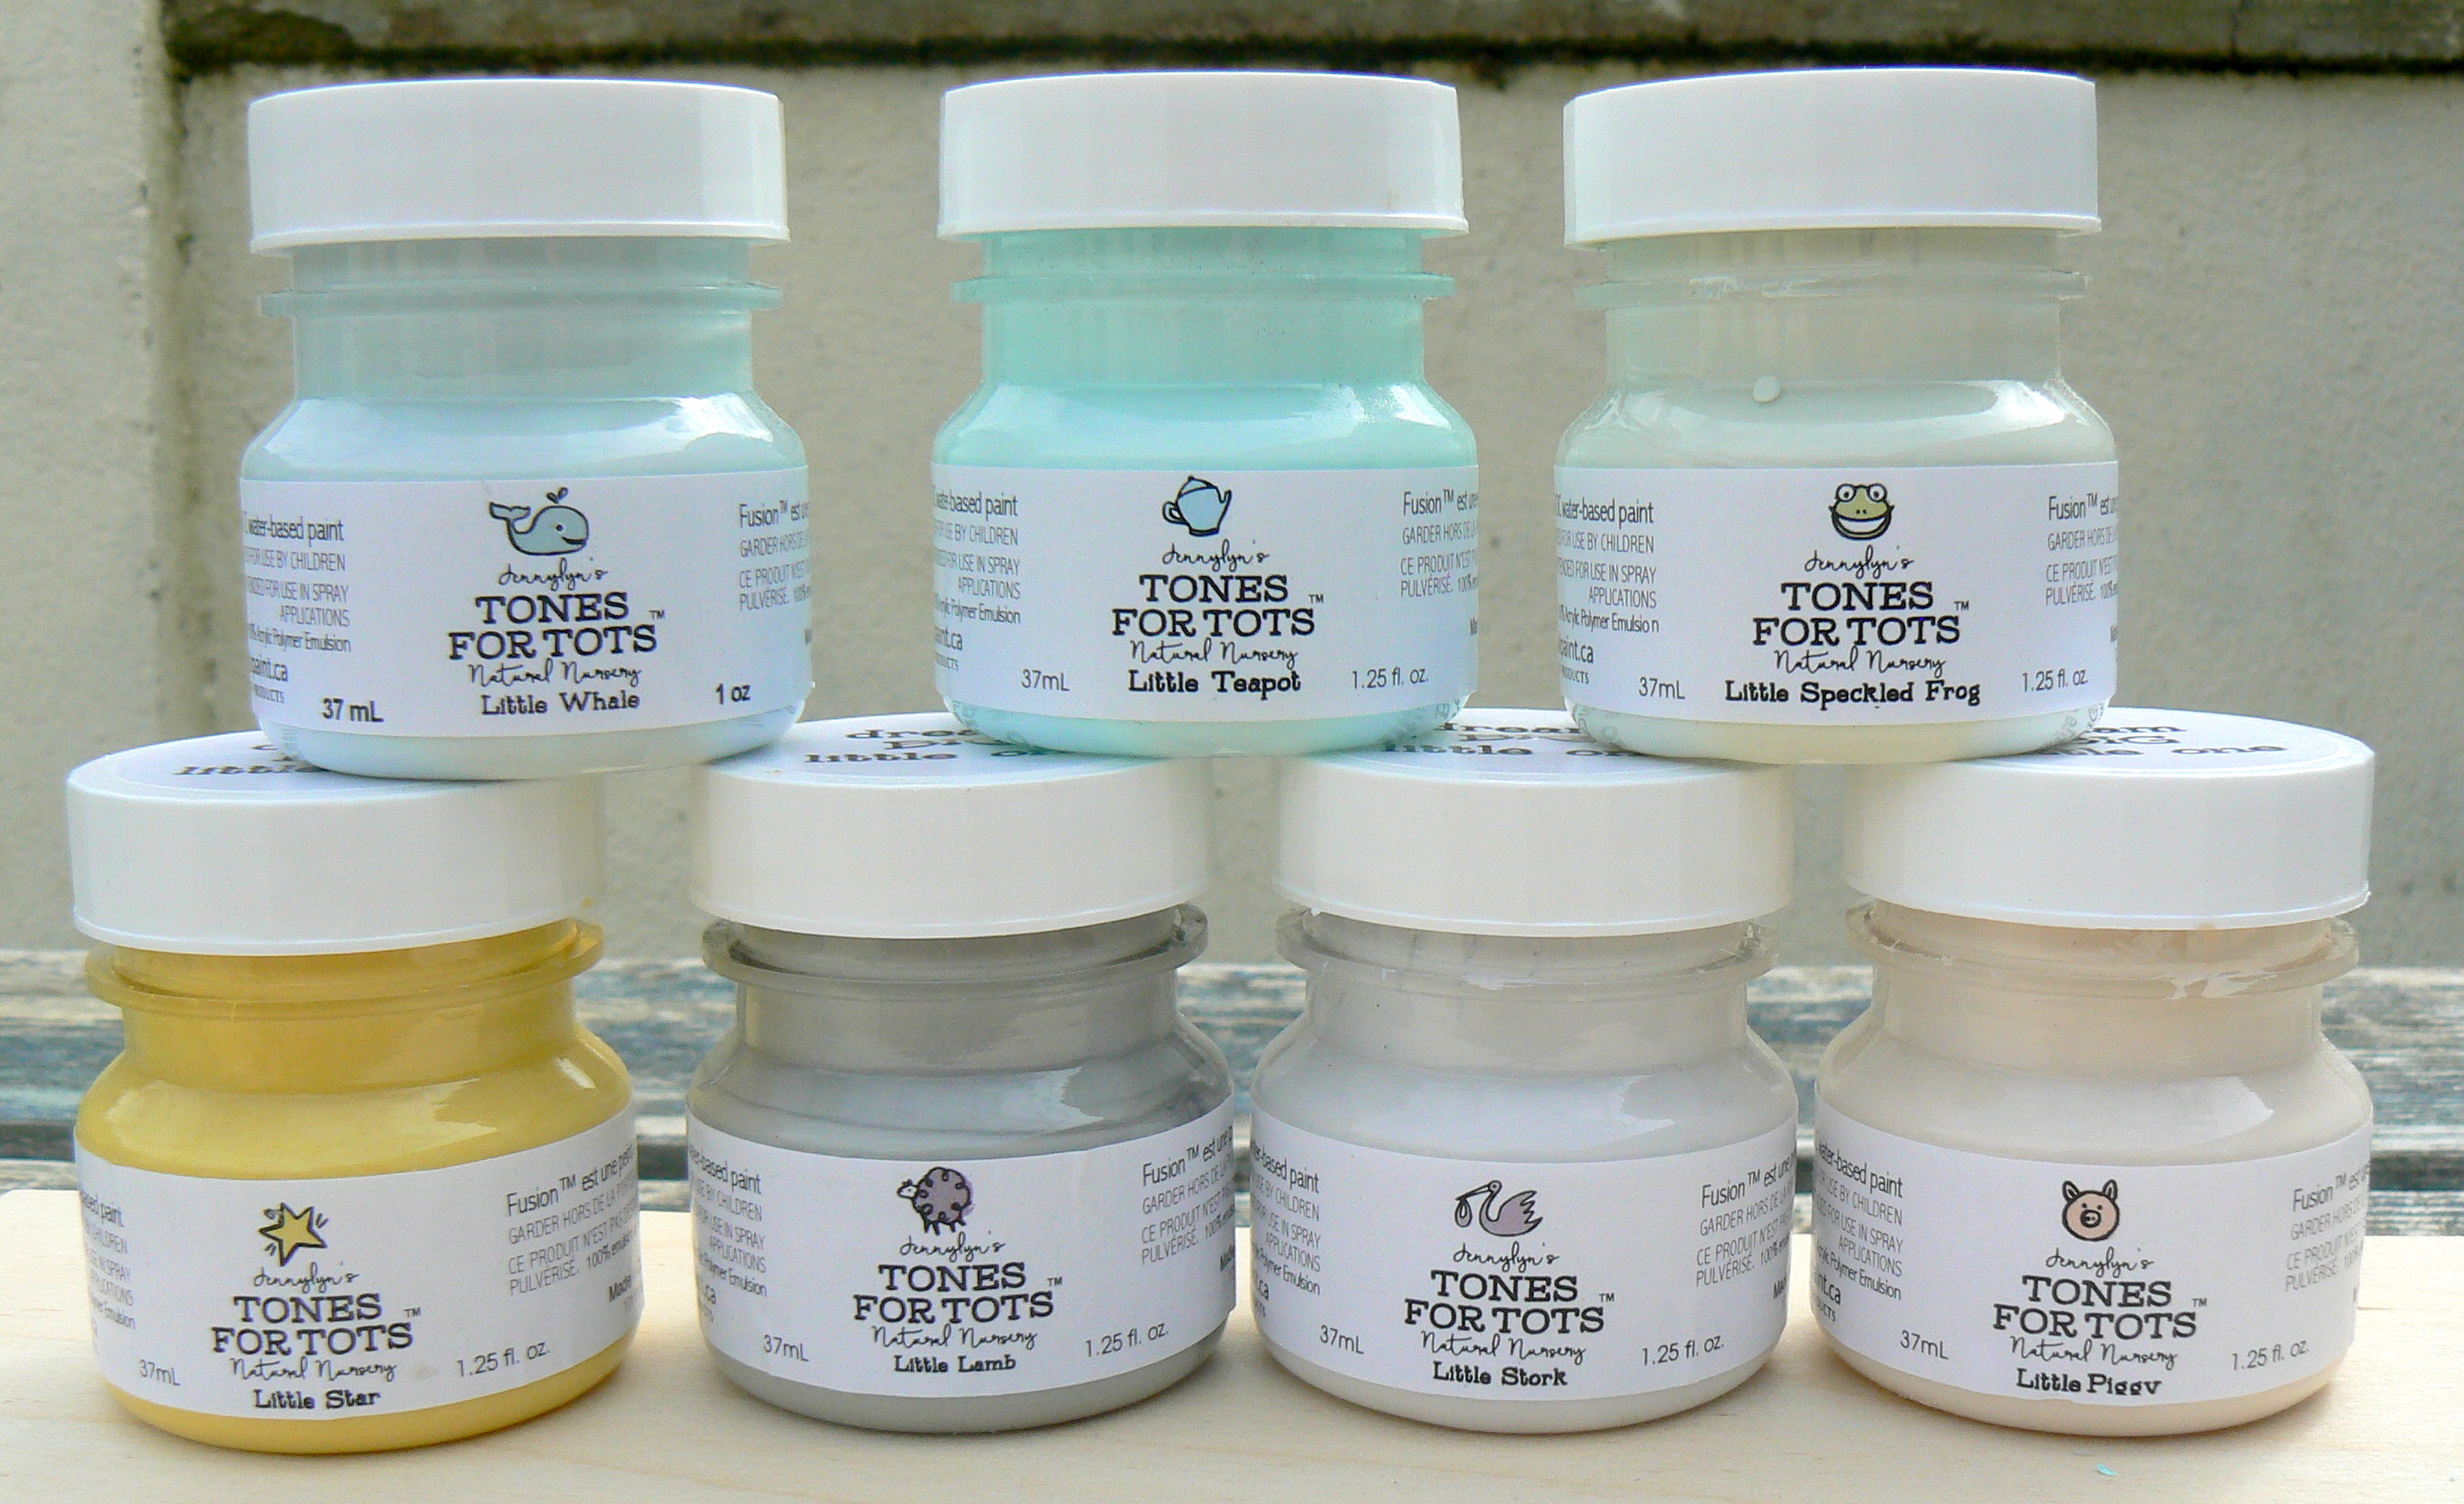
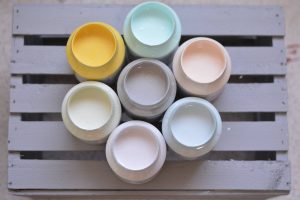
There are seven colours to choose from. So here they are

Little Star
Little Star

Fusion Little Star
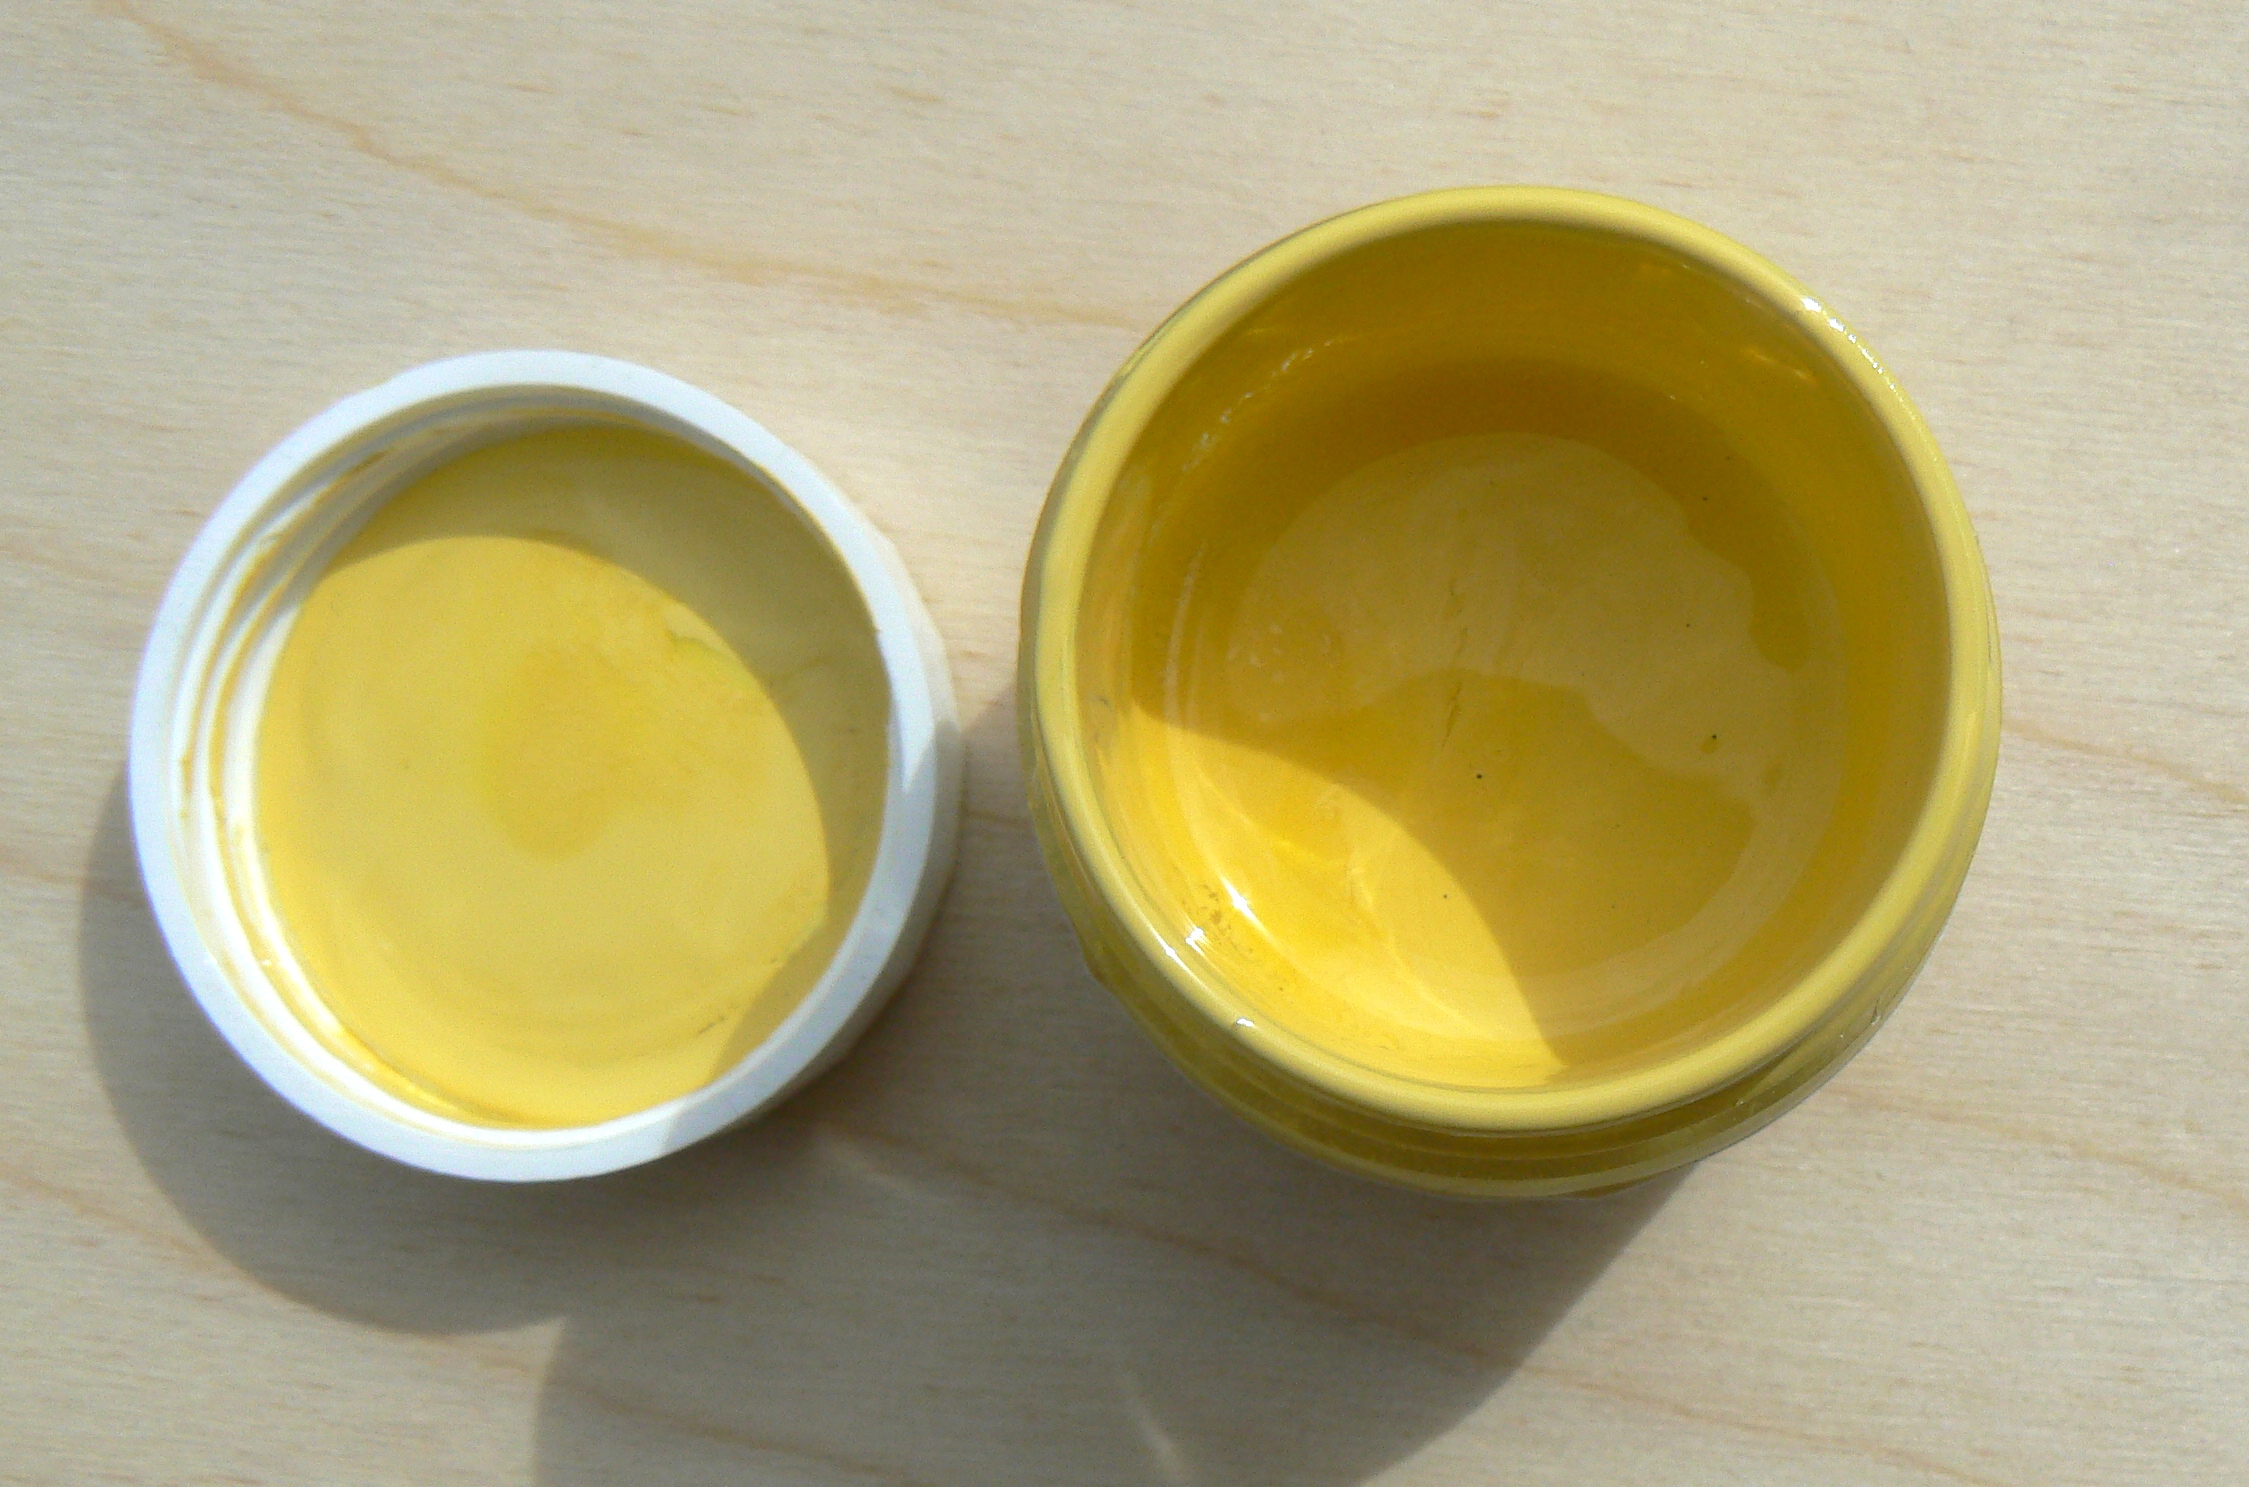
Just remind yourself of those soft yellow knitted cardigans that Grandma used to knit and you have it.

Little Lamb
Little Lamb

Fusion Little Lamb
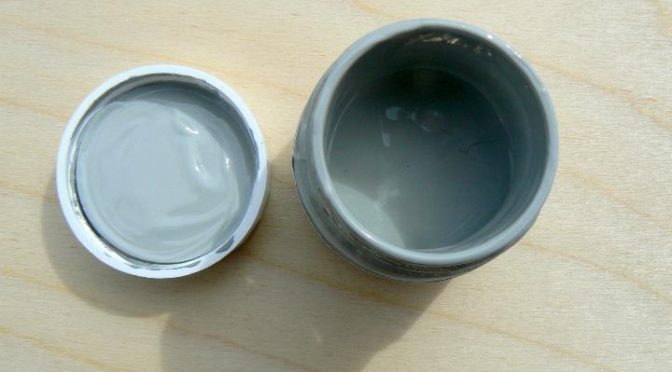
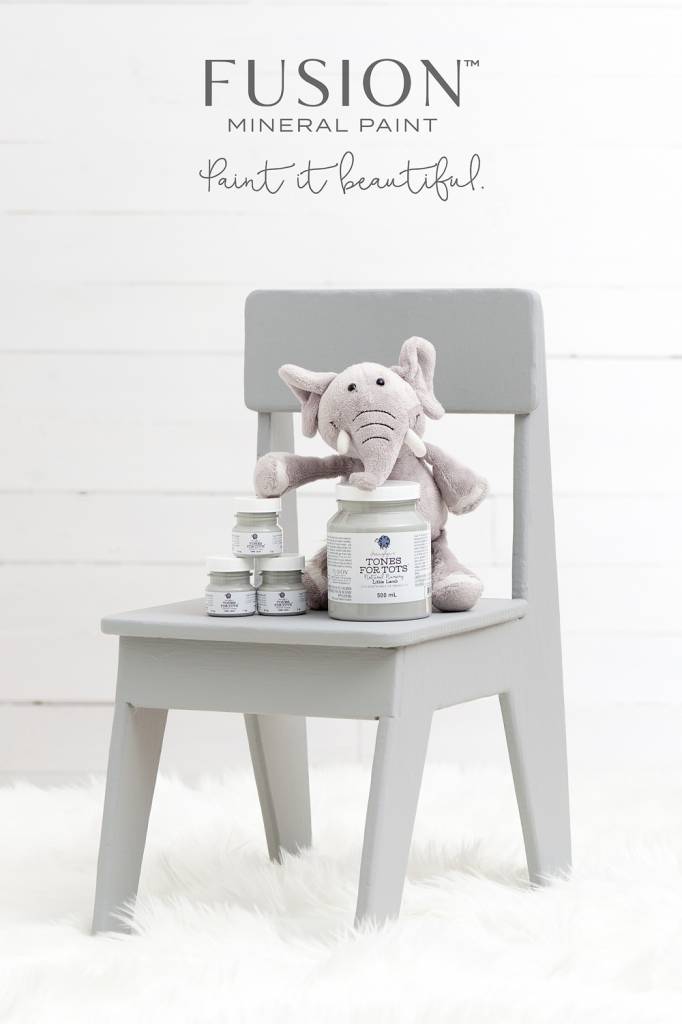
A very subtle, neutral but classy grey. A perfect complementary colour for any of the Tones for Tots range.

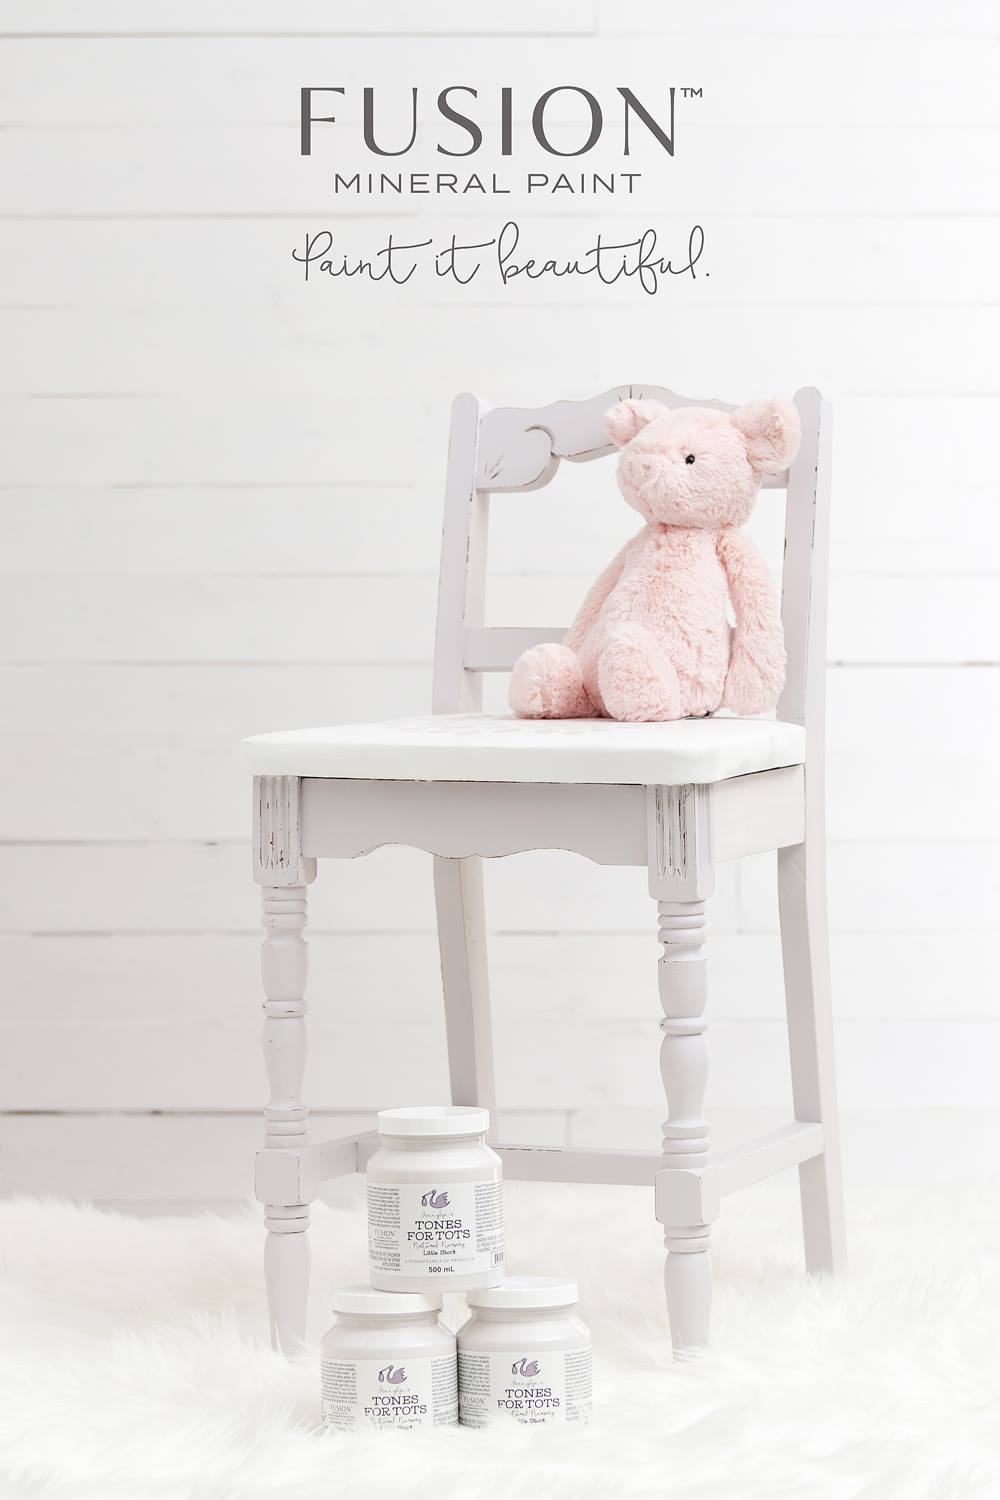
Little Piggy
Little Piggy

Fusion Little Piggy
A simply gorgeous blush pink shade. A must for every little girls room!

Little Stork
Little Stork

Fusion Little Stork
A lovely creamy shade of white

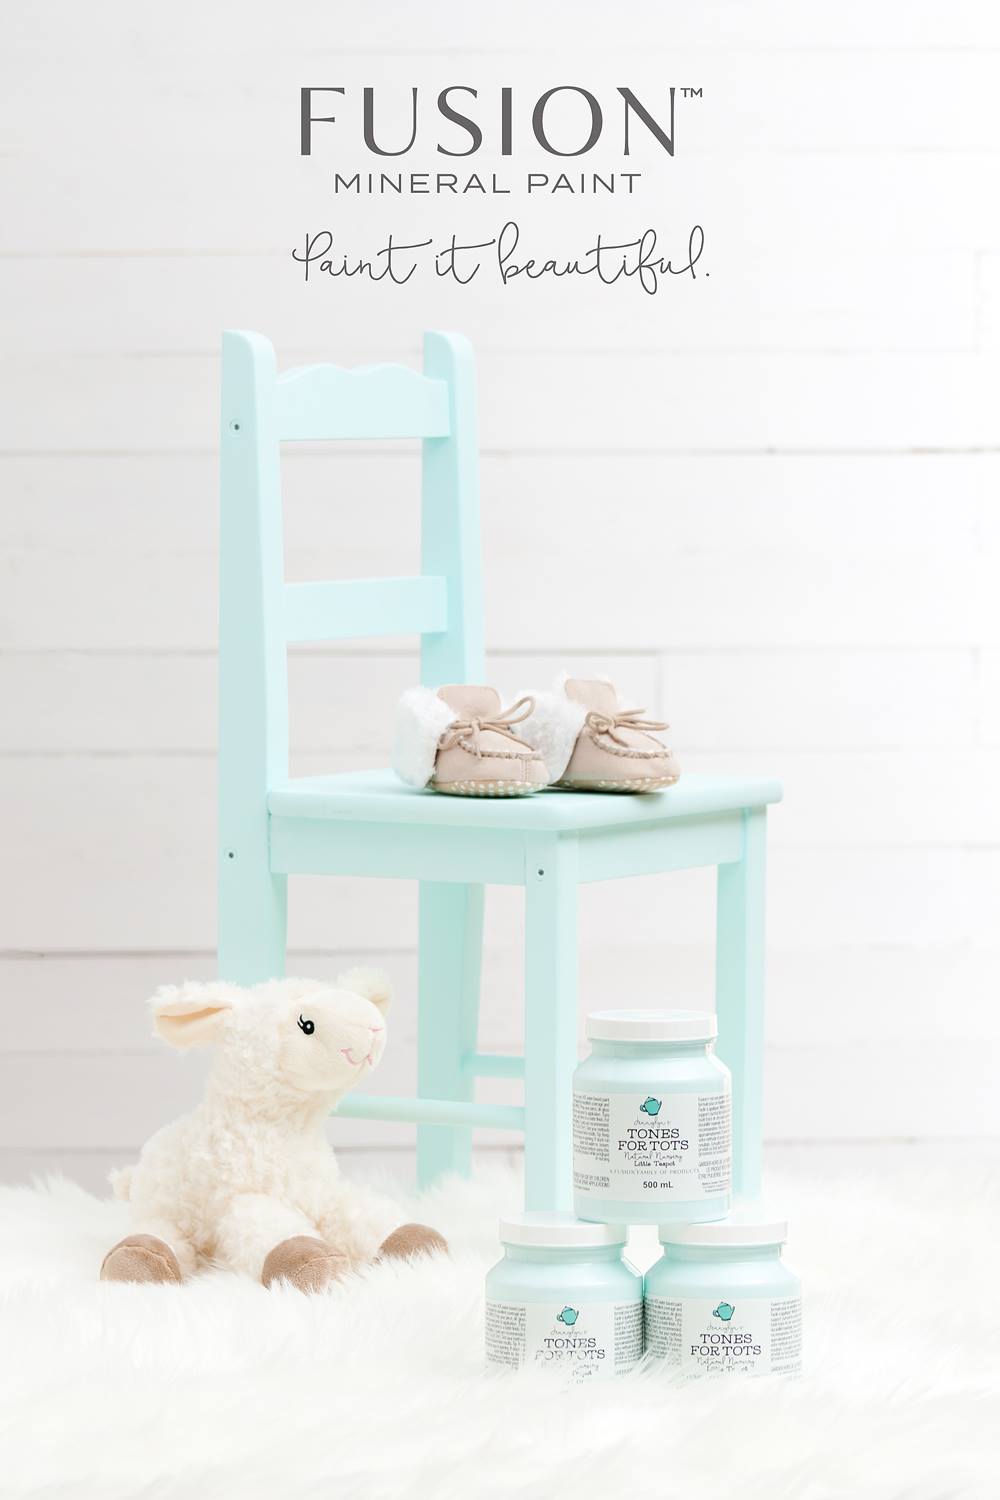
Little Teapot
Little Teapot

Fusion Little Teapot
A gorgeous teal shade. A blue that goes with china. Looks good on small and large pieces.

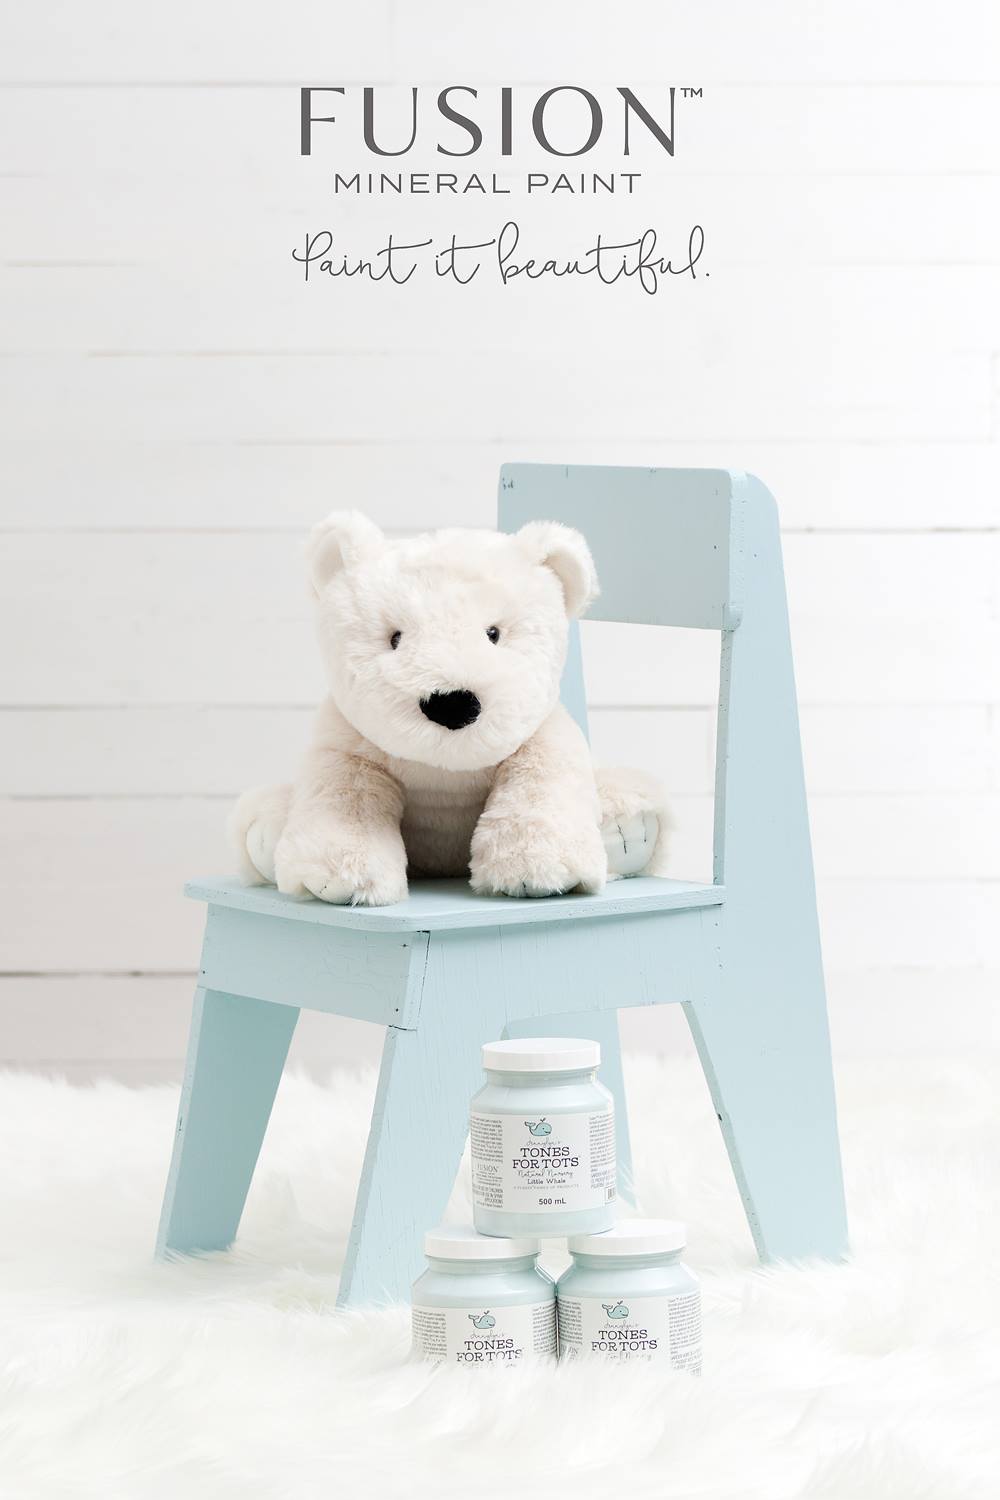
little whale
little whale

Fusion Little Whale
A very soft, calming lake blue.

Little Speckled Frog

Fusion Little Speckled Frog
And lastly as you would expect from the name a soft shade of  minty green.

All the colours will be available in both 500ml and 37ml tester size pots from La Deuxième Chance in  Le Bois de Messé, 79120, France from Saturday 28th May

And if you can’t make your mind up which one to choose ( I know it is going to be difficult.) you could always use all the colours

Tones for Totos colours
Tones for Tots colours

This will be in store from Tuesday 24th May for you to have a look at the colour range before it launches.

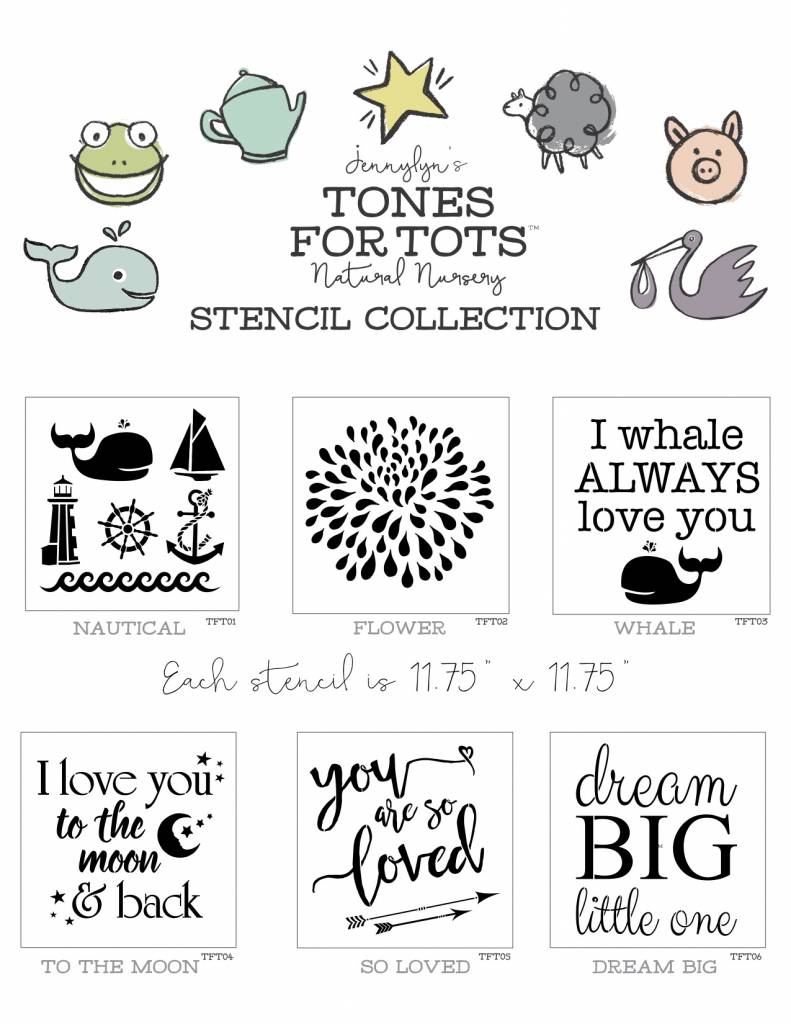
Oh and if that hasn’t got you drooling yet there will also be a range of stencils to go with these paints.

Tones for Tots stencil collection.

Buy Fusion Tone for Tots


Painting tiles – Putting 3 Paints to the test !

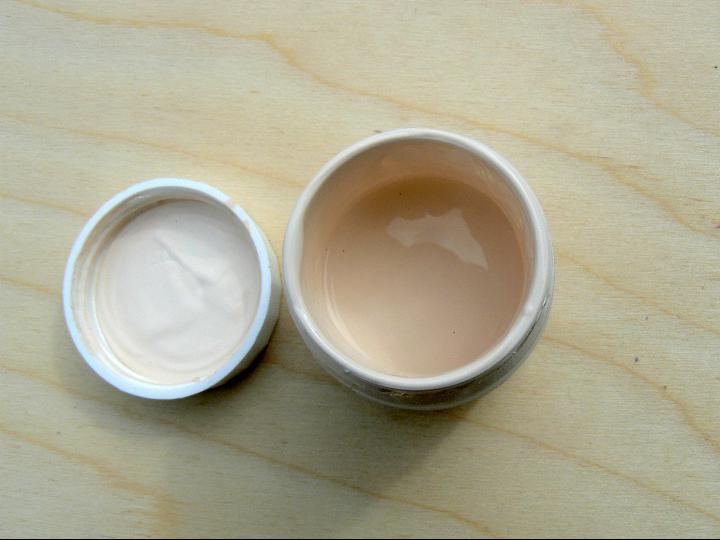
Can I paint tiles?
This is a question that we have been asked a number of times but had never personally tried. After the latest inquiry the old grey matter started to mull over just how well the paints we sell would cope with this task. So we put three furniture paints to the test.
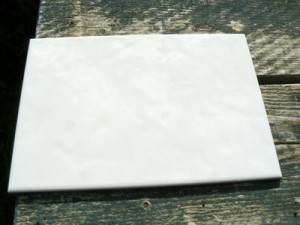
To make the test as hard as possible we searched out a very glossy finish tile to use. A different finish may have produced a slightly different effect.

The Glossy Tile
The Glossy Tile

http://www.ladeuxiemechance.com/webstore/fusion-paint”>Fusion™ Mineral Paint
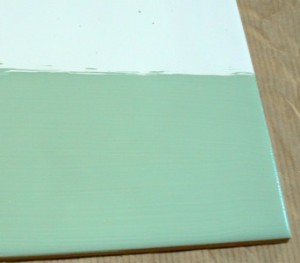
For us this is the new kid on the block so this was a great opportunity to see exactly what it could do. The colour chosen was Lily Pond.
Normally I would have used a bit more paint to give Fusion a chance to self level and give a nice smooth finish. But this test was to put the paint through its paces. I gave the tile one single coat of paint. A tin coat at that. Just to see how it would react.
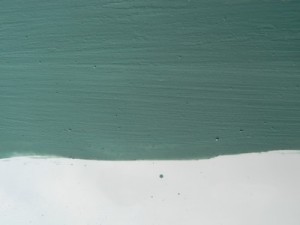
The result was very good. Fusion took to the surface very well. Considering this was a shiny and slippery surface it covered really well.
It is worth noting here that Fusion was applied directly to the tile without the use of fusion Ultragrip. Ultragrip helps to give better adhession to shiny surfaces.With the use of Ultragrip the result will be different. Ultragrip wasn’t used as we wanted to see how it performed straight from the pot. An update using ultragrip will follow at a later date.
Fusion Lily Pond on tile

Miss Mustard Seed’s Milk Paint
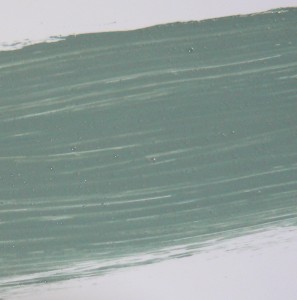
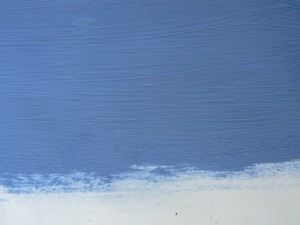
Perhaps not the immediate paint of choice. It is a paint that is designed for a porous surface which is of course not what we were applying it on. To give it a better adhesion some bonding agent was added to the mix. This in theory should allow it to stick to most surfaces. It didn’t cover as well as the Fusion paint which was expected. The first coat was slightly streaky.
Milk Paint on tile
Milk Paint on tile

A second coat of Miss Mustard Seed Kitchen Scale did take care of the streaking.
2nd coat of Milk Paint

It has to be said this was never a paint that was in the running for this test and as it is a very fine paint its durability would not hold to wear and tear. As with Fusion this paint has a similar product to Ultragrip available. This is called Bonding agent and again it will help with adhession to different surfaces. In order to be fair we did not use it here. An update using bonding agent and Ultragrip will follow at a later date.
Annie Sloan Chalk Paint™
The favorite in this test was left to last. Its adhesion qualities are of course world-famous. So how did it compare?
It went on very easily as we knew it would. As a personal preference I would have used two coats of paint to give it a decent coverage.
Annie Sloan Greek Blue on tile

Now of course with Chalk Paint™ it needs to be sealed. So out of interest I tried both wax and Annie Sloan Floor Lacquer. It should be noted that in a humid or wet environment neither finish is suitable.
Lacquer and wax compared

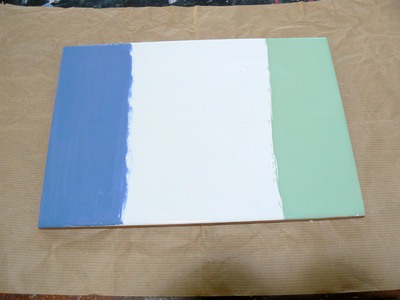
In the picture the wax is on the right and the Lacquer is on the left. The center is of course untreated.
Conclusions
Sadly before you start painting tiles I do have to say that you should really consider this as a cheap temporary fix. The durability is not according to others long-lasting.
The advantage of Chalk Paint™ covered really well.But would need to be sealed with wax or lacquer which would bump up the price.
Milk Paint? It was a bit unfair to include it but never the less it did cover after two coats but as it is a much finer and thinner paint than the others so possibly less hard-wearing.

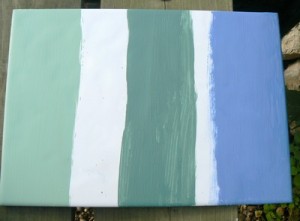
All 3 Paints Compared

Update
Since writing this post Fusion have made a very good video on this very subject. Unlike my test they used Fusion Ultragrip which certainly makes all the difference to the finished item. OOh and there is a very handy hint that I some how missed out. Make sure the surface is clean! Use Fusion TSP to make doubly sure. Take a look at the video below.
Miss Mustard Seed Curio

Miss Mustard Seed's Milk Paint Curio
Miss Mustard Seed’s Milk Paint Curio

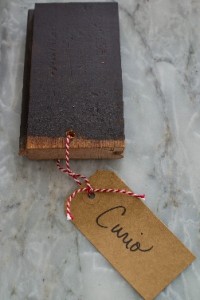
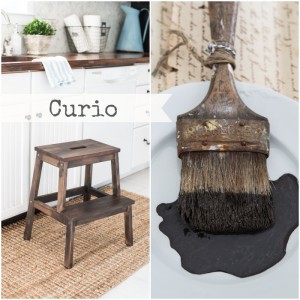
Miss Mustard Seed Curio is a rich, walnut brown that is perfect to use as a glaze or stain. It’s also a great colour to use for mixing with other colours. It was named after the rich wood on a curio Marian inherited from her aunt.

apron strings over curio

Pair Curio with a lightened version of Apron Strings for a classic brown and pink pairing.

Curio
Curio

Buy Milk Paint in France here