Category Archives: ideas and inspiration

How to brighten up dark furniture

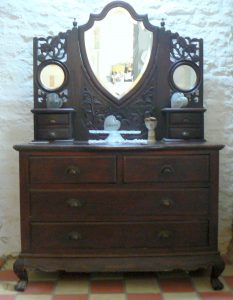
Today I thought I would share a project with you where we turned a piece of rather
dark furniture into a bright painted masterpiece – with little or no preparation.

Before and After Chalk Paint™

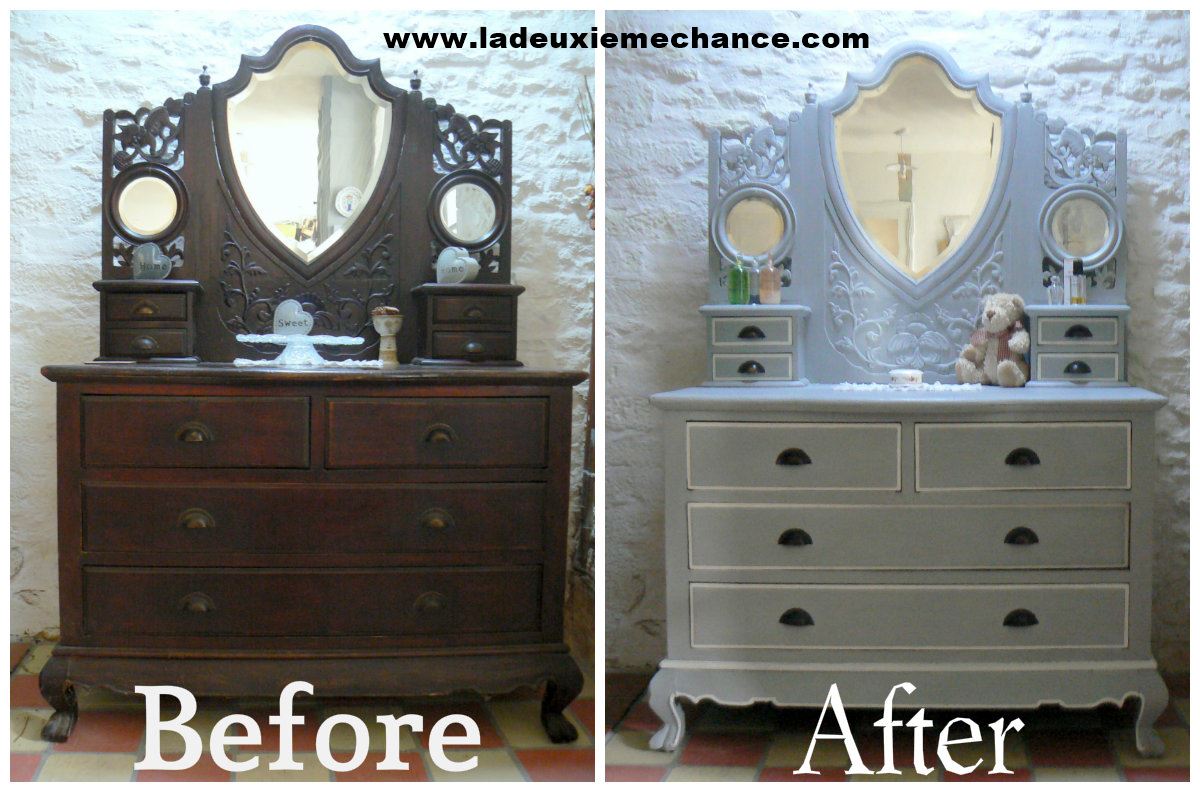
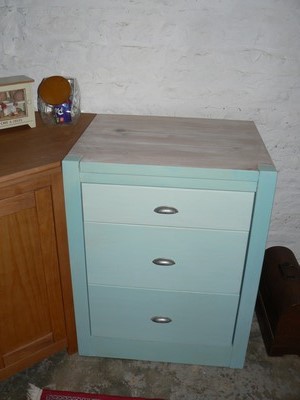
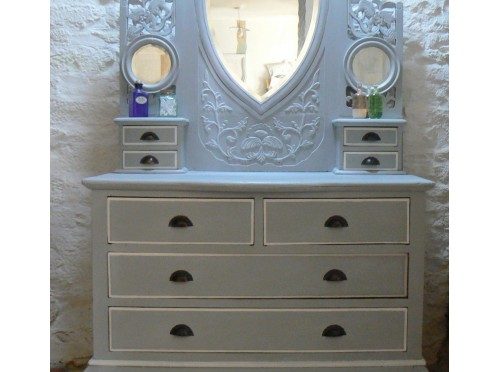
This beautiful, but dark, dressing table was chosen for its elaborate carved features,
but the techniques shown below can be used on even the plainest piece. I chose to
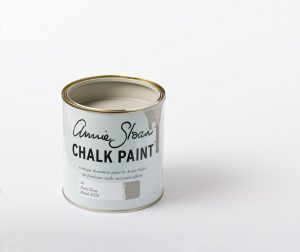
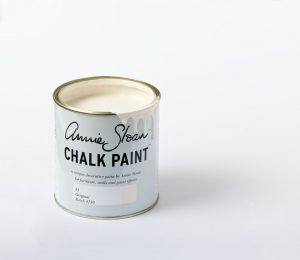
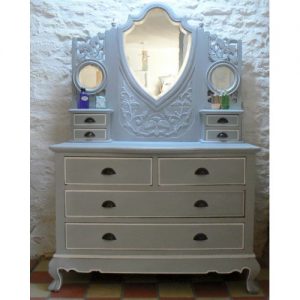
paint this piece in Annie Sloan Chalk Paint™ as the paint is easy to apply, with
little or no preparation and the texture of the paint allows the white wax to add
another dimension to the surface.

You will need:
Annie Sloan Chalk Paint™ 120ml – Original
Annie Sloan Soft Wax – Clear
Annie Sloan Soft Wax – White
Large and small pure bristle paint brushes
Waxing Brush
Soft Cloth for buffing

Here’s how:
1: Prepare:
Before starting to paint ensure your furniture is clean and dry. Wiping away any
dust or dirt with a soft cloth and warm water is generally all that is required.
Dry thoroughly.
There is no need to remove old varnish or wax. Just ensure you have a sound dry
base on which to apply your paint.

2: Paint:
Stir the paint well, as per the instructions on the tin, if you have not used
this paint before you may find it quite thick.

easy coverage
Easy Coverage

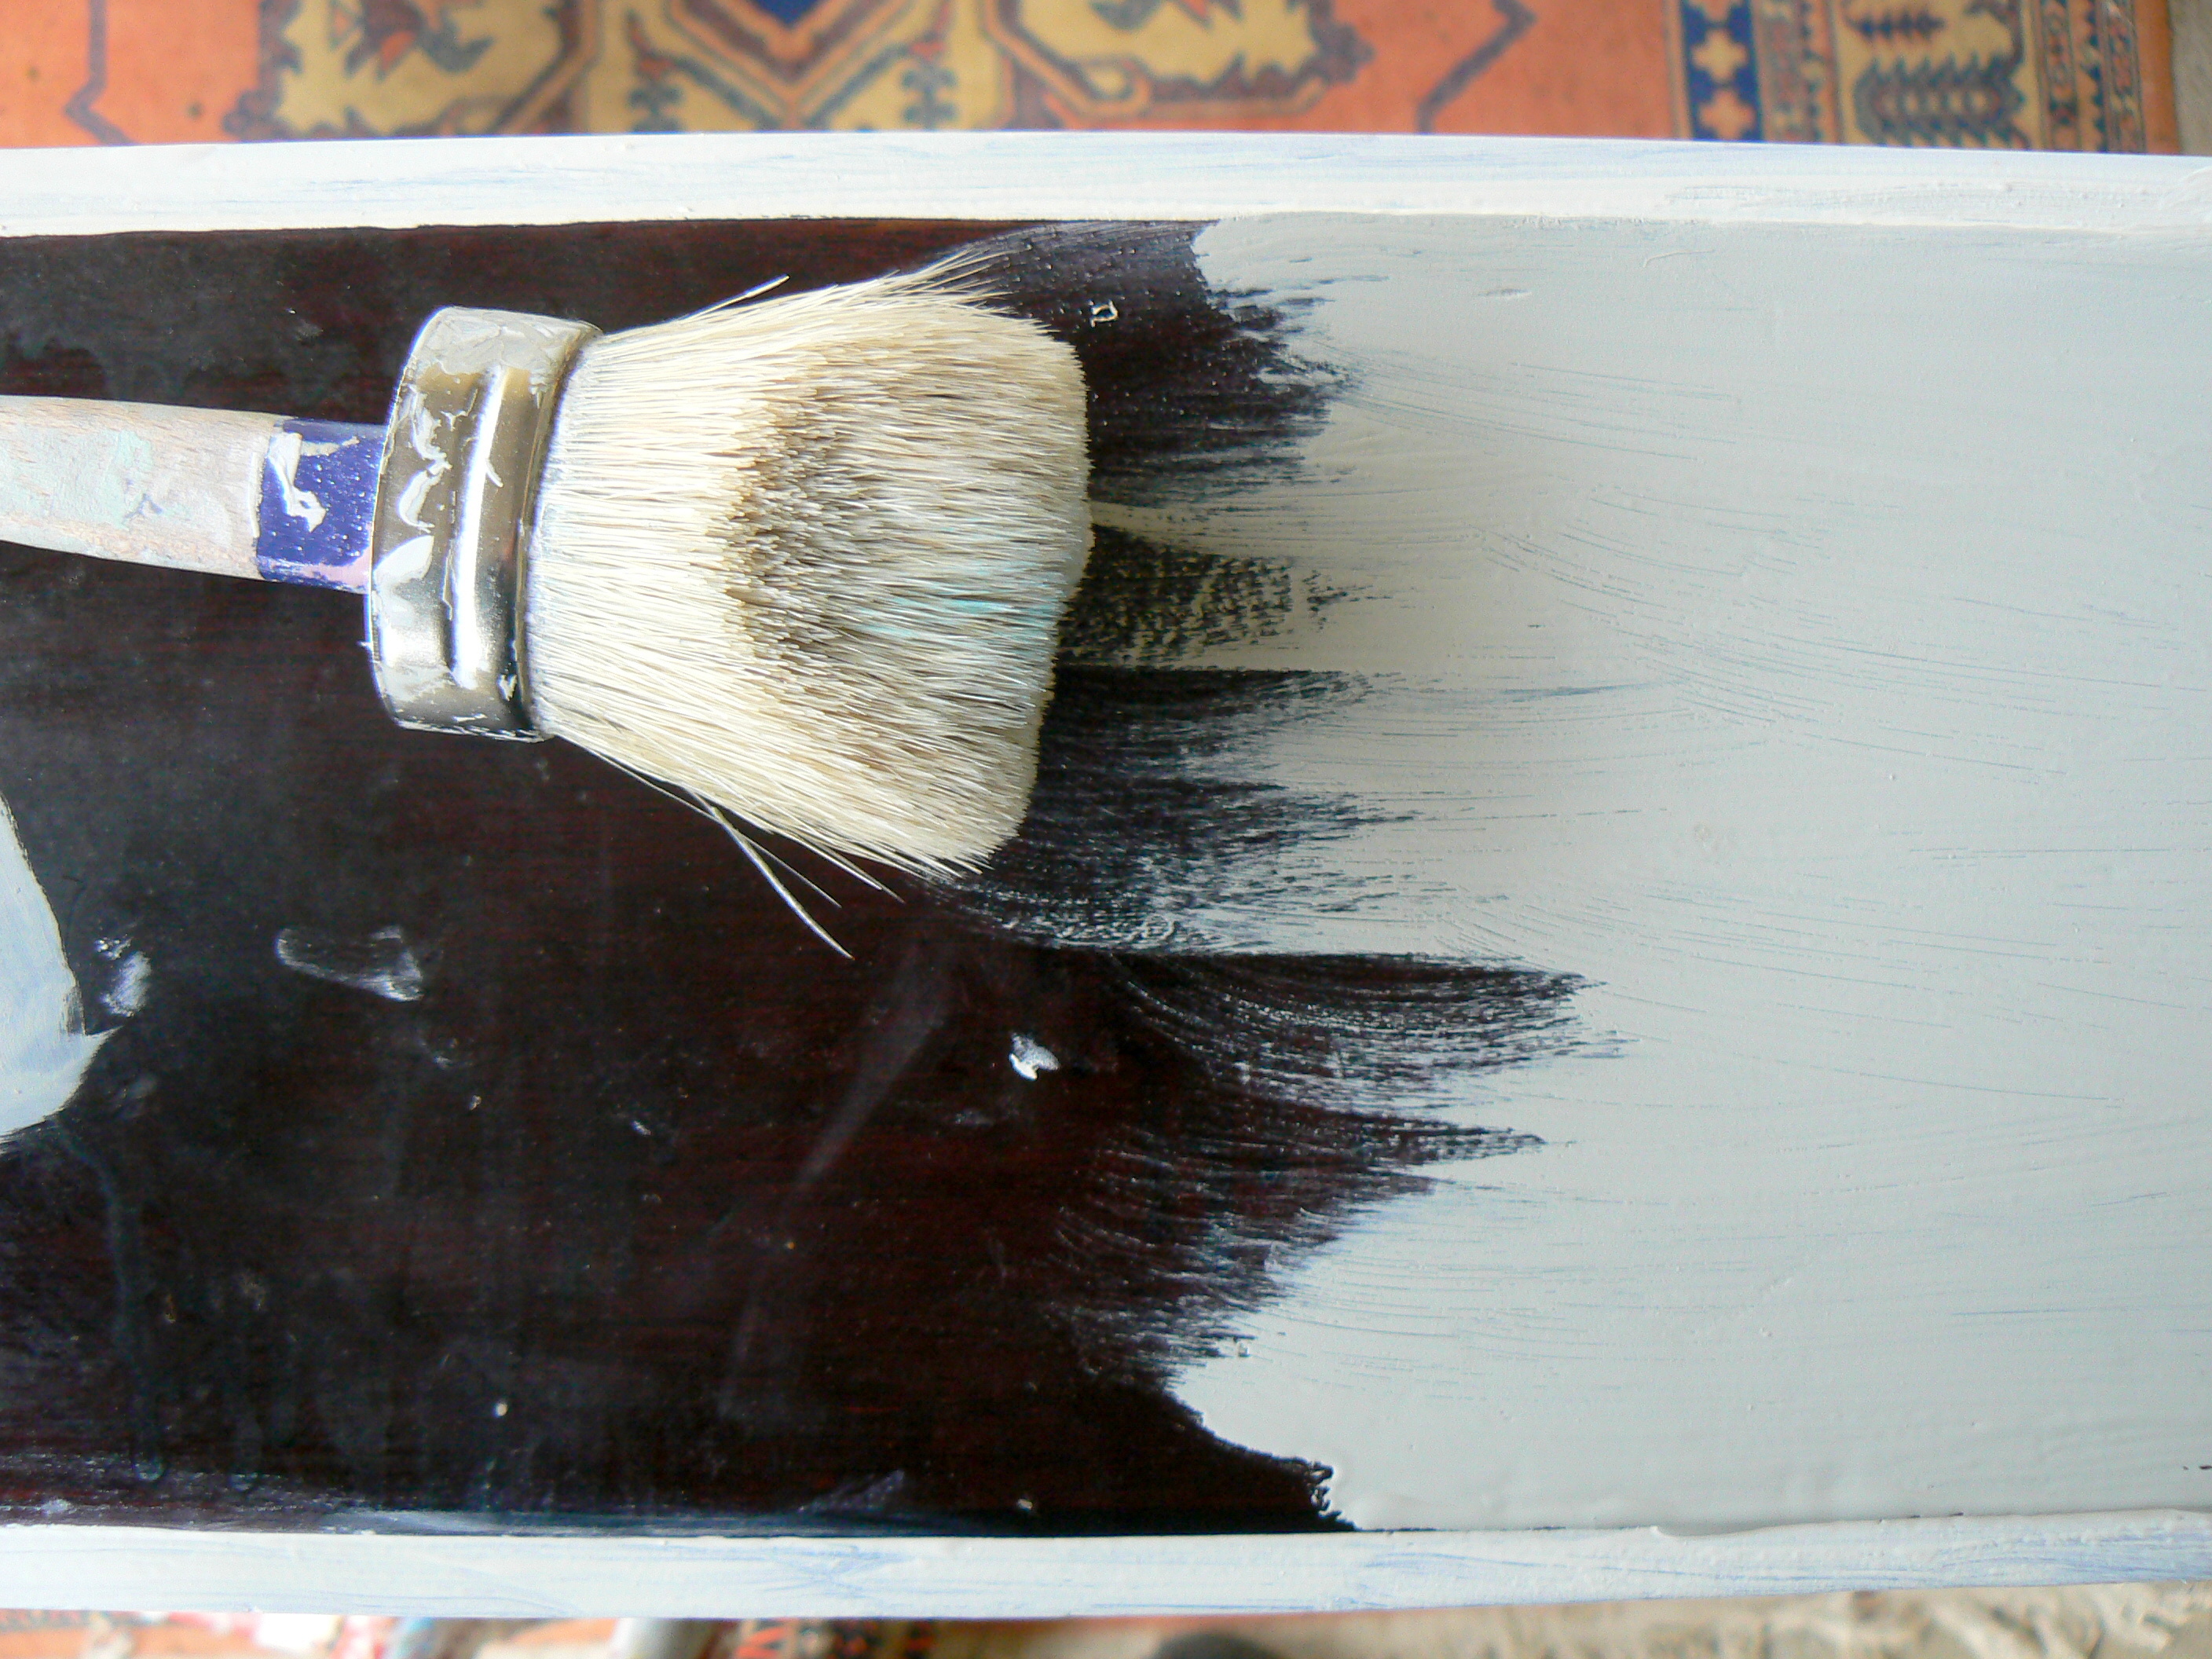
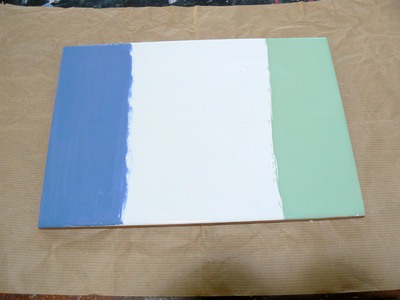
Apply to your furniture in an uneven manner, applying the paint in different
directions. Start at the top and work downwards, covering the wood, but watching
for runs on corners and edges. Try not to over paint areas as the paint dries
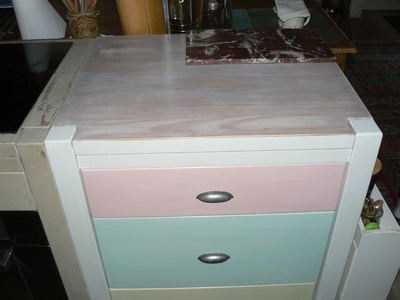
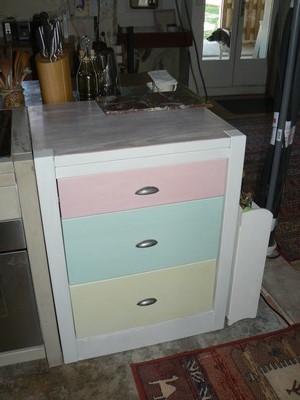
quickly. Ensure you get the paint into any carvings or grooves. For drawers it
is best to paint an inch of the outer edges, the inside can be painted in a
contrasting colour or to match. Allow the paint to dry, approximately 20 minutes
depending on the temperature.
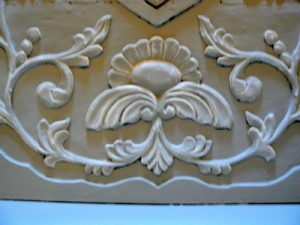
3: Embellish:
Paint the edges of drawers and the fine moldings to highlight using a contrasting
colour (Annie Sloan Chalk Paint™ – Original) Paint free-hand using a fine bristle
brush. Then lightly brush the white paint over the carved areas to add definition.
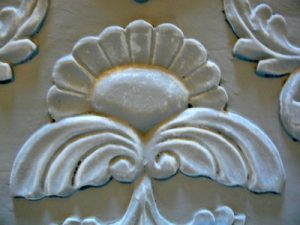
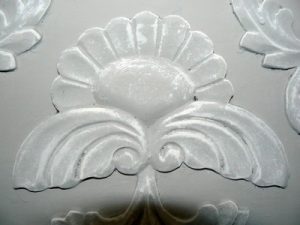
4: Wax:
Apply a thin layer of Annie Sloan Soft White Wax. Work this into the paint and
carvings using a soft Wax Brush. (A soft lint free cloth can be used, but pay
attention to carved areas as missing areas will give an uneven appearance).
Remove any excess wax polishing as you go. The wax will be absorbed into the
paint. Once dry apply a top coat of Clear Soft Wax. Buff well using a soft
lint free cloth.

HINTS AND TIPS
A 1 litre tin will cover approximately 13 sq meters? That’s a lot of furniture!
One coat is normally all you need! (Perfect for covering painted beams.)
Annie Sloan Chalk Paint™ has very low VOCs so there are no odours when you paint
and once dry and waxed it is safe for use in children’s rooms.
Use wax sparingly rubbing in as you go to avoid streaking.
You can obtain a high gloss finish by buffing the wax the following day.
For a more “distressed” finish, lightly sand the edges of your furniture using
Annie’s wonderful reusable foam sanding pads!
For an aged look you can apply Annie Sloan dark or black waxes. Prevent
staining your paint by applying a thin coat of clear wax before dark waxing.
Annie Sloan Chalk Paint™ is not just for furniture. It is made of natural
ingredients and is breathable, so perfect for using on old damp or lime
plastered walls. You can use it on floors too, wooden or concrete!
Annie Sloan Wall Paint™ comes in larger 2.5 lt tins and give a durable,
washable surface. Ideal for kitchens and high traffic areas.

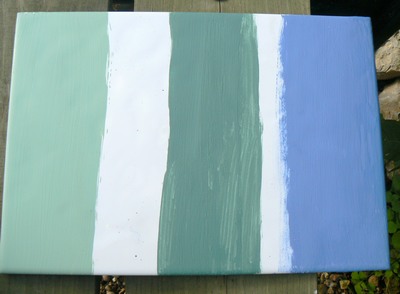
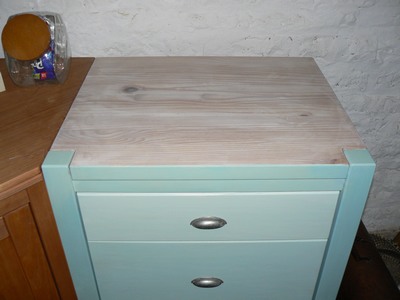
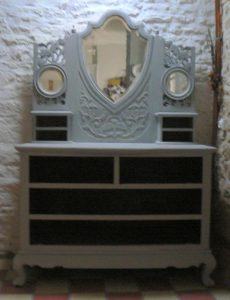
Here are a few photos of project as it was being done…

Where to buy: La Deuxième Chance

[bigContact form=on phones=on emails=on hours=on map=on]

Painting tiles – Putting 3 Paints to the test !

Can I paint tiles?
This is a question that we have been asked a number of times but had never personally tried. After the latest inquiry the old grey matter started to mull over just how well the paints we sell would cope with this task. So we put three furniture paints to the test.

To make the test as hard as possible we searched out a very glossy finish tile to use. A different finish may have produced a slightly different effect.

The Glossy Tile
The Glossy Tile

http://www.ladeuxiemechance.com/webstore/fusion-paint”>Fusion™ Mineral Paint
For us this is the new kid on the block so this was a great opportunity to see exactly what it could do. The colour chosen was Lily Pond.
Normally I would have used a bit more paint to give Fusion a chance to self level and give a nice smooth finish. But this test was to put the paint through its paces. I gave the tile one single coat of paint. A tin coat at that. Just to see how it would react.
The result was very good. Fusion took to the surface very well. Considering this was a shiny and slippery surface it covered really well.
It is worth noting here that Fusion was applied directly to the tile without the use of fusion Ultragrip. Ultragrip helps to give better adhession to shiny surfaces.With the use of Ultragrip the result will be different. Ultragrip wasn’t used as we wanted to see how it performed straight from the pot. An update using ultragrip will follow at a later date.
Fusion Lily Pond on tile

Miss Mustard Seed’s Milk Paint
Perhaps not the immediate paint of choice. It is a paint that is designed for a porous surface which is of course not what we were applying it on. To give it a better adhesion some bonding agent was added to the mix. This in theory should allow it to stick to most surfaces. It didn’t cover as well as the Fusion paint which was expected. The first coat was slightly streaky.
Milk Paint on tile
Milk Paint on tile

A second coat of Miss Mustard Seed Kitchen Scale did take care of the streaking.
2nd coat of Milk Paint

It has to be said this was never a paint that was in the running for this test and as it is a very fine paint its durability would not hold to wear and tear. As with Fusion this paint has a similar product to Ultragrip available. This is called Bonding agent and again it will help with adhession to different surfaces. In order to be fair we did not use it here. An update using bonding agent and Ultragrip will follow at a later date.
Annie Sloan Chalk Paint™
The favorite in this test was left to last. Its adhesion qualities are of course world-famous. So how did it compare?
It went on very easily as we knew it would. As a personal preference I would have used two coats of paint to give it a decent coverage.
Annie Sloan Greek Blue on tile

Now of course with Chalk Paint™ it needs to be sealed. So out of interest I tried both wax and Annie Sloan Floor Lacquer. It should be noted that in a humid or wet environment neither finish is suitable.
Lacquer and wax compared

In the picture the wax is on the right and the Lacquer is on the left. The center is of course untreated.

Conclusions
Sadly before you start painting tiles I do have to say that you should really consider this as a cheap temporary fix. The durability is not according to others long-lasting.
The advantage of Chalk Paint™ covered really well.But would need to be sealed with wax or lacquer which would bump up the price.
Milk Paint? It was a bit unfair to include it but never the less it did cover after two coats but as it is a much finer and thinner paint than the others so possibly less hard-wearing.

All 3 Paints Compared

Update
Since writing this post Fusion have made a very good video on this very subject. Unlike my test they used Fusion Ultragrip which certainly makes all the difference to the finished item. OOh and there is a very handy hint that I some how missed out. Make sure the surface is clean! Use Fusion TSP to make doubly sure. Take a look at the video below.

Goodbye Orange

Today we decided to update our kitchen units. As you can see from the photo some of them were actually orange!

Kitchen unit painted in Eulalies sky

The carcase was painted in Eulalies Sky and the drawers were lightened by mixing Miss Mustard Seed Linen.Each of the three drawers were lightened in turn by adding half a measure per drawer to the original mixture.

Kitchen top treated with white wax

The top of the units were treated with Miss Mustard Seed White Wax to give a “limed oak” effect.As they are going to get quite a bit of use the units were given several coats of paint and likewise with the wax.

We also decided to use Annie Sloan Chalk Paint™ on the island in the centre of the room.

Annie Sloan custom mixed colours

We decided to use pastel colours and this meant using a custom mix. The bottom drawer is a mix of yellow and old white. The middle drawer is a mix using a discontinued colour called Celadon green and Old White. The top drawer is a mix of Emperor’s Silk and Old White.
So goodbye orange and hello multi coloured kitchen – light bright and different!

Buy Milk Paint in France here